Microgreens are young salad crops that are grown from seed and then picked and harvested as soon as the first or second set of leaves have emerged. Best grown on a sunny windowsill, this is one crop anyone can grow, with or without a garden.
Picking when so young makes them succulent and incredibly fresh. You can use microgreens as an addition to salads, sandwiches or as a colourful garnish on other dishes. They’re very similar to sprouts but grown in trays of compost rather than in water.
Packed with nutrients and minerals, microgreens are full of the energy and goodness that was stored in the seed causing it to burst into growth. Eaten regularly, this makes microgreens a great way of adding a little extra nutrition to meals with very little effort.
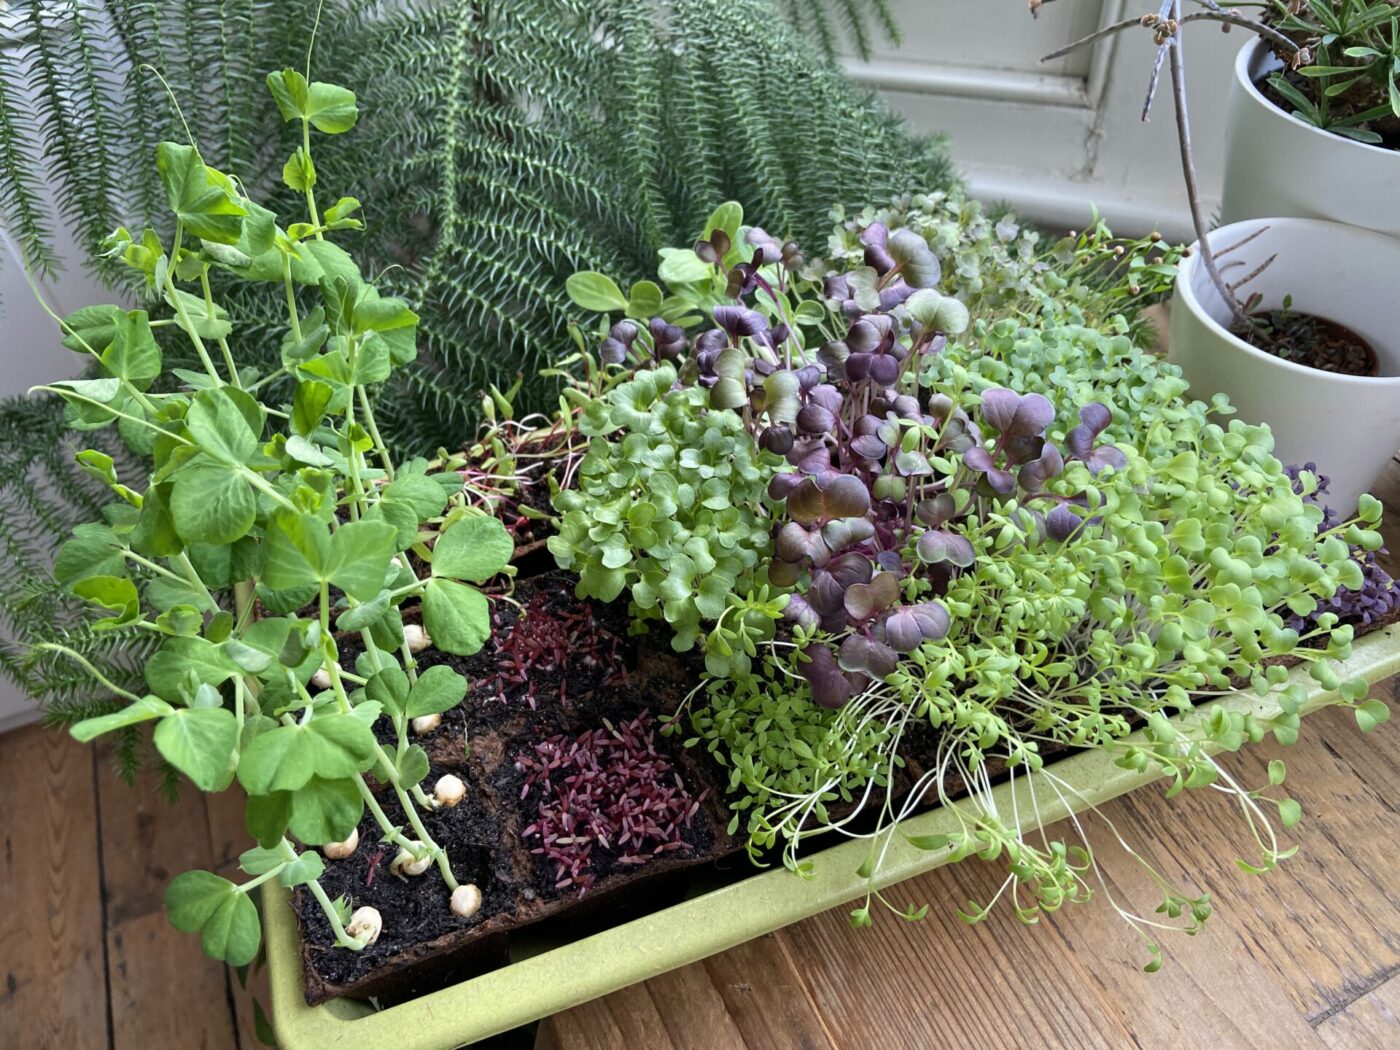
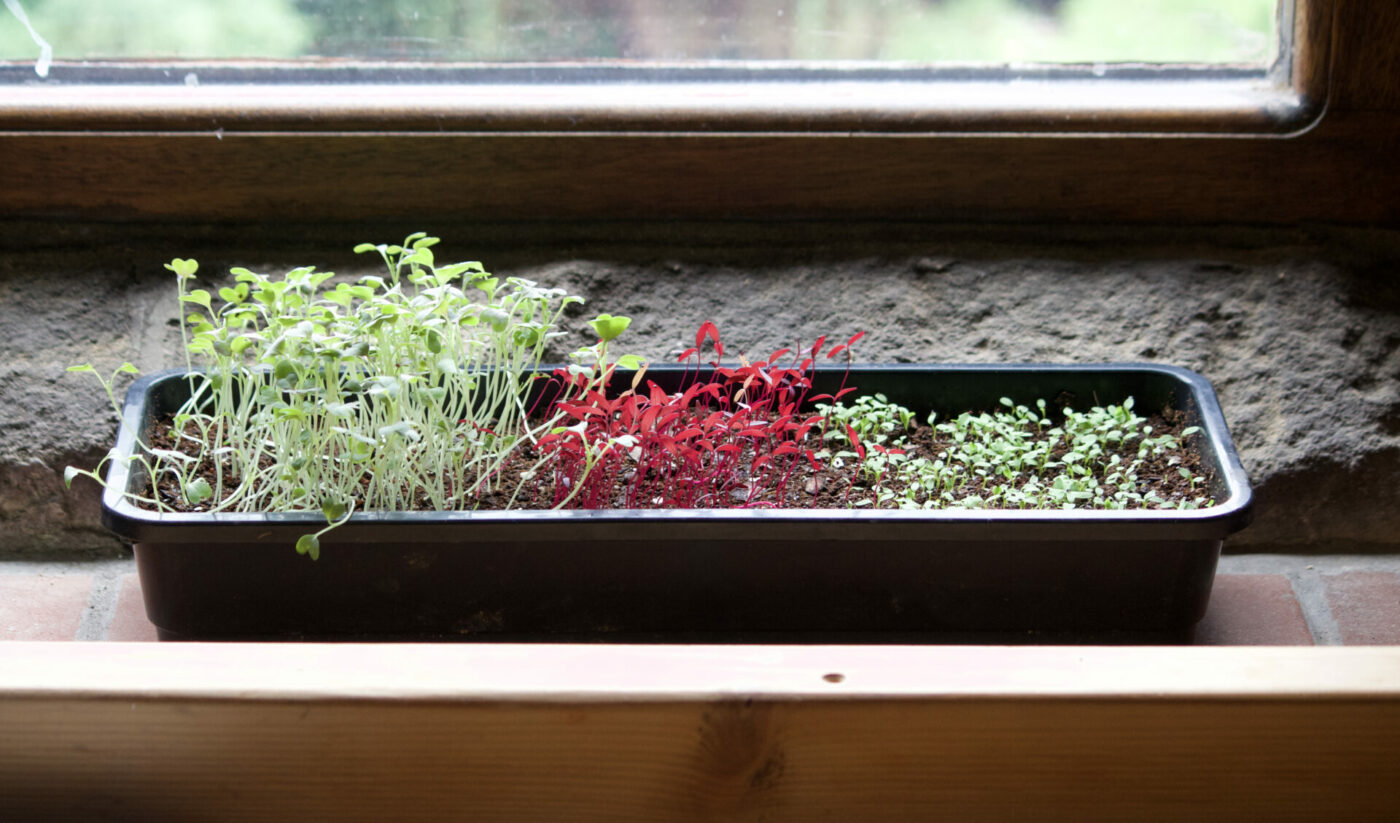
Microgreens, or microleaves as they’re sometimes called, are all grown like cress, in a growing media such as compost, or sometimes on wet paper towels, though compost gives better results from experience (I’ve tried both multiple times over the years and now always use a fine layer of compost).
What different microgreen varieties are there?
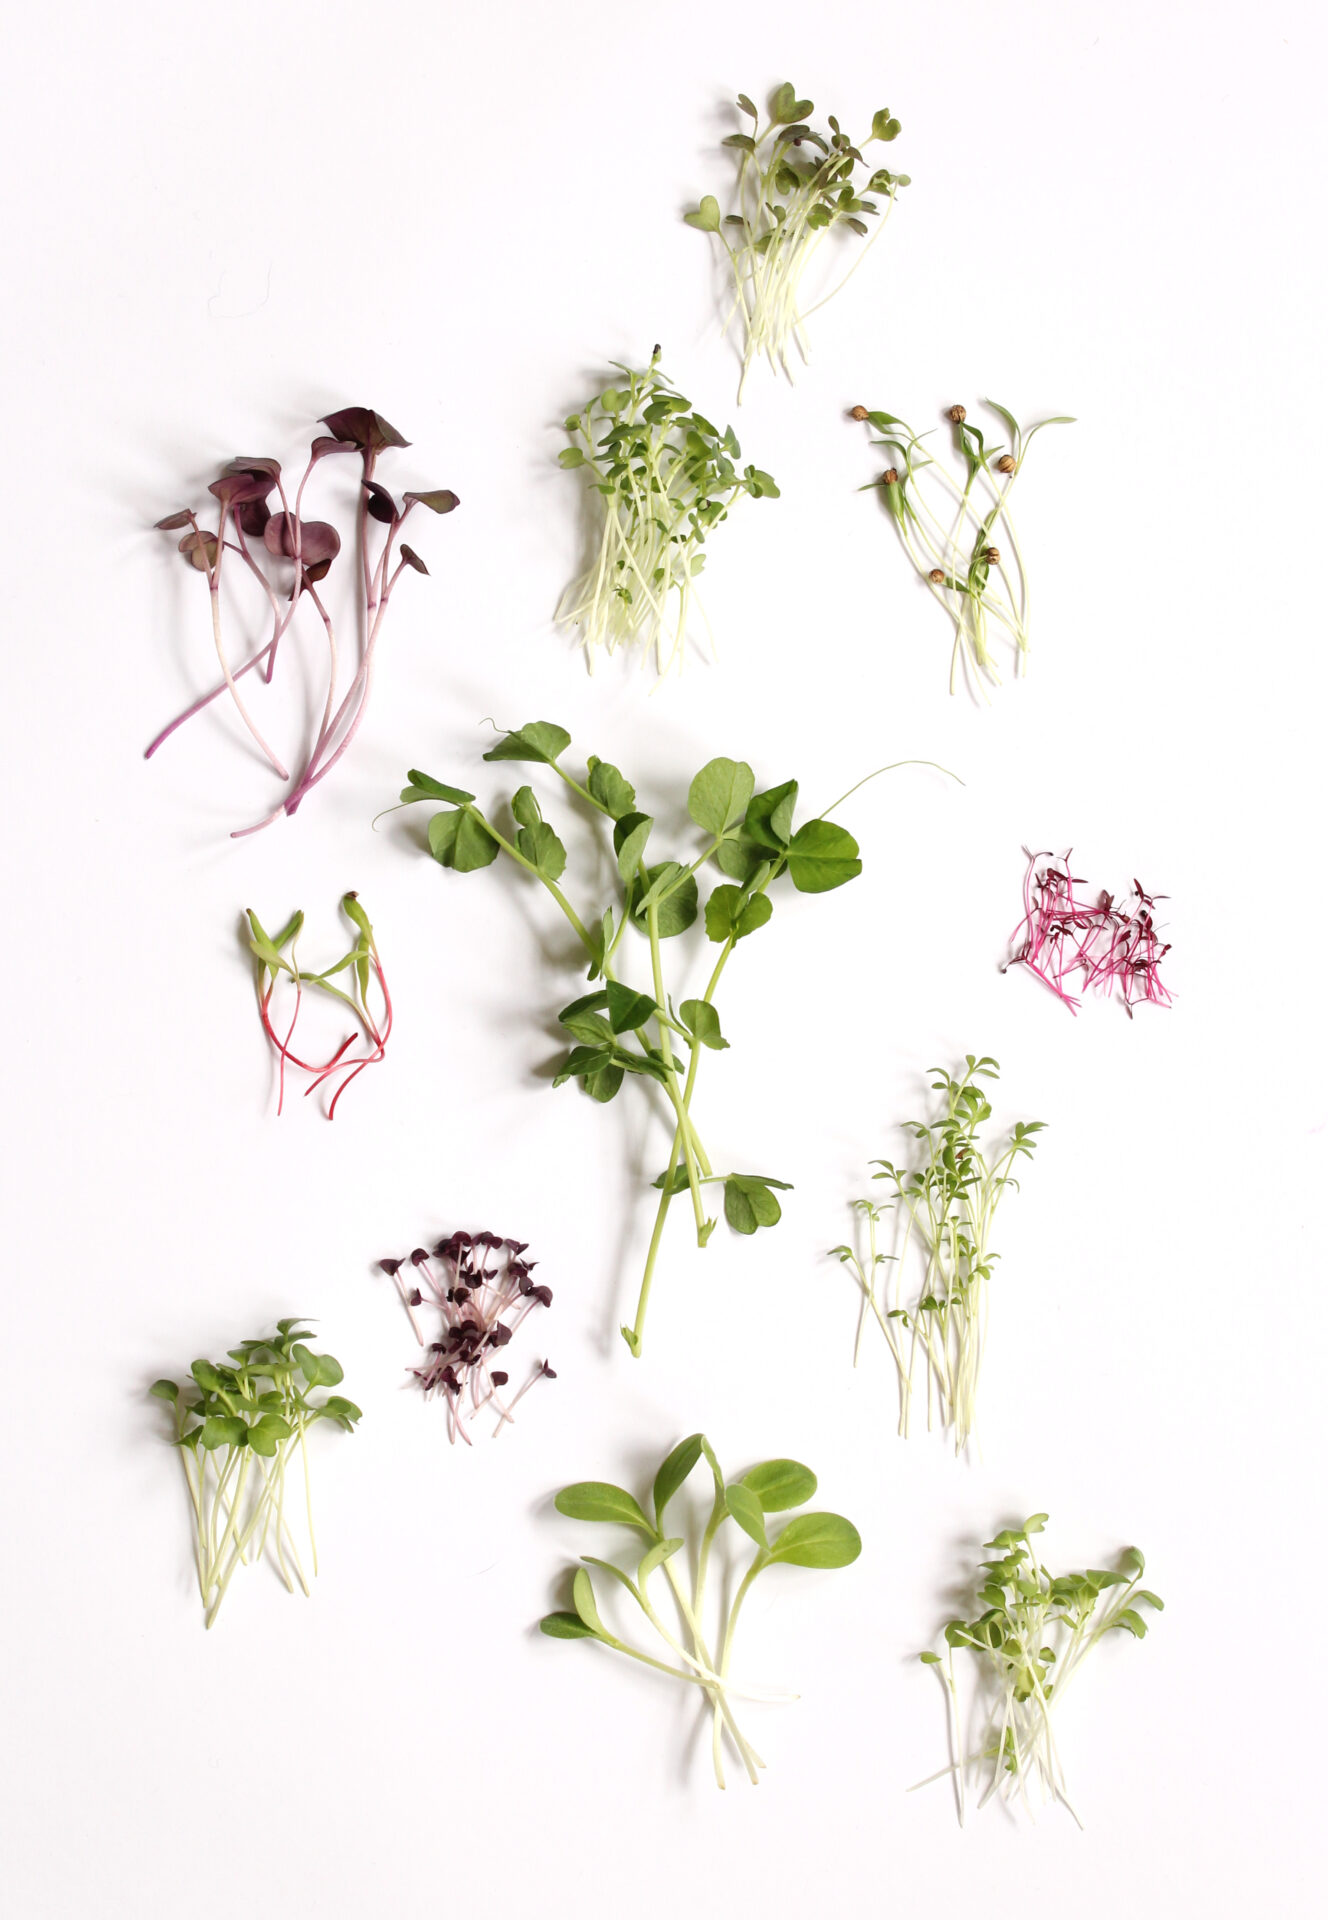
Second row, left to right: Radish, Mustard ‘Red Frills’, Coriander
Third row: Chard, Pea shoots, Amaranth
Fourth row: Curly kale, Basil, Cress
Bottom: Borage, Mizuna
Almost any edible leaf vegetable can be grown as a microgreen but personally I look for plants that have some of these qualities:
- Flavour (always essential)
- Texture (fresh crunch is good)
- Beauty (improves the look of a dish)
- Abundant seed (you’ll need a lot!)
Flavour is a given, the best microgreens have strong flavour to add taste to a dish and I particularly like basil’s flavouring, radish for kick, kale for its strong sweet taste, cress for spice in sandwiches, peas as a side salad and borage for a cucumber-tasting addition. All of these plants produce copious seed keeping it low-cost an easy to collect yourself each year, if you grow one or more plants on for this purpose.
Every microgreen tastes crisp because having grown so quickly and picked immediately, nothing is fresher. ‘Fresh’ is perhaps hard to explain but it’s usually produced by strong flavour from plants growing vigorously and full of water. Texture is important and, to me, microgreens add varying degrees of satisfying crunch too.
It’s easy to dismiss how food looks as not important, and looks certainly come second to taste, but psychologically beautiful food adds to the experience. Microgreens offer an easy way to improve the look of meals by sprinkling their fresh green on dishes, or even contrasting reds and purples of certain kale, basil, chard and amaranth.
I mention the amount of seed because microgreens are sown incredibly densely to give you masses of leaf from the tiny plants (explained further below). Because you’ll be sowing a lot and often, it makes sense to use plants that produce lots of seed to keep things affordable. And if you let some grow, flower and set seed, you can often gather enough seeds yourself from only one or two plants (stored in paper seed packets in a cool, dry and dark place).
How to sow microgreens
I’ve grown a lot of microgreens over the years in different ways and I’ve found, that for a typical household, the best way to sow them is to:
- Use small to half size seed trays
- Fill to about 1/3 with peat free compost (used compost is fine as they don’t need fertile compost)
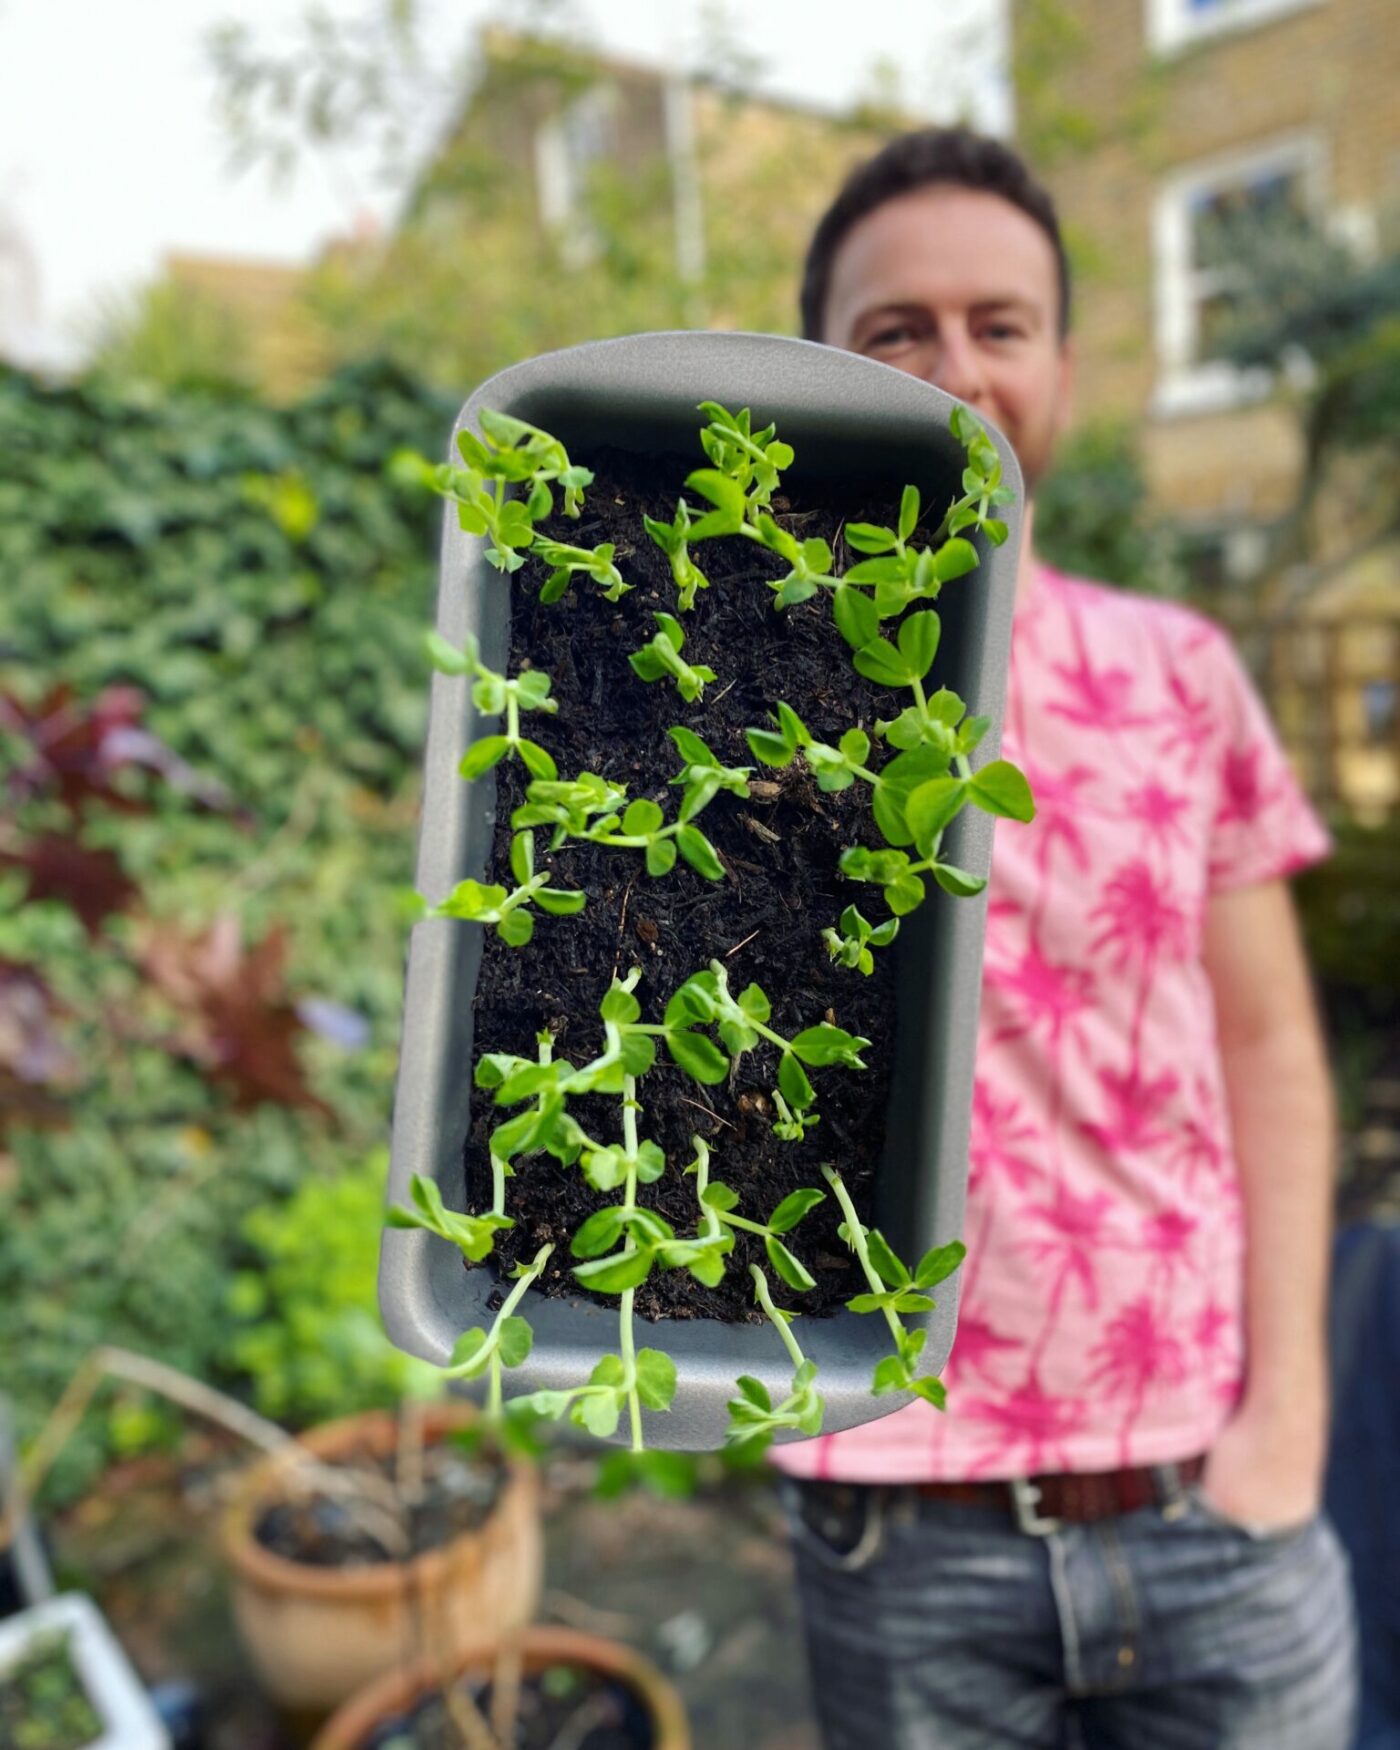
- Sprinkle seed on the surface (except peas which benefit from being covered slightly by a little more compost)
- Sow thickly to leave space between seeds but more than for normal growing (10 – 20 seeds per 3cm square)
- Water from below by sinking tray in some water and allowing it soak the water (watering above washes the seeds around)
- Place on sunny windowsill
- Keep damp but not waterlogged
- No need for fertiliser
- Plants will be ready in 3 – 4 weeks
How many microgreens to sow and how many do you need?
This is obviously subjective based on how many microgreens you want to eat and the size of your household. A family of four who live for microgreens and love noshing them every night will need to grow more than a household of two who use them occasionally through the week.
Below I’ve explained how many I grow for a household of two adults who use microgreens 3 – 4 times a week with meals:
- A small or half-size seed tray for each sowing – you can re-use a regular fruit punnet as a tray as long as it has drainage holes.
- Sow 2 – 3 varieties in the tray – sow them in different areas, I sow them across a third of the surface each i.e. the first third of the area one seed variety, the second another and so on.
- Sow pea shoots in a separate tray – these are much larger than all other microgreens.
- Repeat this every two weeks – one tray will take 2 – 4 weeks to grow, and then last us a week or two. By sowing a new batch every two weeks, you’ll have a constant stream of fresh microgreens. Increase to once a week if you find you’re not growing enough. This means you’ll have a number of trays growing at different stages constantly through the year.
Really, the best thing is to get stuck in and grow your own batches a few times to get a handle on exactly how many you need.