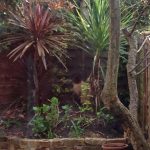
For twenty years I lived in small flats with the tiniest (and often non-existent!) outdoor spaces, from rented rooms with metre wide shared balconies to others with only space for a windowbox. Eventually, in our thirties we were able to save enough of a deposit to buy our own flat which came with a small outdoor area. Tiny but to me it was the most exciting place of all!
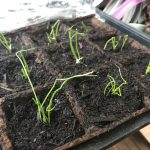
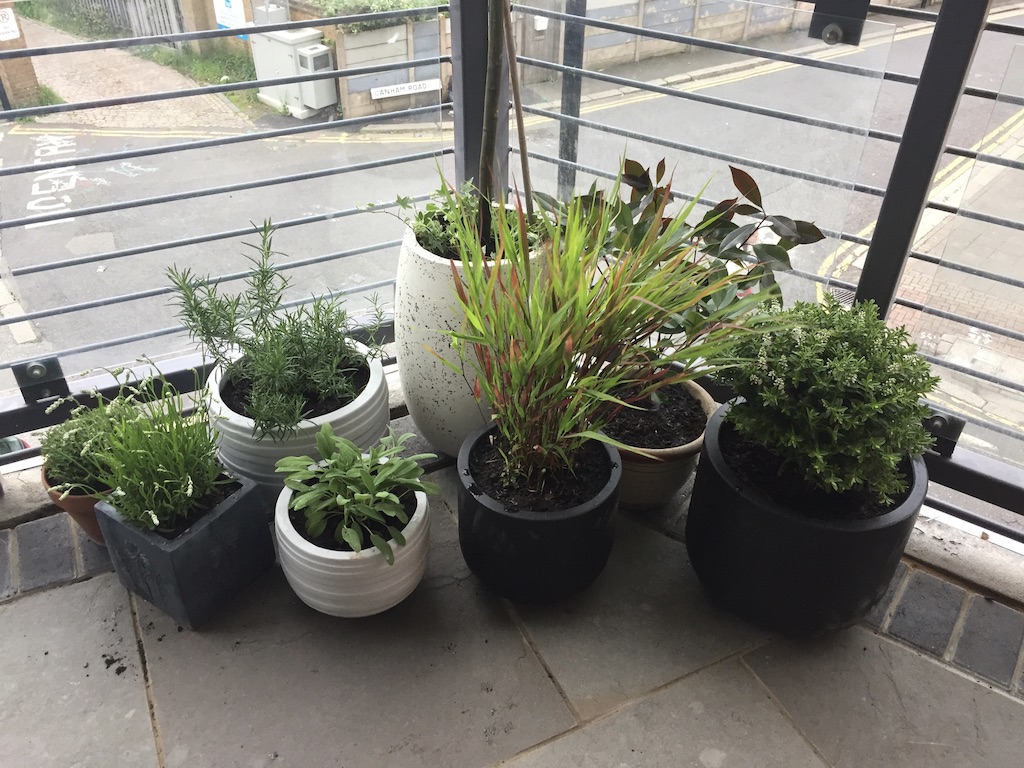
If you find yourself renting or owning a place with a small outdoor area, don’t despair at the size. We were able to work wonders with our spaces and one of my biggest regrets, was not doing more to grow plants in pots indoors and outside while I was renting in the years before we bought. So, to help people in similar situations to those we were in, I thought I’d start a new guide for you to not only get started, but to feel completely empowered to turn even the most unlikely of small spaces into something wonderful. If you literally have no outdoor space at all, hopefully some of this will still be useful as it can apply to door pots, windowboxes and even community spaces. It’s about thinking creatively!
On this page I will help you become more familiar with your space. Park those thoughts of what you’d like your space to be for now. First it’s important to put all of that exciting stuff to one side and to start becoming much more intimate with your space. To fully understand what it is, its limitations and its opportunities.
1) Go outside and look
The first thing I do when looking at small gardens is to go outside and look. To really look in more detail and in ways you might not have before. Become familiar with the space’s feel before you start doing any measuring or more detailed analysis. Sit down with a cuppa and do the following:
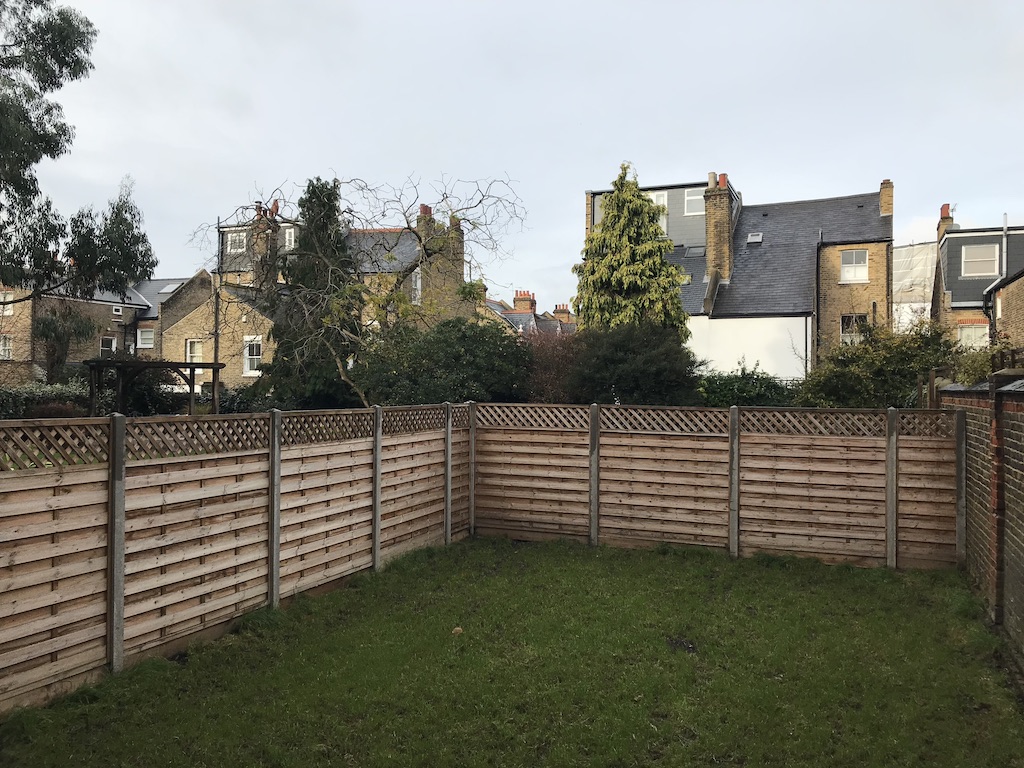
- Look at the boundaries: where and what are they? Are they staying or can they be changed?
- How big is your space? You’ll measure it properly in the next stage but right now, how big exactly is it compared to say, you, a chair, a doorway. Think about it in proportion to other things to start to memorise the area to refer back to in your mind quickly later. Knowing measurements is important of course, but it’s hard to imagine what two metres looks like, for instance. While remembering it has space for two people to lie down head to toe makes it easier to visualise.
- How tall are the boundaries? Are they wooden fences? Do you have a large wall you could use? In small spaces, often walls are the biggest growing areas when you factor in climbing plants.
- What is beyond the boundary? Can you see over the fences or walls? Are there key views or landmarks visible from your space that you can treat as a visual feature for people to look at?
- Do you want more privacy? We found privacy was a myth in our city garden, unless we enclosed it in a box we had about twenty flats looking onto it from all directions. You just grow used to it. But if you do want some privacy, is there a certain direction that’s important to try and screen?
- What can you hear? There isn’t much you can do about sounds really, despite people saying you can mask road traffic with a fountain, that isn’t really true. Unless you have a bloomin’ loud fountain! But again, it helps to memorise the space for later.
2) Let’s measure
The next step is to get the tape measure out, there are laser measures these days which make this much easier, but a tape measure will usually do.
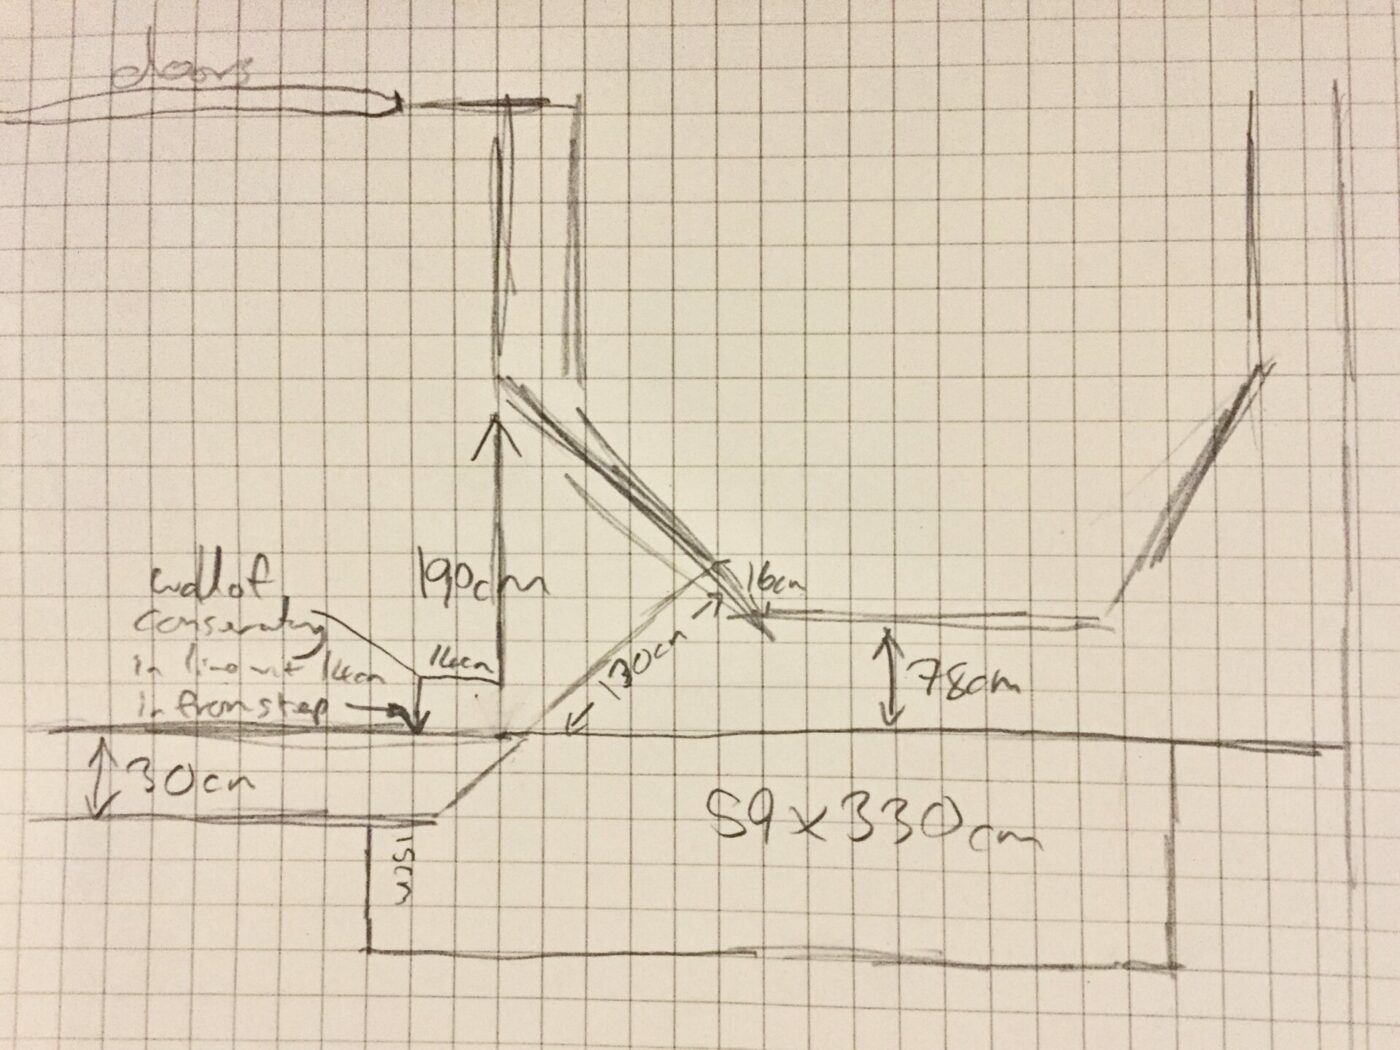
- Measure the building: you need a solid starting point, so start by measuring the part of your home that is in the outdoor space you have. Buildings are usually square making them easy to measure. Include the width and positions of doors and windows.
- Measure the outside boundary: go around measuring the size of the outside of the garden. In cities this is often fairly rectangular, though you may need to clamber through some plants or over sheds! Don’t do anything dangerous, just enough to get a rough size of the plot.
- Triangulate: if you think your garden might be a funny angle, a top tip is to measure triangles. For instance, measure from a corner of the building, to a corner of garden, to another object like another corner or tree. Then repeat this from a different corner of the building or garden. This gives you distances to reference, which will help you really nail the outline of the garden.
- Add permanent structures: such as sheds or patios that are staying. But only include them if they are definitely staying!
- Upwards: it’s worth making a note of some key vertical measurements too, such as heights of walls and fences, steps and the height of windows from the ground (in case you want to plant beneath them).
3) What are the conditions?
One of the most important things for you but especially for plants and wildlife is to understand the conditions.
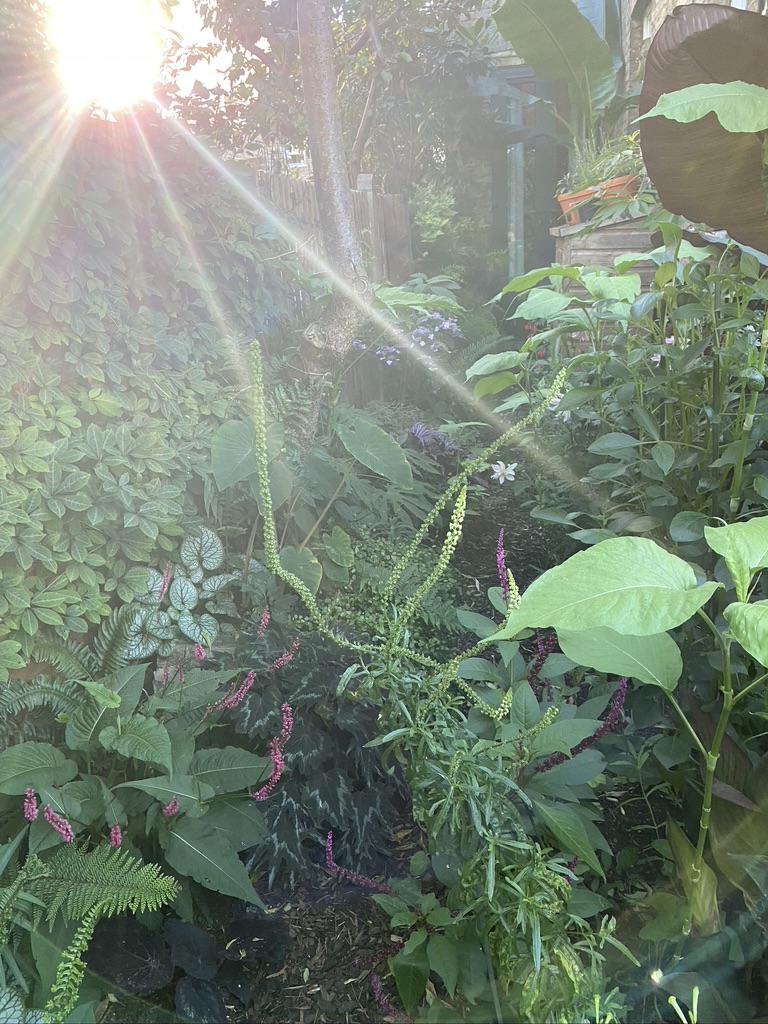
- Sun or shade: the term ‘aspect’ means the direction a garden faces in relation to the wall you exit out of. In reality, all gardens face in all directions depending on where you are standing. But it is an important consideration because a north facing balcony is unlikely to receive any direct sunlight at all. This is an opportunity for shade loving plants, if not for sun loving humans. Either way you need to understand what your plot is. In our old London garden the aspect was North-East facing but we were end terrace, so we still benefited from a lot of south facing sun from the side in the backgarden during the morning. Then it moved round the side to the West facing front of the flat. So you could say our small garden was part-shade all day with a reasonable amount of direct sunlight. I’ll come back to light in future guides.
- Soil: how much soil is there? Is the whole plot soil or is there none at all because you’re on a tenth floor balcony? If you have some soil, have a dig to see how deep it is and what it’s made from. There is no bad soil but you have to understand what it is. Clay is small particled and water retentive but dries solid contracting in warm weather. Sand is large particled and very free draining. Loam is a mix of middle sized partles, clay and loam. All will have organic matter from dead plant material (aka compost).
- Water: do you live in a wet or dry part of the world? In the summer does the soil dry out? This will be useful for later.
- Exposure: are you in a wind tunnel? Is the gardened sheltered from rain by buildings? Do trees block light in summer?
4) Draw
There are lots of apps and programmes you can use to draw out your measurements on a computer, which I’d recommend. A simple iPad drawing app will do. Or you could trying using something like Google Docs of Word. A gridded piece of paper is also great for a quick sketch. Which is all you need to start with.
Draw out your measurements as neatly as you can making sure to related a metre to a measurement on the plan. This could be 1m is equal to 1cm on the paper, or 1m in real life could be represented by 2cm on the paper, if you want to zoom in a bit. Or if using gridded paper, a square could represent a metre and so on. It depends how big your garden is. Note down the measurements on the drawing.
Mark on the conditions too. The aspect and where and when sun directly hits certain areas, if at all.
Keep this drawing safe, take a photo of it so you always have it with you and can look at it on the go.