I’m really excited because we’ve been given one of Premiere Polytunnels premiere range products and I thought I’d talk you through its features ahead of a busy and hopefully productive growing season. I’ve been looking forward to trialing this after Premiere Polytunnels came recommended to me by a number of fellow professionals. All photos by Christopher Lyon Anderson.
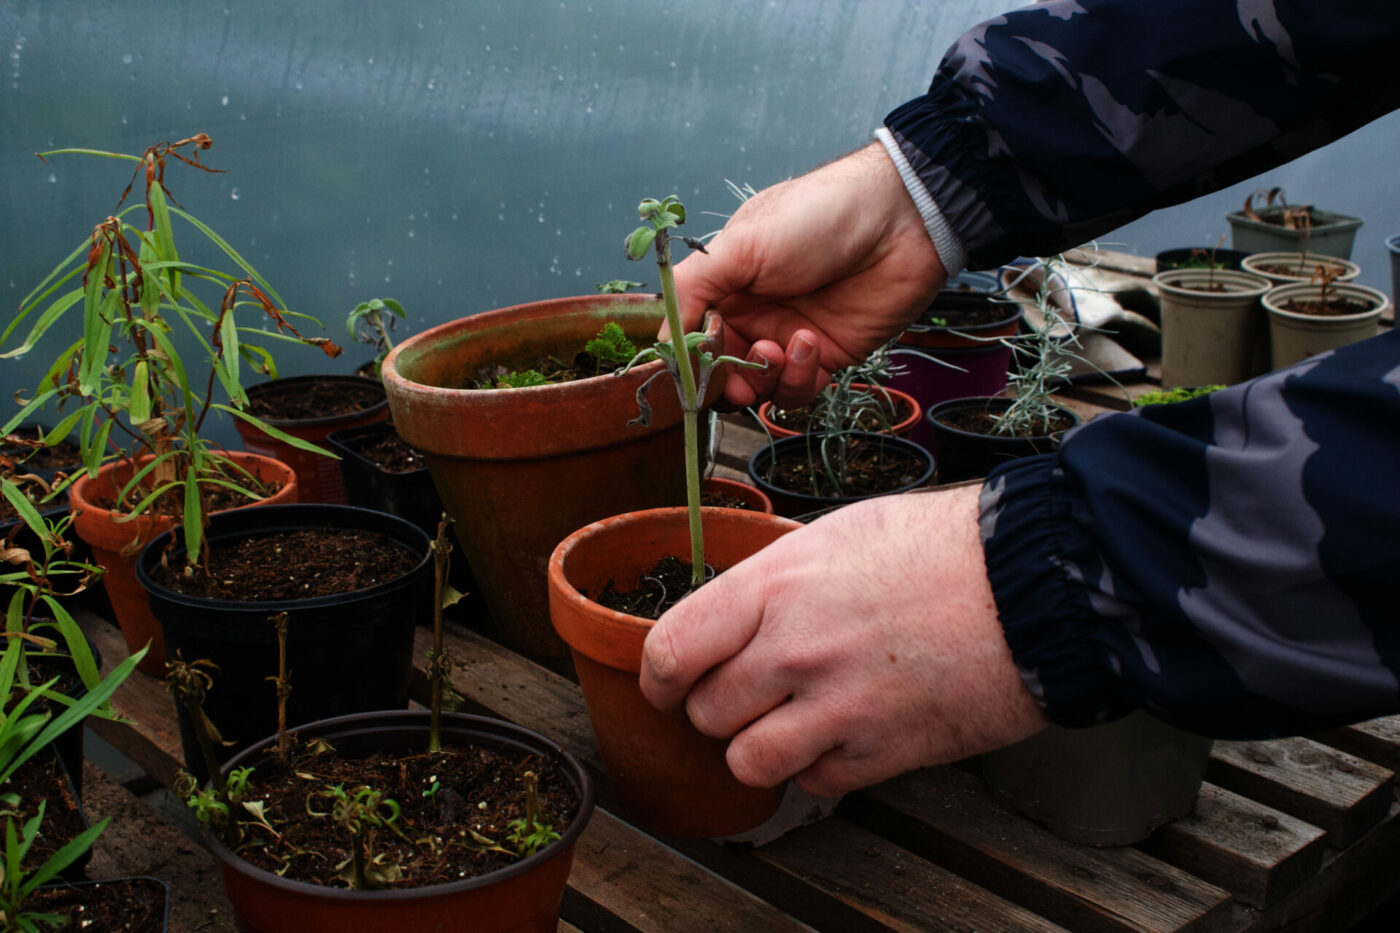
If you have space, a polytunnel or greenhouse is essential for growing your own vegetable crops, for propagation and protecting crops like tomatoes, chilli, pepper and aubergine in summer, and hardy salads crops in winter. As well as starting seedlings of crops for outside (though in London I managed very well on a single windowsill!) People often ask me the difference between a polytunnel and greenhouse and in terms of growing, there isn’t a great deal of difference. Unheated they are both used for the same purpose, though I see polytunnels as more functional.
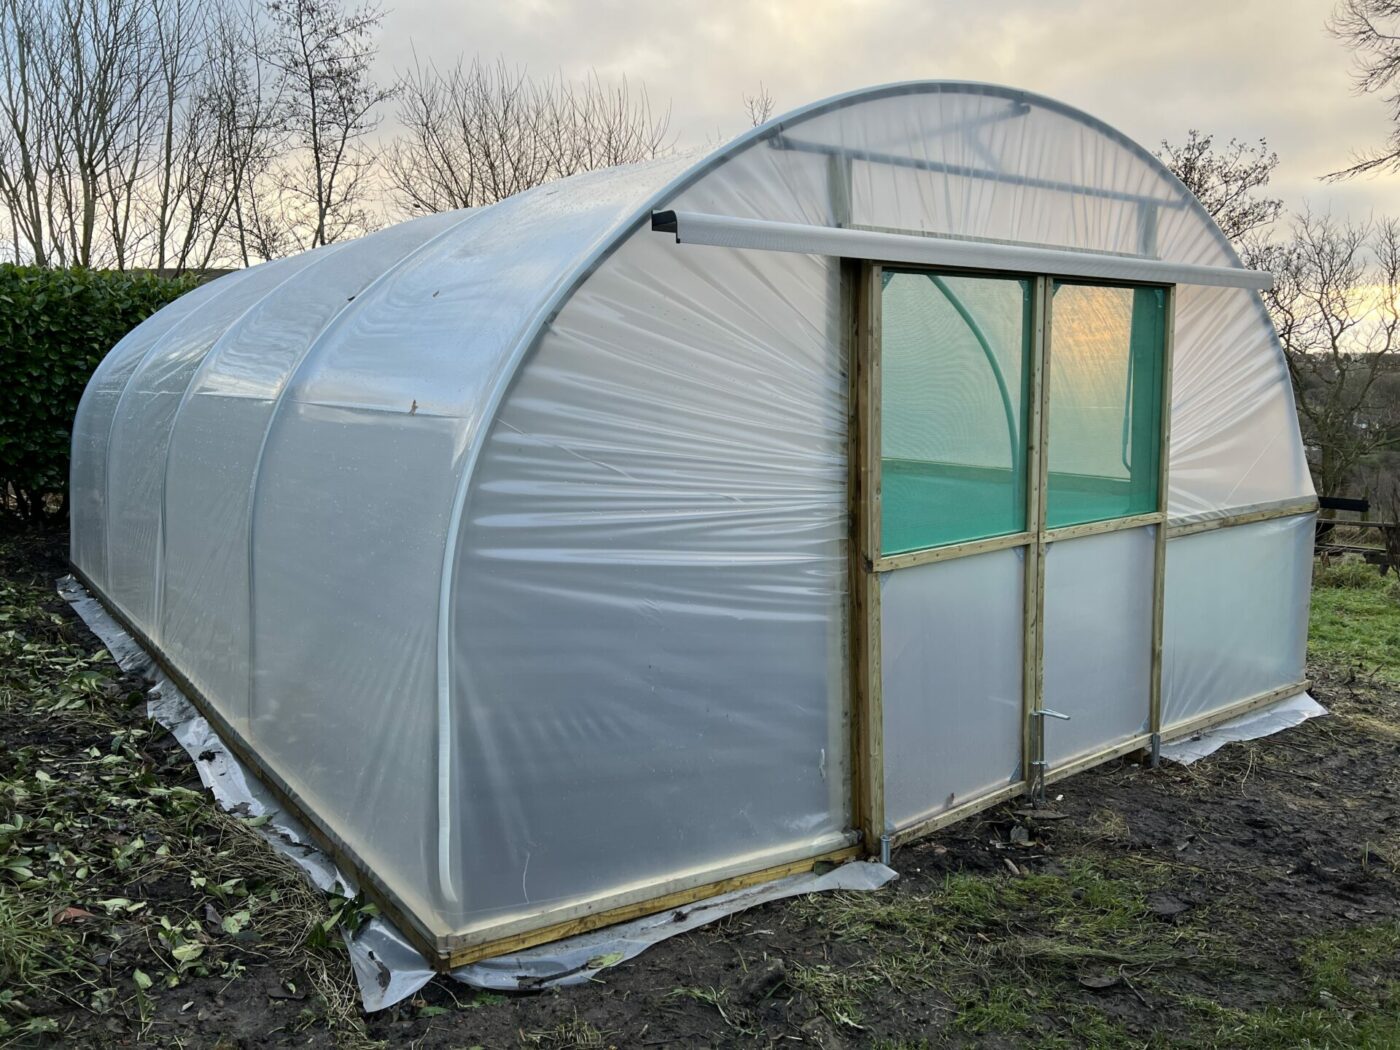
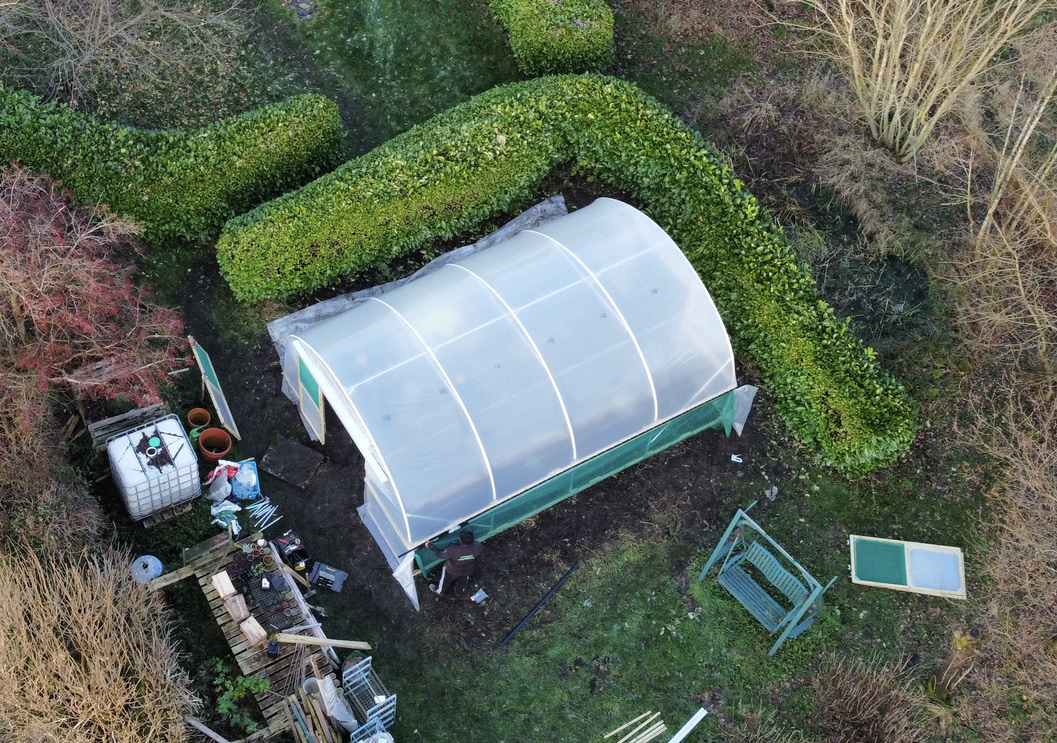
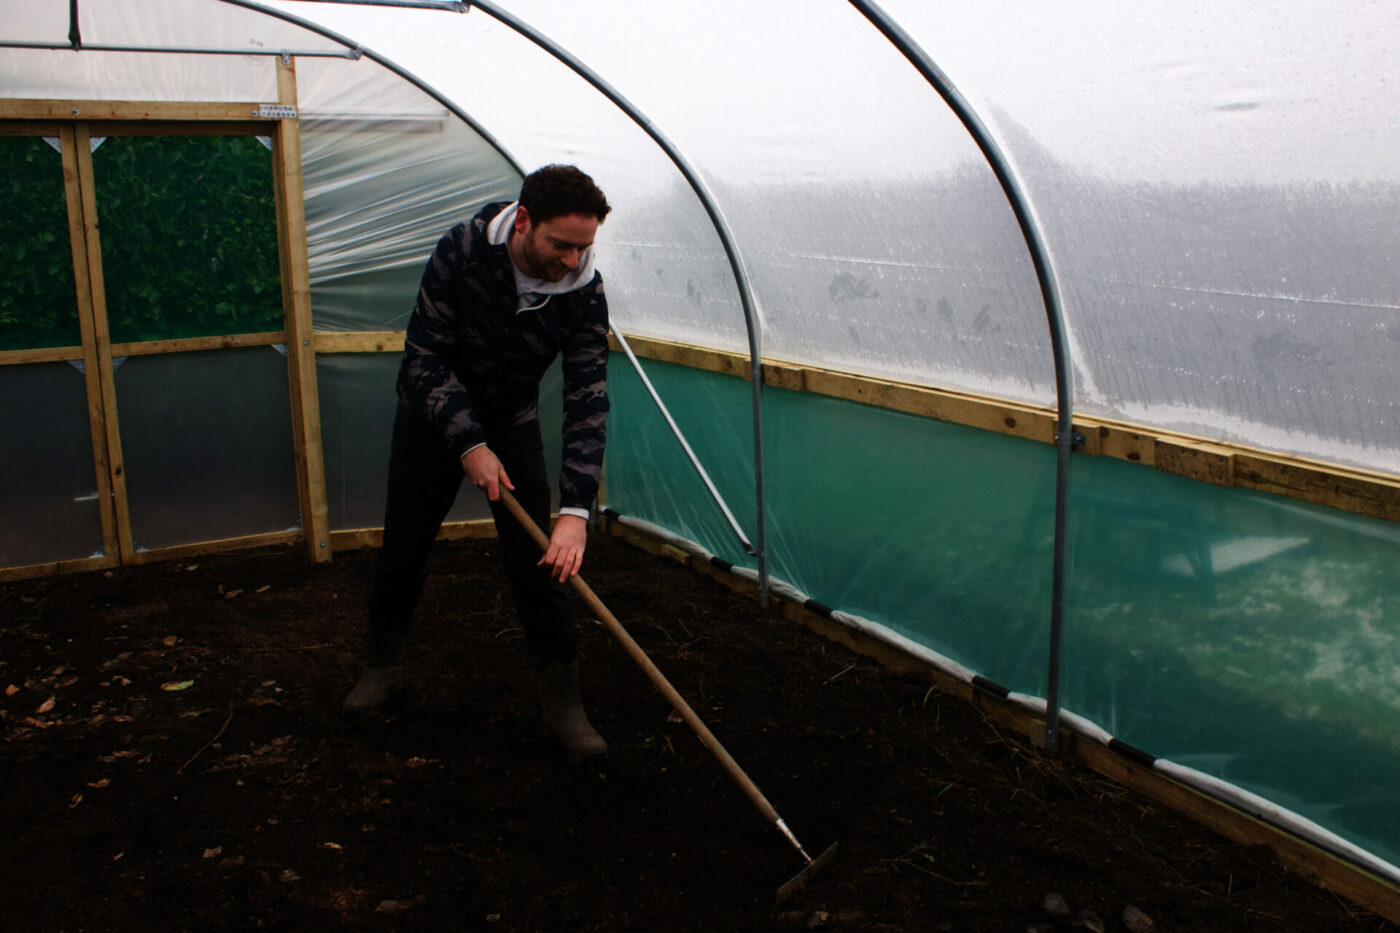
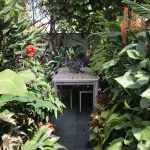
Our garden had an old polytunnel in this spot that had weathered many seasons over the decades but elements were wearing out and there were some features I wanted, so we gave it away to be replaced with this new one. At 4.25m wide x 6m long, it’s the same length as before but has straight sides up to 90cm, creating more head room closer to the sides, giving more growing space inside than before.
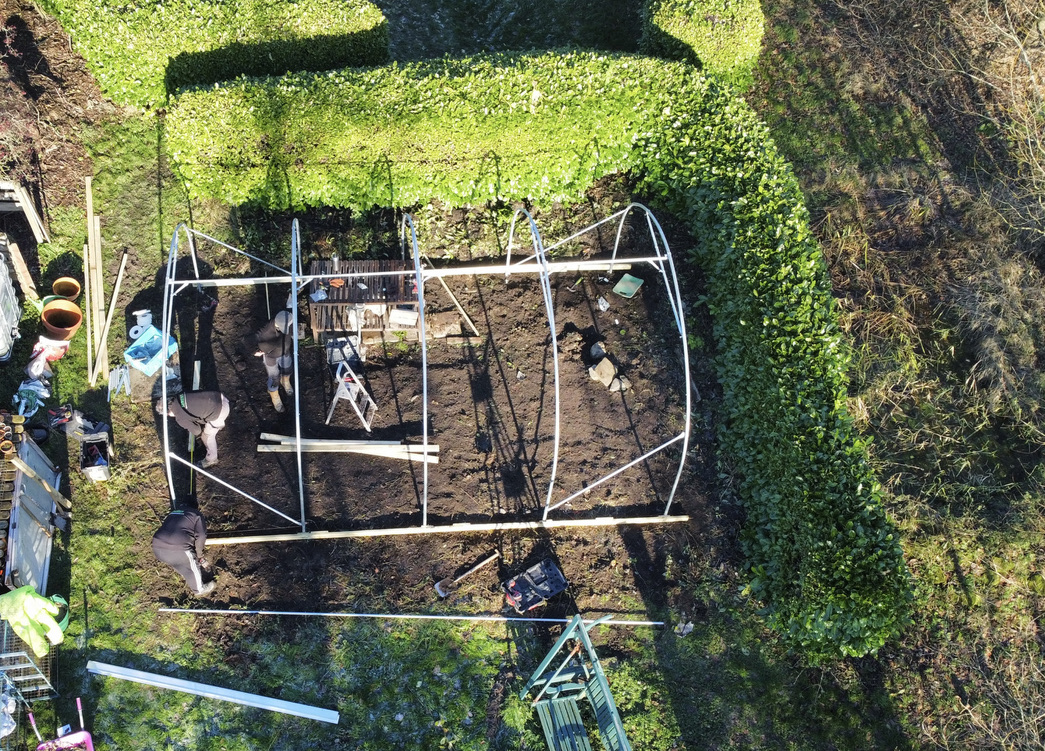
I have to say a special thank you to the team at Premiere Polytunnels who constructed our new tunnel for us. It took the team the best part of a short winter’s day to build in what looks sunny but I can assure you were freezing conditions! They were very professional, friendly and quick to put up the polytunnel. I took down the old polytunnel but on the day was happy to let the professionals optimise everything, particularly the cover. Instead I was on hand with tea and coffee.
A 38mm diameter (grade Z35) high tensile galvanised steel framework gives the polytunnel its core strength, essential in our exposed position hammered by wind and storms. The framework includes steel foundation tubes, hoops, corner stabilisers, ridge, and door rails. Each leg has a horizontal steel anchor plate that is buried into the soil giving its solid stability, anchoring it against strong winds. It’s already shrugged off a couple of storms.
The main hoops are spaced every 1.5 metres for additional roof strength and from a growers perspective, this allows for a good number of Premiere Polytunnels crop bars. Crop bars are the horizontal beams to support the weight of climbing tomato vines and other crops.
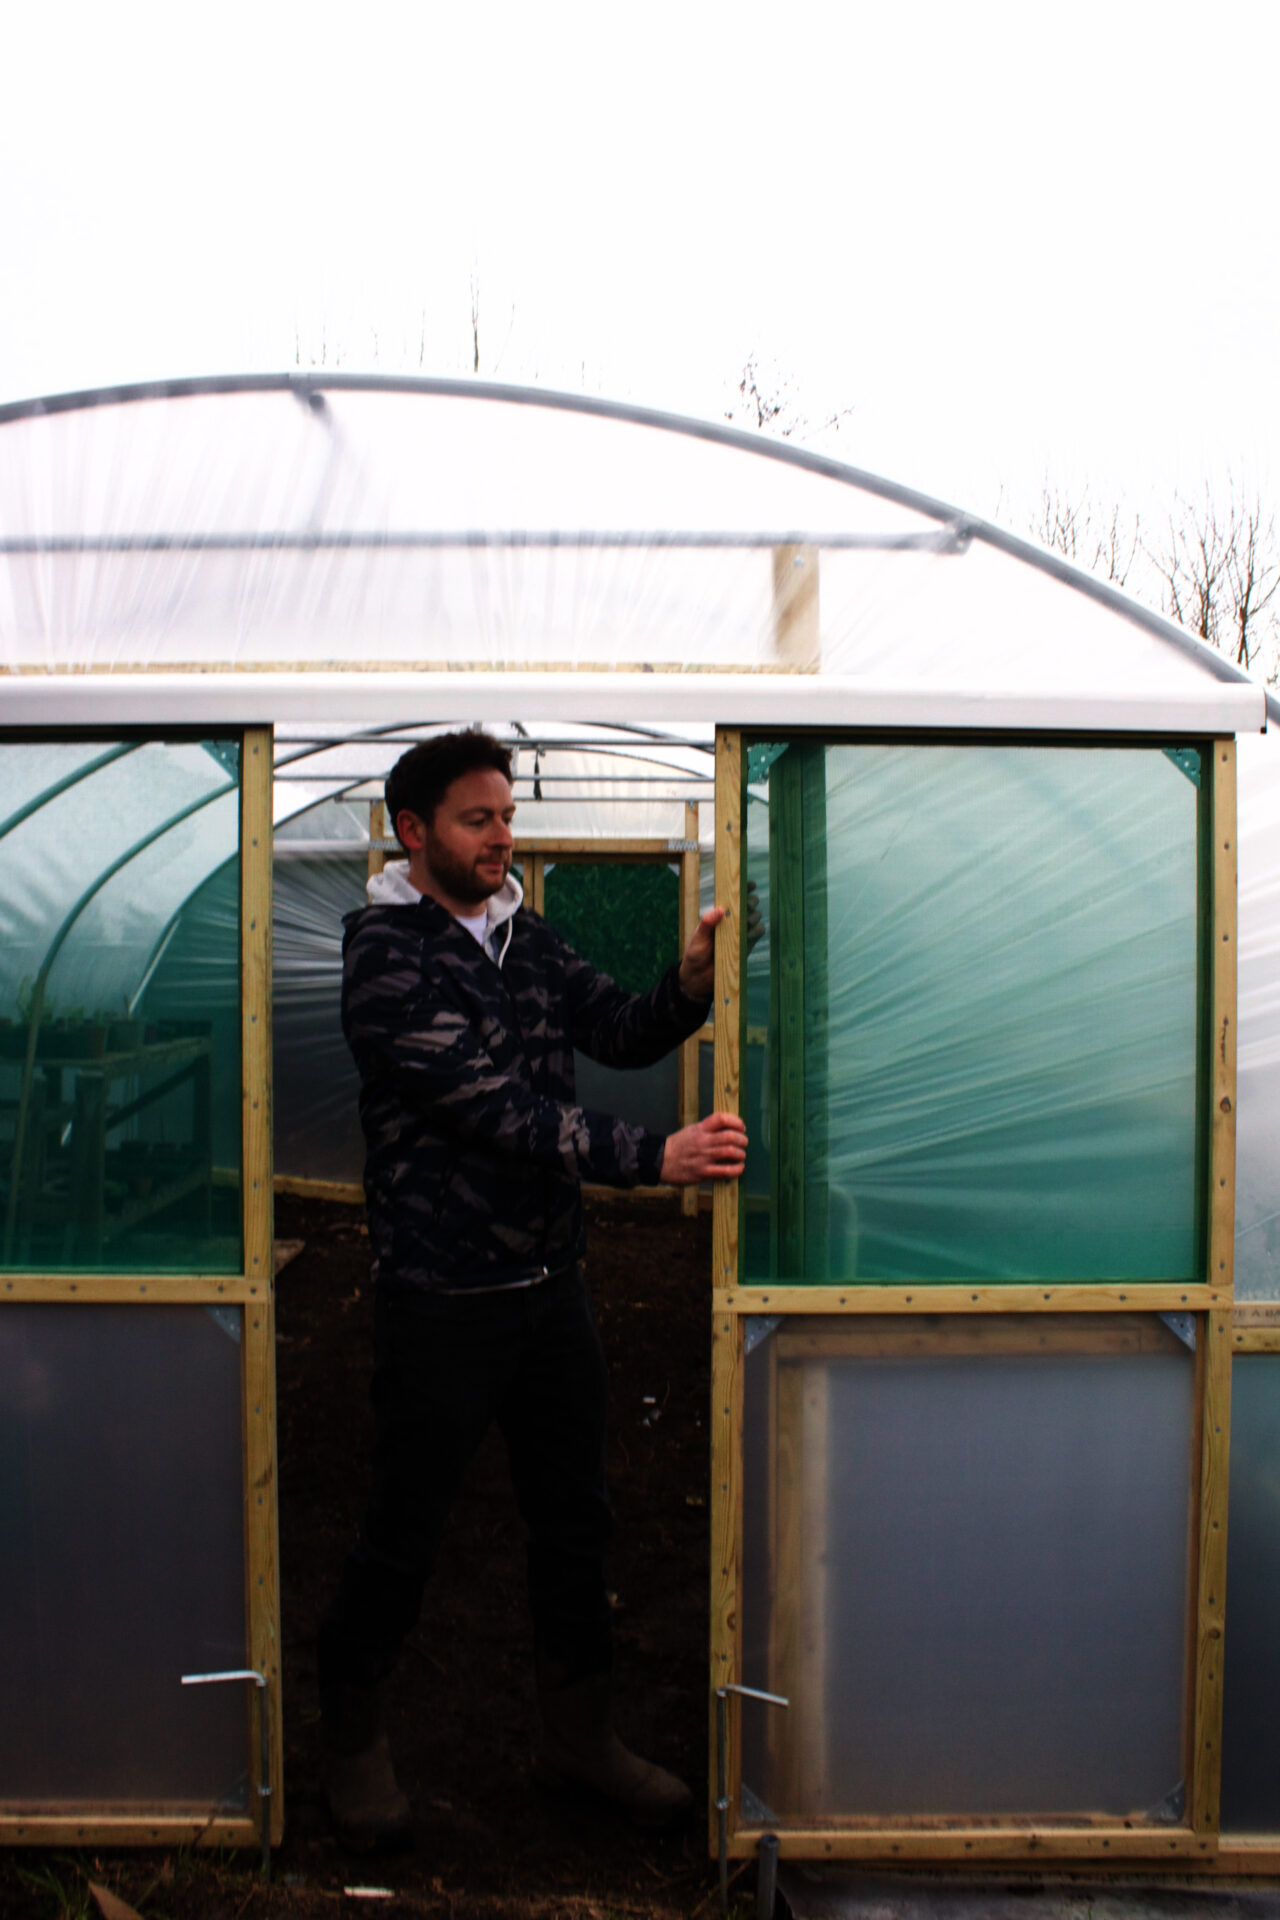
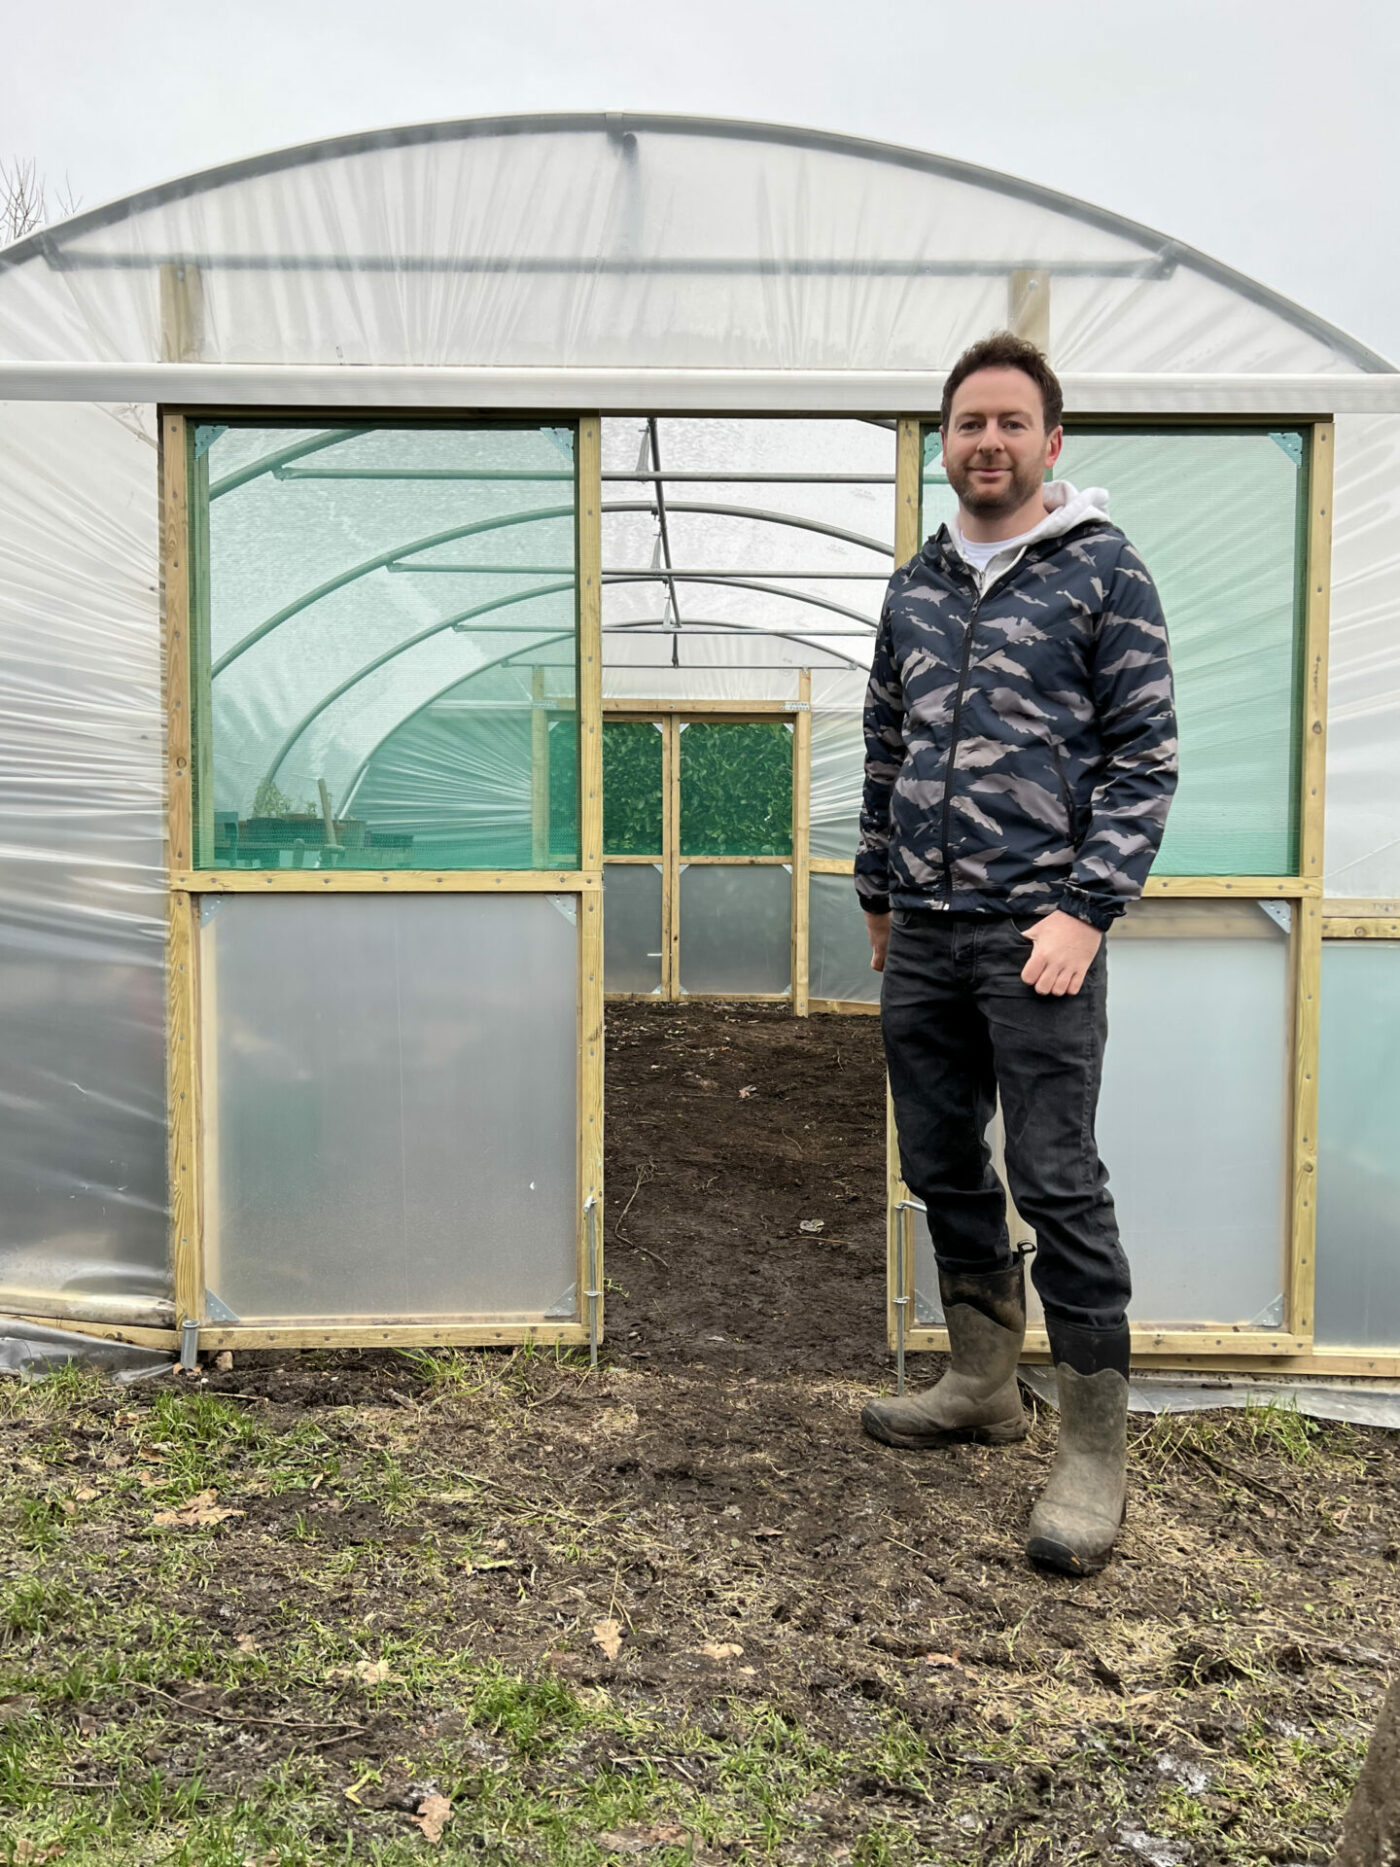
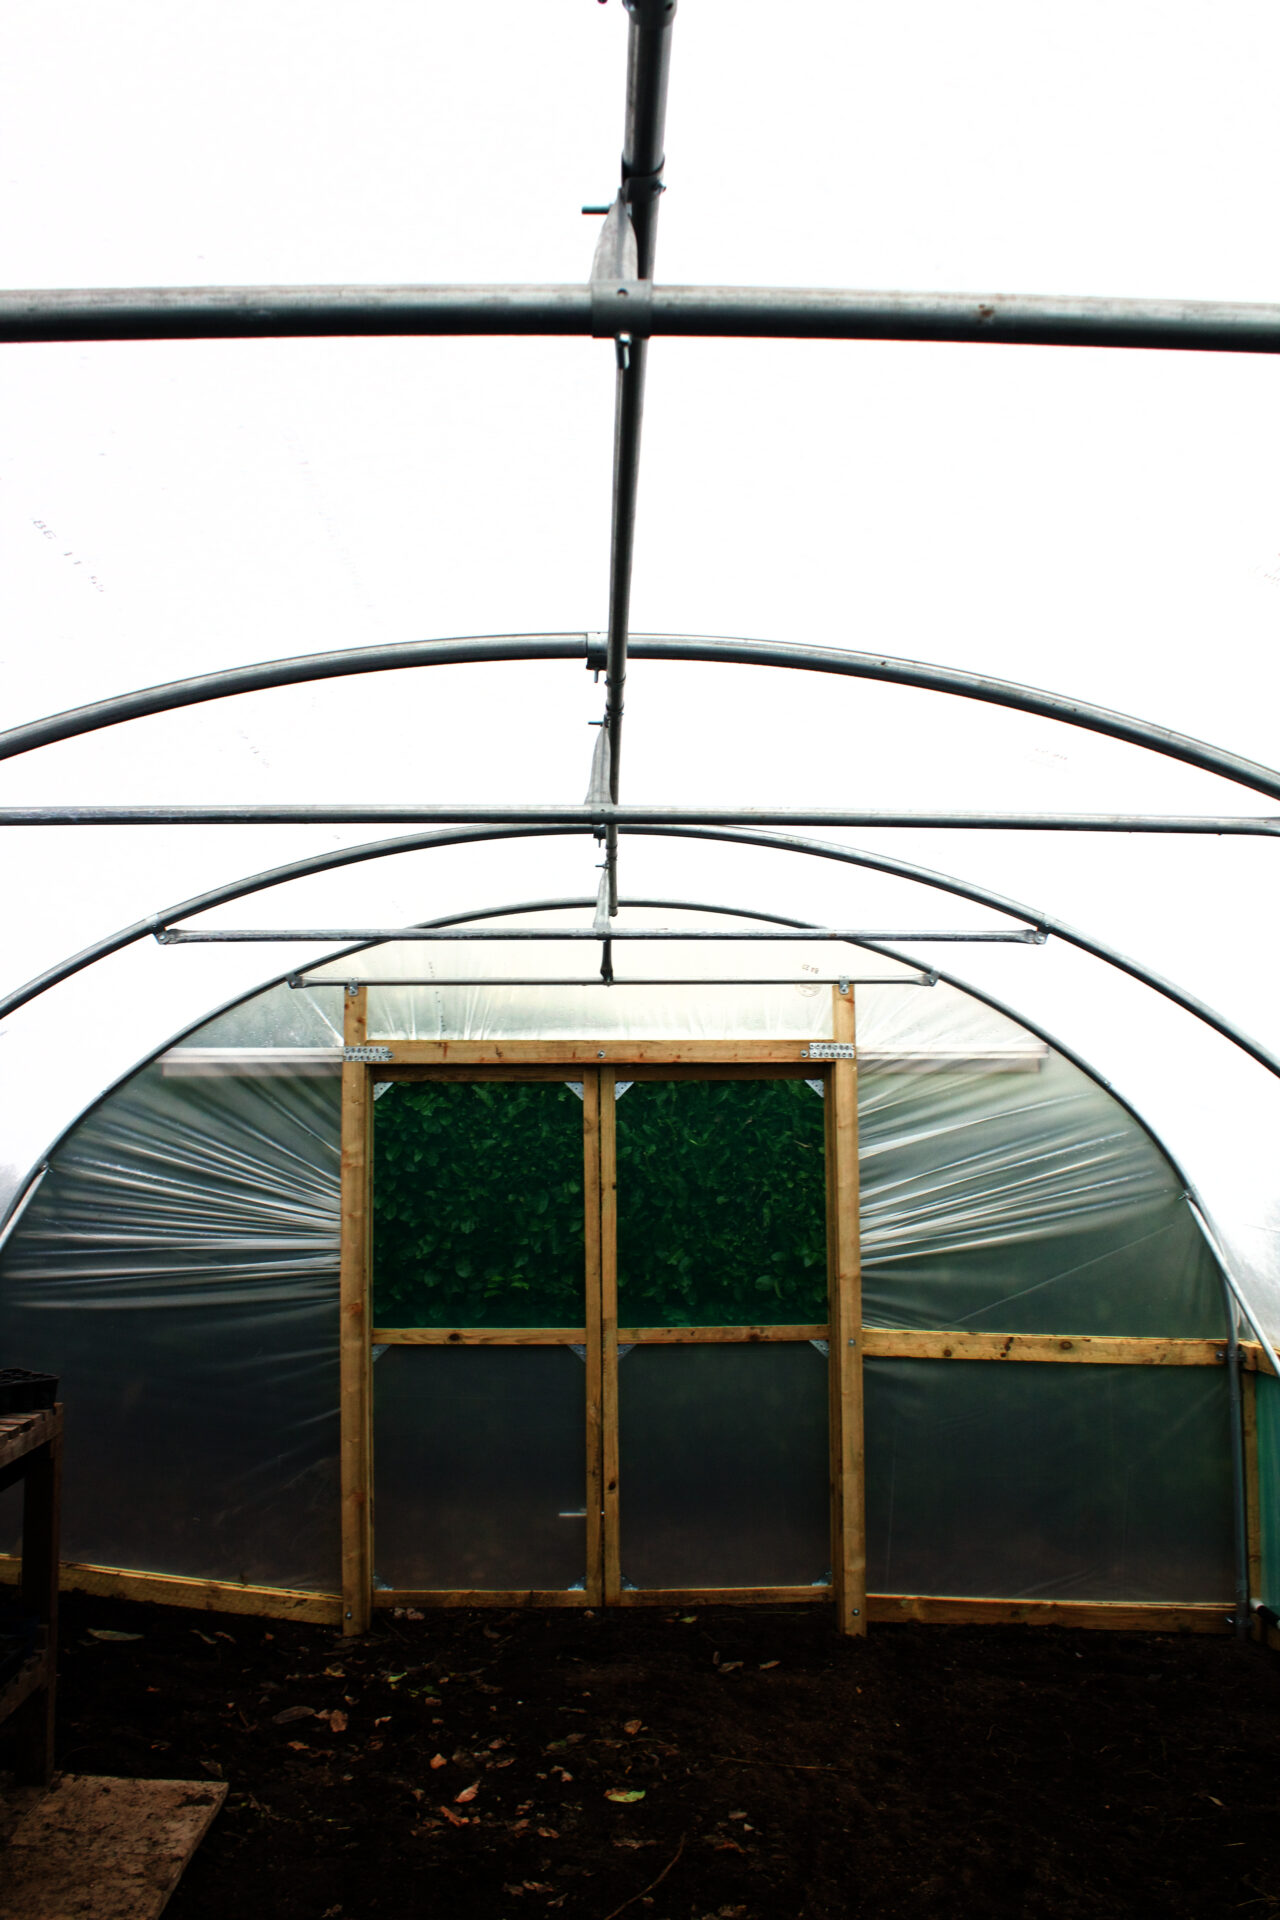
At both ends I asked for double timber sliding doors for easy access with a wheelbarrow but primarily for extra ventilation during blazing hot summers. Sliding doors are great space savers over those that swing, which is useful around crops and growing areas. The doors have netting on their top halves for air flow.
The diffused polythene cover is recyclable and is 720 gauge/180 micron, 5-layer, with thermal anti drip and a 5-year warranty against UV degradation. Essentially, this means it’s tough, good quality and will last for at least five years before needing to be recycled and replaced. Ultra violet radiation from the sun degrades plastics over time, including polytunnel covers.
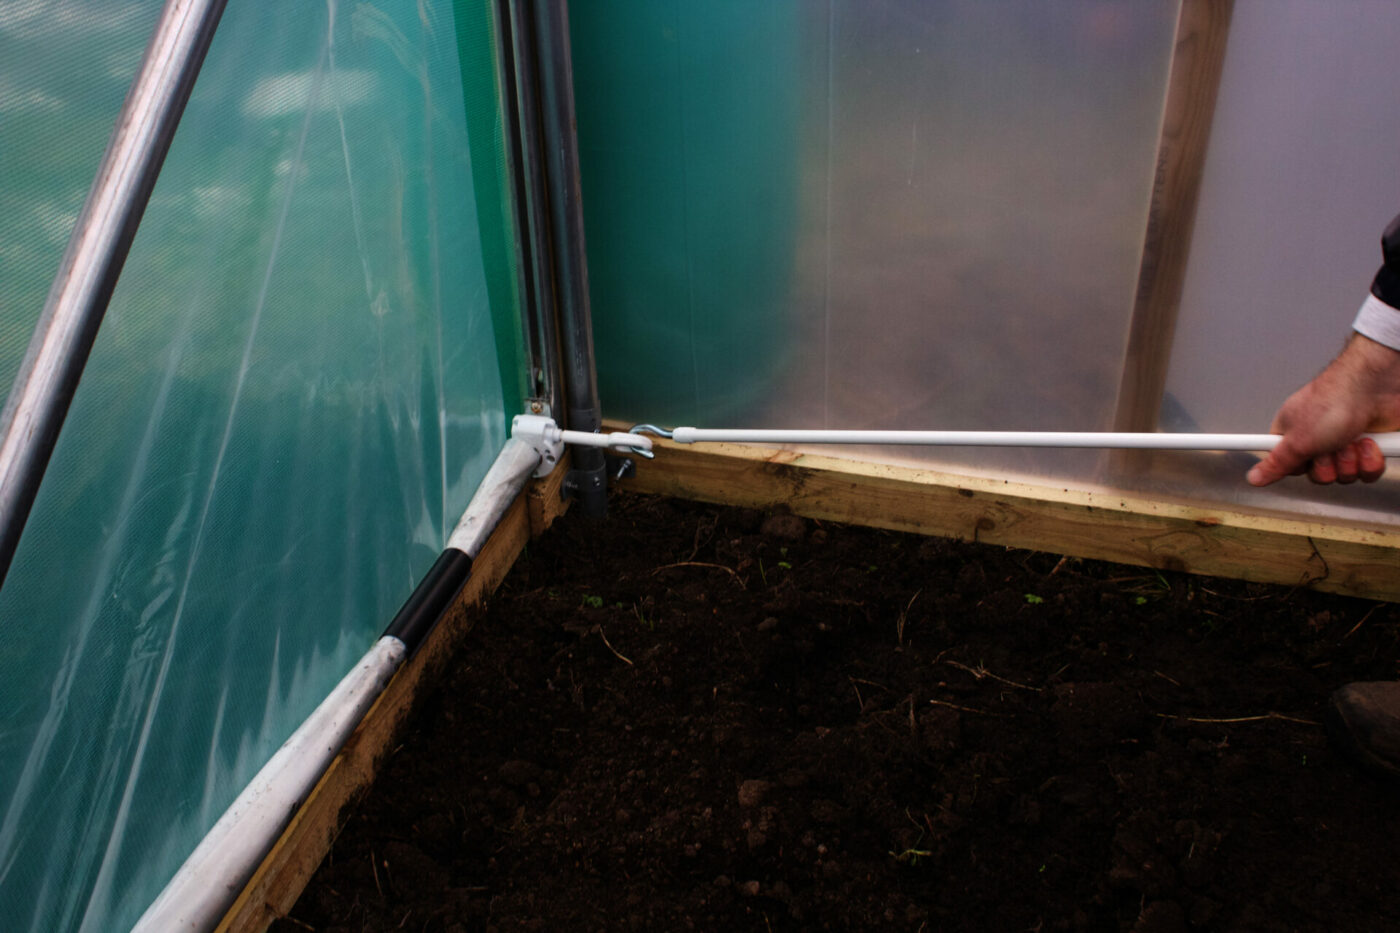
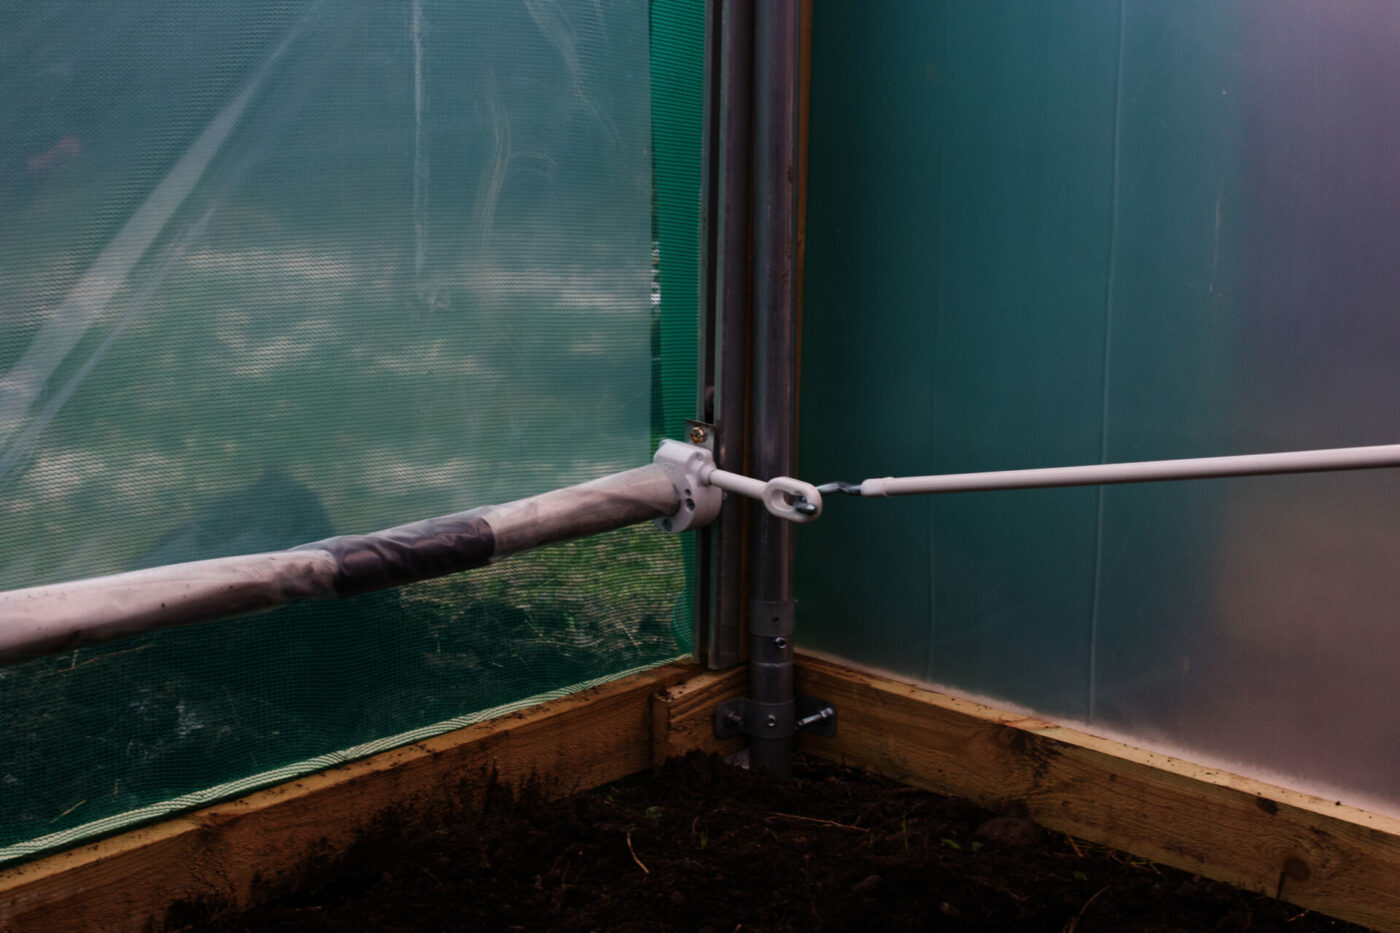
Down the right hand side of the polytunnel are a couple of the snazzier features including a timber side rail kit with ventilation netting. This comes with a ventilation screen that can be rolled up and down as needed to close of the ventilation netting. Which is going to be brilliant in summer time for extra ventilation to reduce heat and increase air flow, reducing fungal issues.
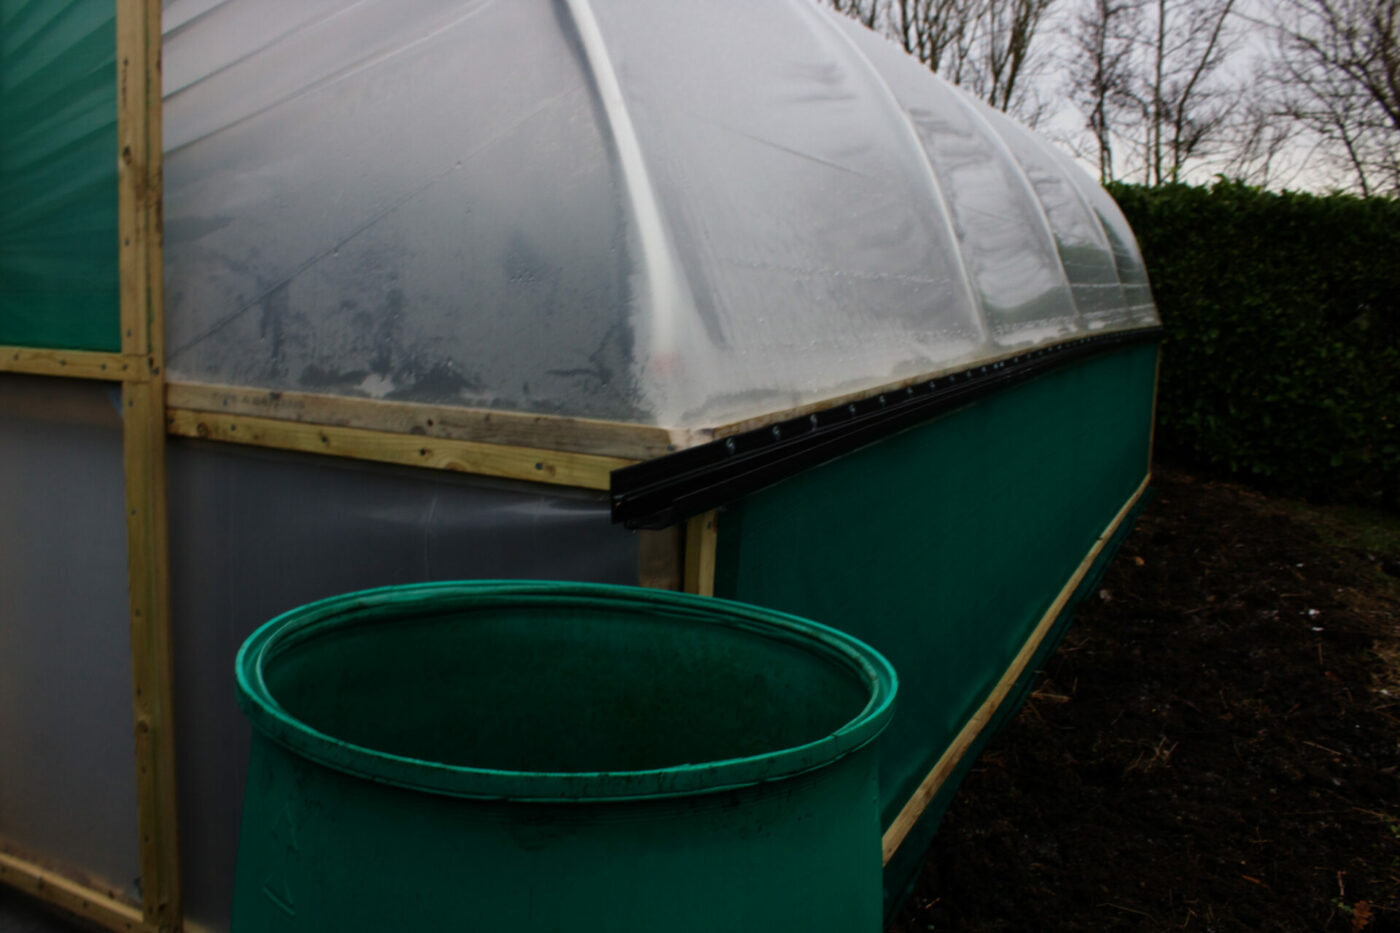
We’re also excited about the polytunnel gutter, which we’ll use to harvest rainwater from the roof. This works as you’d expect, with rain water running down the gutter into a collection tank. I plan to either add one much larger tank here or have a number of smaller ones side by side. In summer you can never have enough water for a polytunnel! We aren’t on mains water, our water comes from a stream, making this kind of water system essential.
Thank you to Premiere Polytunnels for giving us this polytunnel to trial. Come back to see how we get on with it through spring and summer!


Our group is located in North of Ireland, do you supply polytunnel in our area, we are in Co armagh
How much to have it built,I’ve bought 2 polytunnels in 2 years and the wind wrecks them. Now I’m gonna buy another 1,cheers
I to would like to know how much poly tunnel would cost and to b have erected thank you .
Hiya Susan, pls ask the Premiere Polytunnel company direct through their website, the costs vary depending on the size, location etc and they can answer directly.
Jack