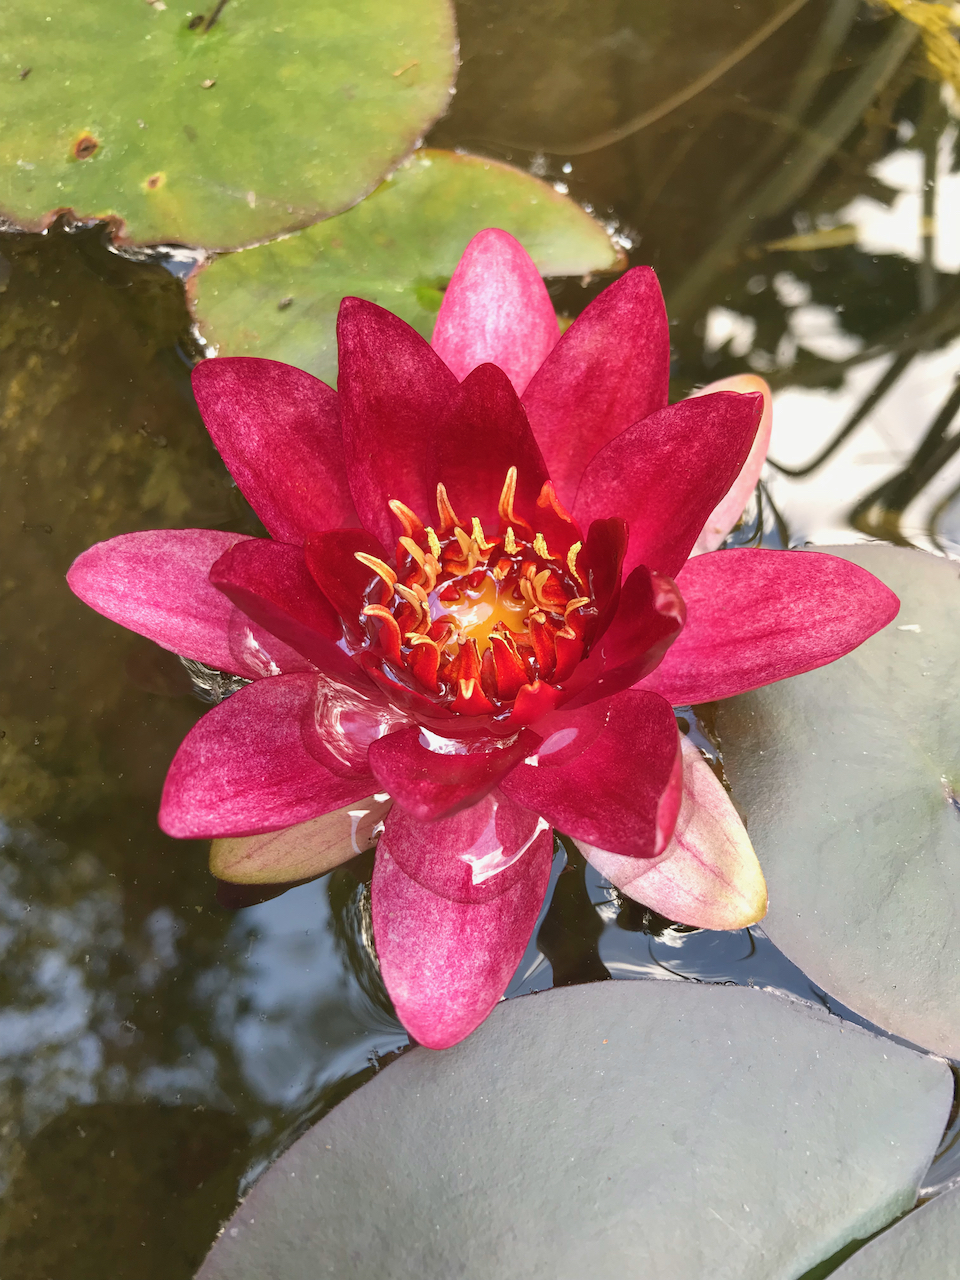
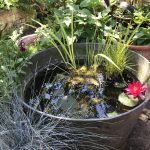
Not everyone has a miniature water lily but they really should! Easy to grow in any still water at a depth of about 30 – 40cm from the top of the plant’s growing points (the crowns). I’ve owned our water lily for five years, growing in a micro pond in a wash tub which you can read about here.
Although small, miniature water lilies are vigorous plants, just like their larger relatives, and after a few years you may find the plants have out grown their baskets. Pond plants are generally grown in aquatic baskets, which are essentially pots with lots of gaps for water to flow through but to hold the plant’s growing medium (soil / compost) in place.
If yours has out grown the basket, as ours had, it’s time to lift and divide. Which is best done in spring when weather is warming, longer days have arrived and you can see that the plant has started growing again after winter. You can see this as the pads start growing up to the water surface.
Step one: lift your water lily out of the pond and give it a good going over
If you can, carefully lift your miniature water lily out of its basket, removing any loose soil around its roots. You’ll likely find that the roots have grown through the basket, as my water lily had, in which case there’s nothing for it but to be brutal. You can try pulling the roots through the basket, more likely you’ll have to cut them off, which is fine.
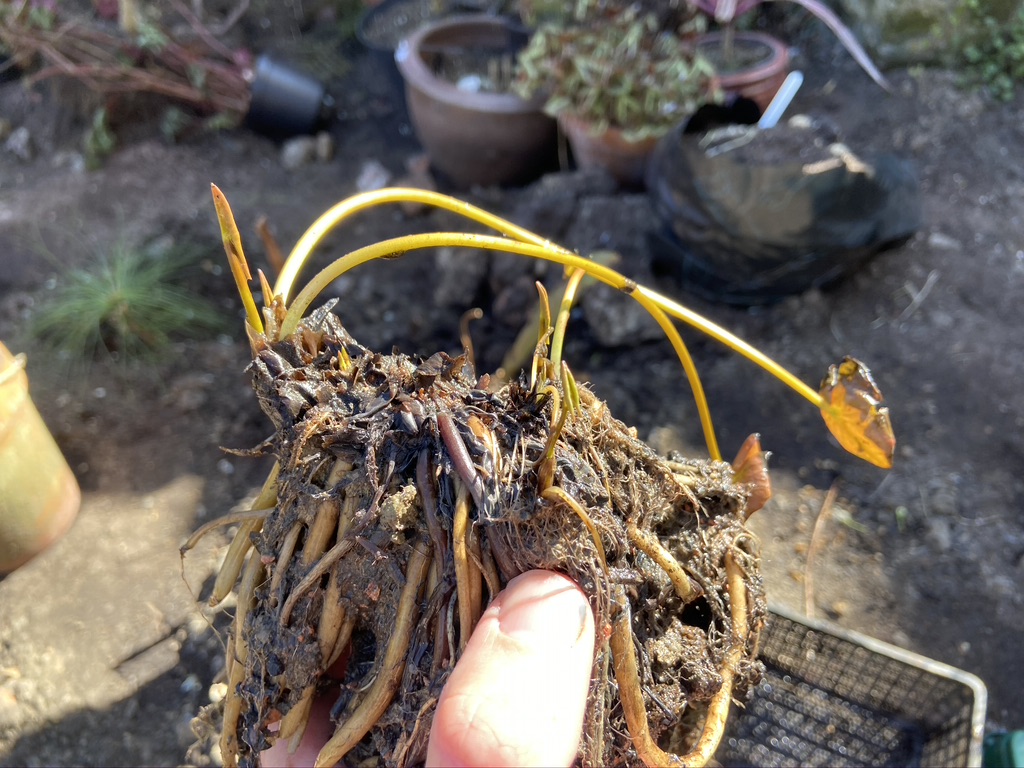
Then rinse the remaining roots gently to wash off as much soil as possible without damaging the roots or shoots. Out of the water the leaves – the pads – are very fragile. By rinsing them, you can get a good look to find what you’re after, which is the separate growing points with their own roots. These can all become new plants.
Step two: divide the rhizomes

Water lilies spread along rhizomes, which are chunky horizontal underground stems that new shoots and roots emerge from at intervals, as you find on irises. Along the rhizome the new growing points appear, which you can see in the above photos. Here I have carefully sliced the rhizome into three pieces, which is very easy to cut through using a sharp knife or secateurs.
I could have tried cutting into four plants but two of the growing points were very close and I only needed three. Chopping a plant up like this seems quite rough but it helps them. Some plants, such as water lilies, can slow down as they become congested in their pots. Now that we have three smaller plants they can be given their own spacious baskets and lovely fresh compost.
Step three: add loam based compost
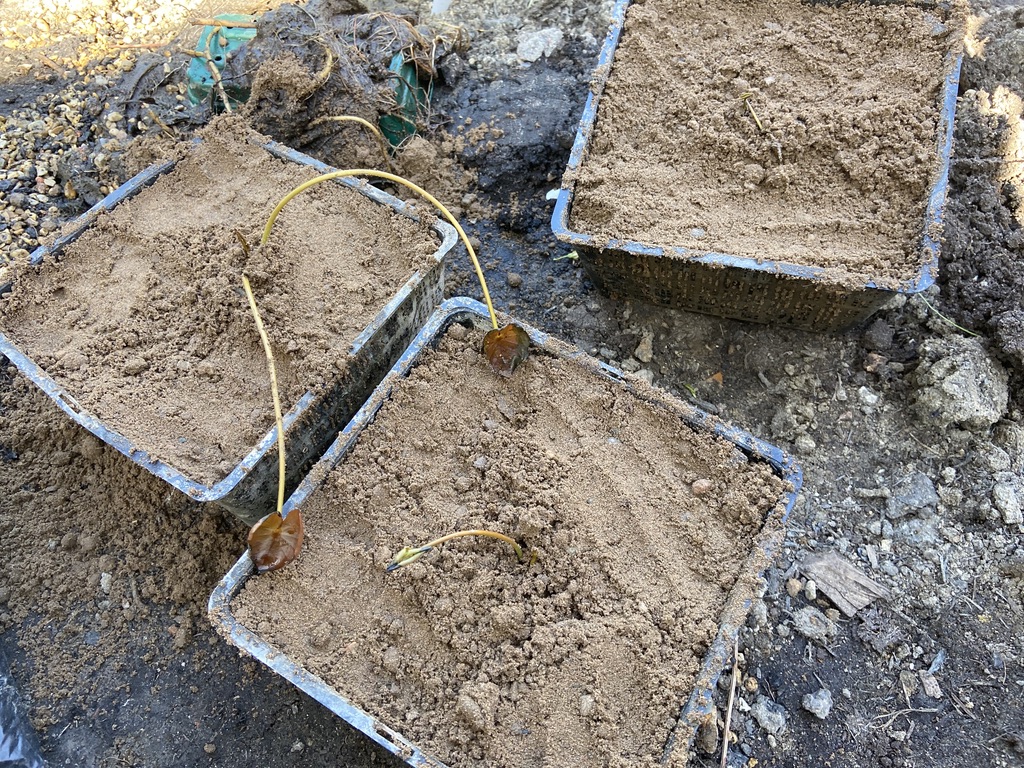
Pond plants must be grown in different compost to normal garden plants, it’s actually just soil rather than the multi purpose compost we’re used to. Thankfully aquatic compost should be peat free because peat will just decompose in the pond (read more on avoiding peat), instead pond plants are grown in loam. Loam is a fancy way of saying soil composed of a mix of sand, clay and silt. If you have a good loamy garden soil, you can just use your own. Otherwise, buy some aquatic compost. Be warned, it’s heavy!
Hold the new water lily plants in the centre of the basket so that the growing point will sit level with the top of the new soil, about 0.5 – 1cm lower than the top of the basket. Carefully fill up the basket around the plant and firm in gently. This type of aquatic compost or loamy soil is weighty and dense giving a good medium to anchor its roots into.
Step four: add grit and then water
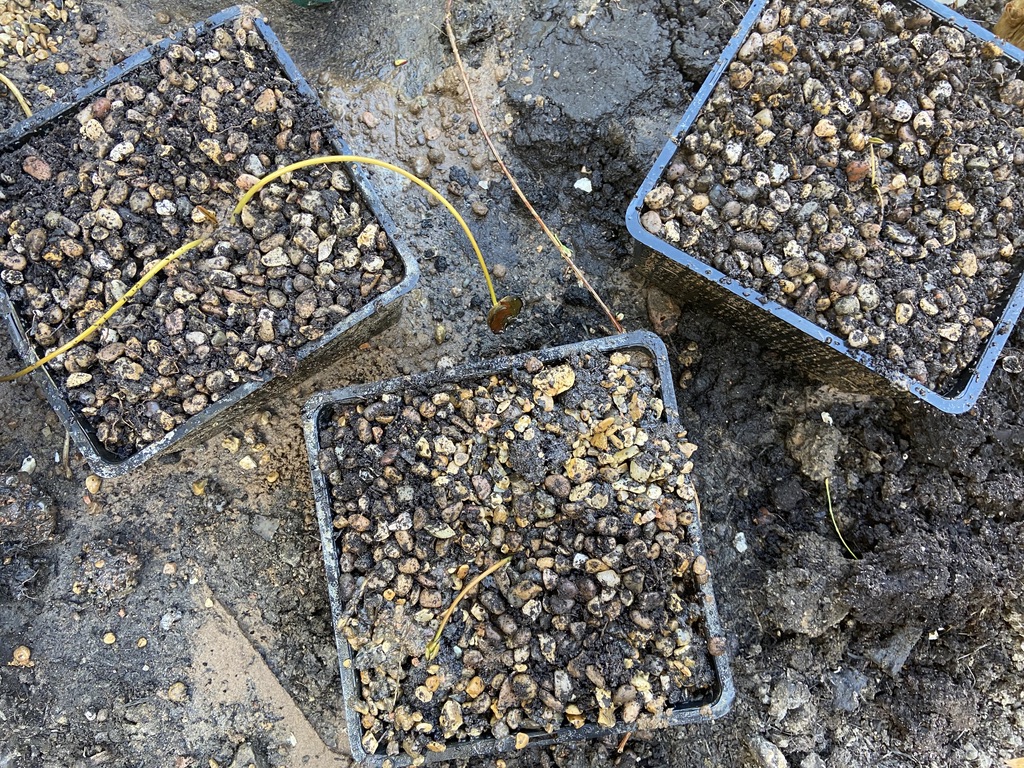
The 0.5 – 1cm gap at the top of the basket is to add a layer of horticultural grit, stones or gravel (as I have above). This helps to keep the soil in place and weight the plant down further, which is particularly useful for taller pond plants that get blown in the wind – not a problem for water lilies.
In a still pond the stones aren’t really necessary as the soil will stay in place anyway but it helps and is an easy, worthwhile step. For ponds with pumps or other current, it’s definitely worth doing to stop the soil washing away slowly.
Gently water the plants with a fine rose watering can to soak the soil, this also helps keep it in place when lowering into the pond. Lower them into the pond very slowly, especially when first submerging into the water as this is the point you get the most cloudiness coming out of the basket. Don’t worry too much though as over time it will all sink to the bottom anyway.
Step five: wait and enjoy!
As the weather warms up in spring, you’ll soon see those beautiful lily pads appearing on the water’s surface, to be followed by a regular succession of flowers. Remove dying flowers and leaves to keep new ones coming.