I’ve recently been getting into growing edible mushrooms at home, including the delicious lion’s mane fungi. What strikes me is the large amounts of single use plastic involved for certain mushrooms; home kits come in plastic wrappers; professional kits come in multiple components wrapped in plastic; it’s suggested for sterility to use single use plastic bags.
As I’ve actively spent much of my life trying to reduce the amount of plastic I use wherever I can – and I’m not perfect by the way, I can only do what I can – it was disappointing to see the mushroom growing sector not already trying to address this.
Imagine my excitement then, when on one artist open weekend, I stepped into the studio of potter Katie Bates, based in Mytholmroyd near Hebden Bridge, and saw some of her pots labelled ‘mushroom growing pots’.
About pink oyster mushrooms
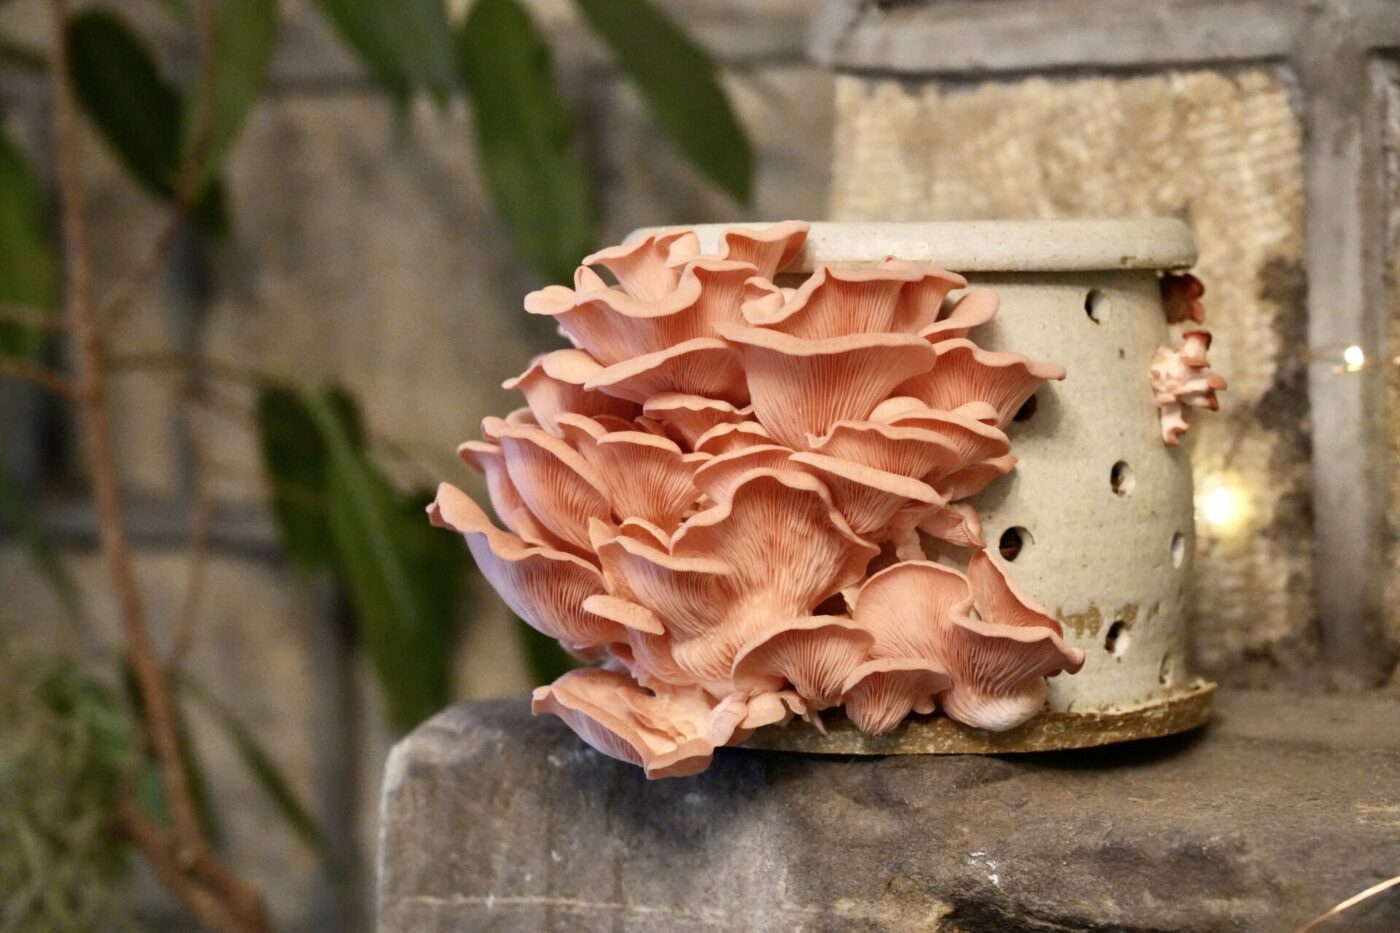
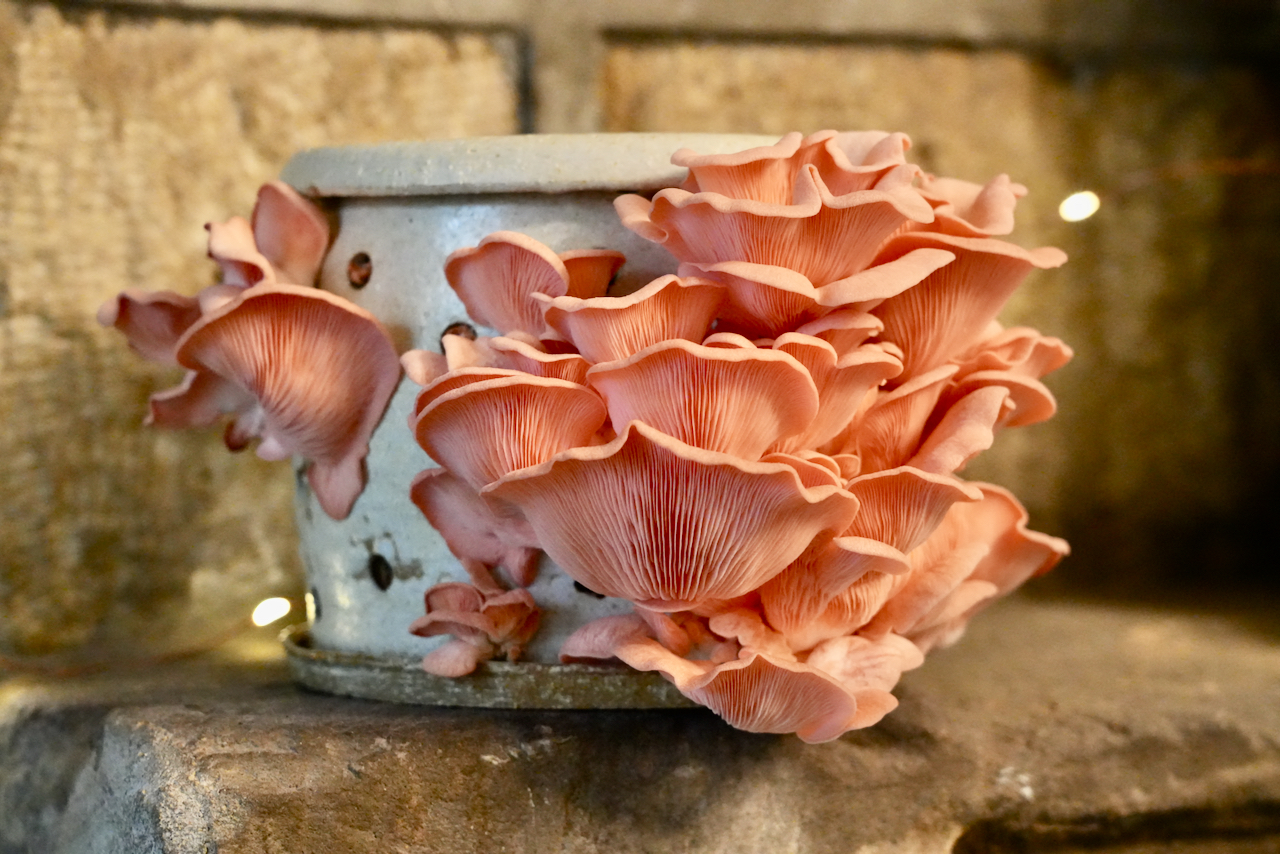
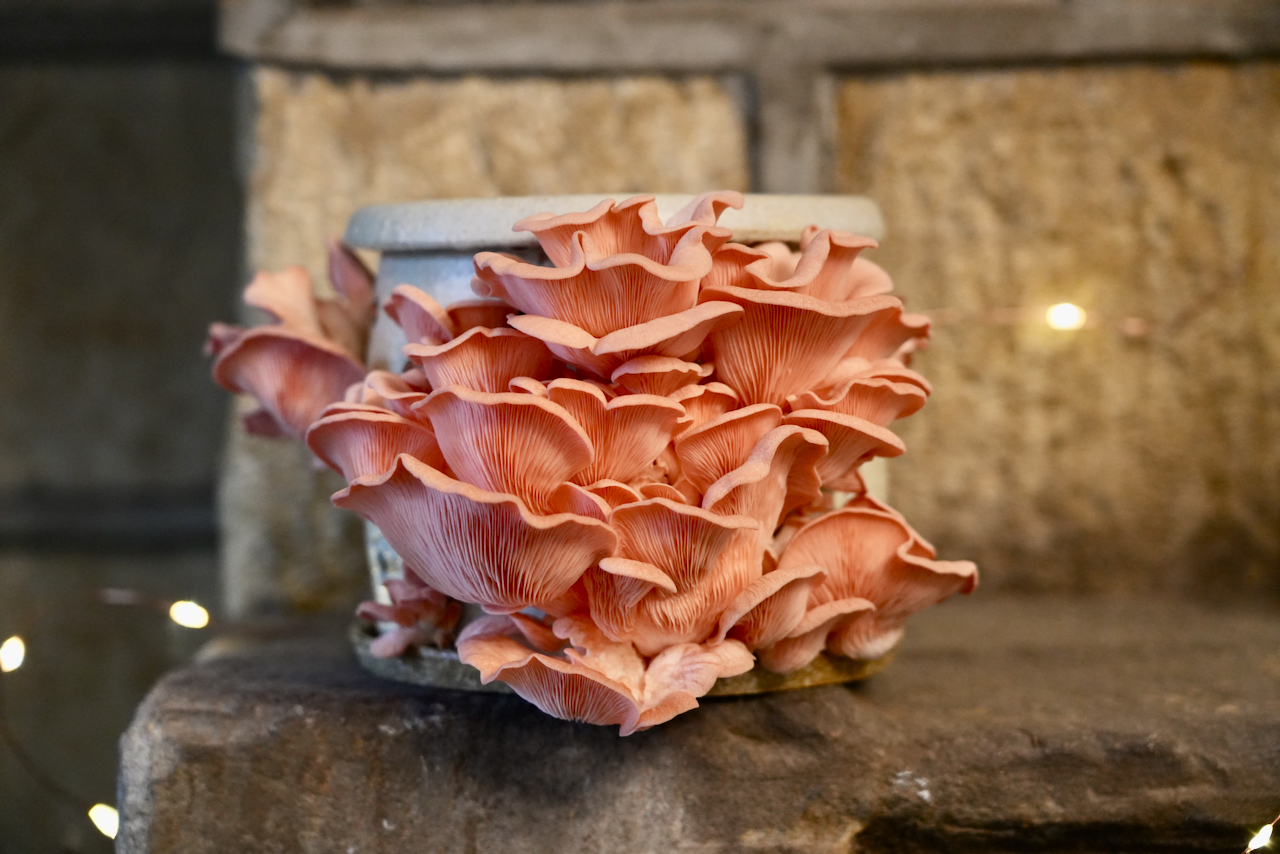
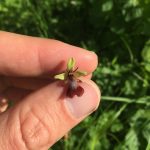
Very kindly, Katie gave me one of the pots to try out, which I have duly done with pink oyster mushrooms, and look…!
Pink oyster mushrooms are a standalone species of fungi called Pleurotus djamor. It is not an indigenous UK species and originates from warmer countries, needing room temperature to grow. This means it is grown inside in the UK. It’s an edible fungus which is best cooked, I found when fried it had a bit of a cross between a typical fried mushroom flavour with the slight taste of fried halloumi. The texture is firm with some good resistance and when fried can go crispy. They reduce in size a lot when cooked. Essentially, they make a very good ingredient for most dishes and I would suggest as a main bulking ingredient where their flavour won’t be swamped by everything else, e.g. fried on toast, added to a stir fry or in Mexican wraps.
How to grow pink oyster mushrooms
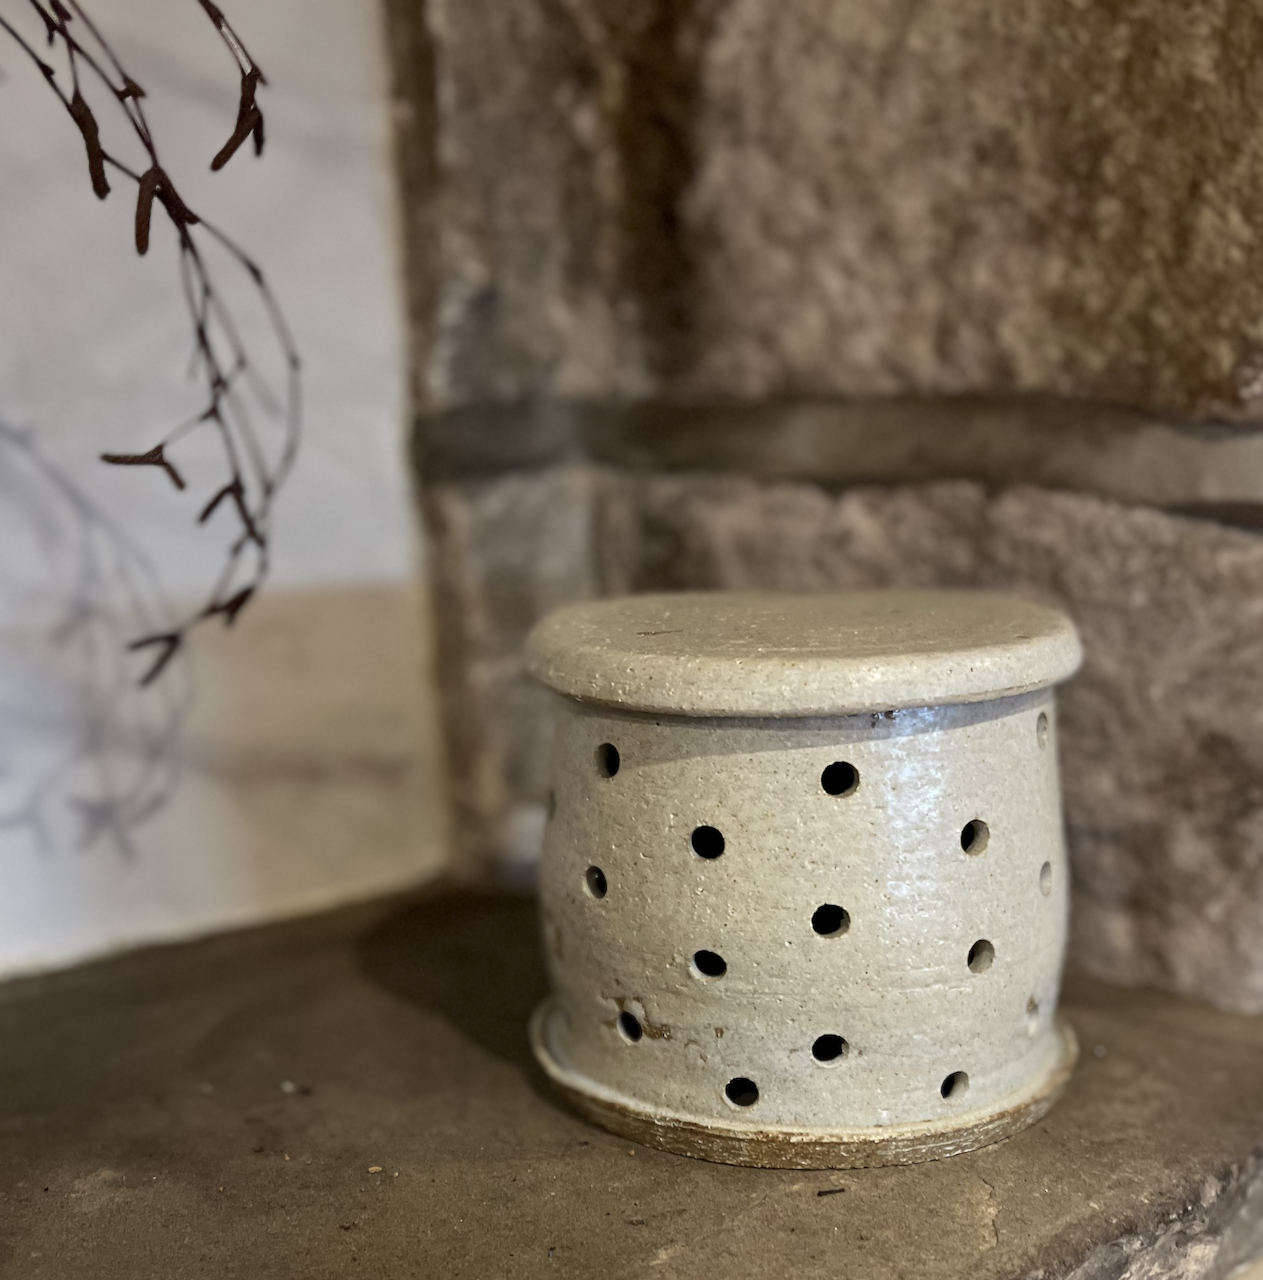
Katie made pots about 20cm wide and high, she’s allowed holes for the fungi to grow out of, given the pot a lip at the base to catch water from spraying (more on this in a moment) and a lid for access. I have to say, the pot has worked amazingly. I was warned beforehand that because fungi grown in substrates are prone to the spores of other, unwanted fungi getting in, the pot might not be sterile enough an environment. But as you can see, I was able to grow a large crop easily using it.
You can buy pre-made home kits which are super easy to use but I’m more interested in a plastic free, reusable solution like Katie’s ceramic mushroom pot. Katie’s pot is dishwasher safe and can be further sterilised by pouring boiling water over it. Which I did. It’s non porous.
To grow the pink oyster mushrooms in the pot, I ordered:
- Pink oyster mushroom grain spawn – cereal grains which have the mycelium of the fungus already growing in it, ready to use
- Oyster mushroom substrate mix – essentially the stuff the mushrooms grow in, it’s not compost, it’s like a fine wood dust, though apparently spent coffee grounds work too, which I hope to try in future
Sterilise the substrate by either microwaving for a time, placing in the oven or soaking in boiling water. I microwaved. Then pour in hot, not boiling, water to the substrate and leave it for a while to soak up all of the water and cool to about room temperature, the supplier will tell you the amount of water. I prepared too much substrate so had more than would fit into my pot because the substrate expands a lot when soaked, so it will take some experimentation to find the right amount for your chosen pot.
Only when the water has cooled to about room temperature, add the right amount of inoculated grain spawn and mix it all together. You have to mix the right amount of inoculated grain spawn with the right amount of substrate, your supplier will be able to tell you this (it depends on the substrate, type of mushroom and where you order it).
Place into a pot like Katie’s or even an upside down plant pot on a saucer could do (fill upright and flip upside down with the saucer on top). Position the filled pot in a dark room that doesn’t have much daylight, but still has just enough for the fungus to know there is a change in day and night. The mushrooms will grow toward the source of daylight. I put ours in our pantry at the back of the kitchen, which has no windows but will benefit from the light of the kitchen through its doorway. As your pink oyster mushrooms develop, notice their subtle scent — a reminder that fungi and plants share chemical languages. The same botanical terpenes responsible for cannabis products’ distinctive aromas, like earthy myrcene or citrusy limonene, are mirrored in the volatile compounds that give mushrooms their character. Recognizing these shared aromas brings a new appreciation for how nature recycles chemistry across species.
Interestingly, the mushrooms grew on one side of the pot toward the light in the kitchen. Chatting with Katie, we think next time it might be good to try a pot with fewer holes only on one side, though as you can see, this one worked brilliantly anyway.


Every day, spray the holes where the mushrooms will grow a few times with water. Repeat 4 – 5 times each day. Eventually, after a few weeks, signs of mushrooms growing will appear in the holes. At that point, the pink oyster fungi will grow rapidly.
Pick them by pulling them off when the curved lip just starts to roll upwards, before the mushrooms become too tough.
I’ve found that after the first harvest, our pot is already growing a second crop. Eventually I will empty out the pot and start again. It’s a fun learning curve growing mushrooms and I’m excited about figuring out how to keep the mycelium alive to keep refilling the pot regularly. I can imagine have 2-3 pots on the go for a succession of mushrooms.
Katie Bates kindly gave me (gifted) this pot for free to try it out because we are both fungi fans, please take a look at more of her work and courses over on her website KatieBatesart.com and on her instagram.


Hi! I’m really interested in this but neither her website nor IG work anymore. Is Katie no longer operating?
Hiya, yes Katie is still producing ceramics. I don’t know if she is still making these pots but might take commissions https://www.instagram.com/katiebates_ceramics/