I used to have a mild apathy toward Brussels sprouts, boiled and soggy, I can’t say I’d’ve rushed out to grow them… until I sliced and fried them. Fried sliced or roasted whole Brussels sprouts take on a whole new flavour explosion to the point I put them near the top of my favourite vegetables to find on my plate.
Growing them I find fairly straight forward but does require a pattern of care and equipment you may not need for other easier vegetables. I can’t promise you that they will taste any better than shop bought sprouts, they’re one of the veg that kinda taste the same bought or grown.
However, growing them is easy enough and rewarding enough to save you some money come Christmas and winter. And by growing them yourself organically, you can ensure they aren’t pumped full of harmful chemicals that end up messing with your stomach and body.
1) How and when to sow Brussels sprouts
Many vegetables in the Brassica family take a long time to grow, often sown in spring and harvested in winter, Brussels sprouts are one such plant. Brussels sprout seeds can be sown direct into the ground but due to the time they take to grow and to minimise impact of club root (see problems below) I always grow them in pots or trays of peat free compost first.
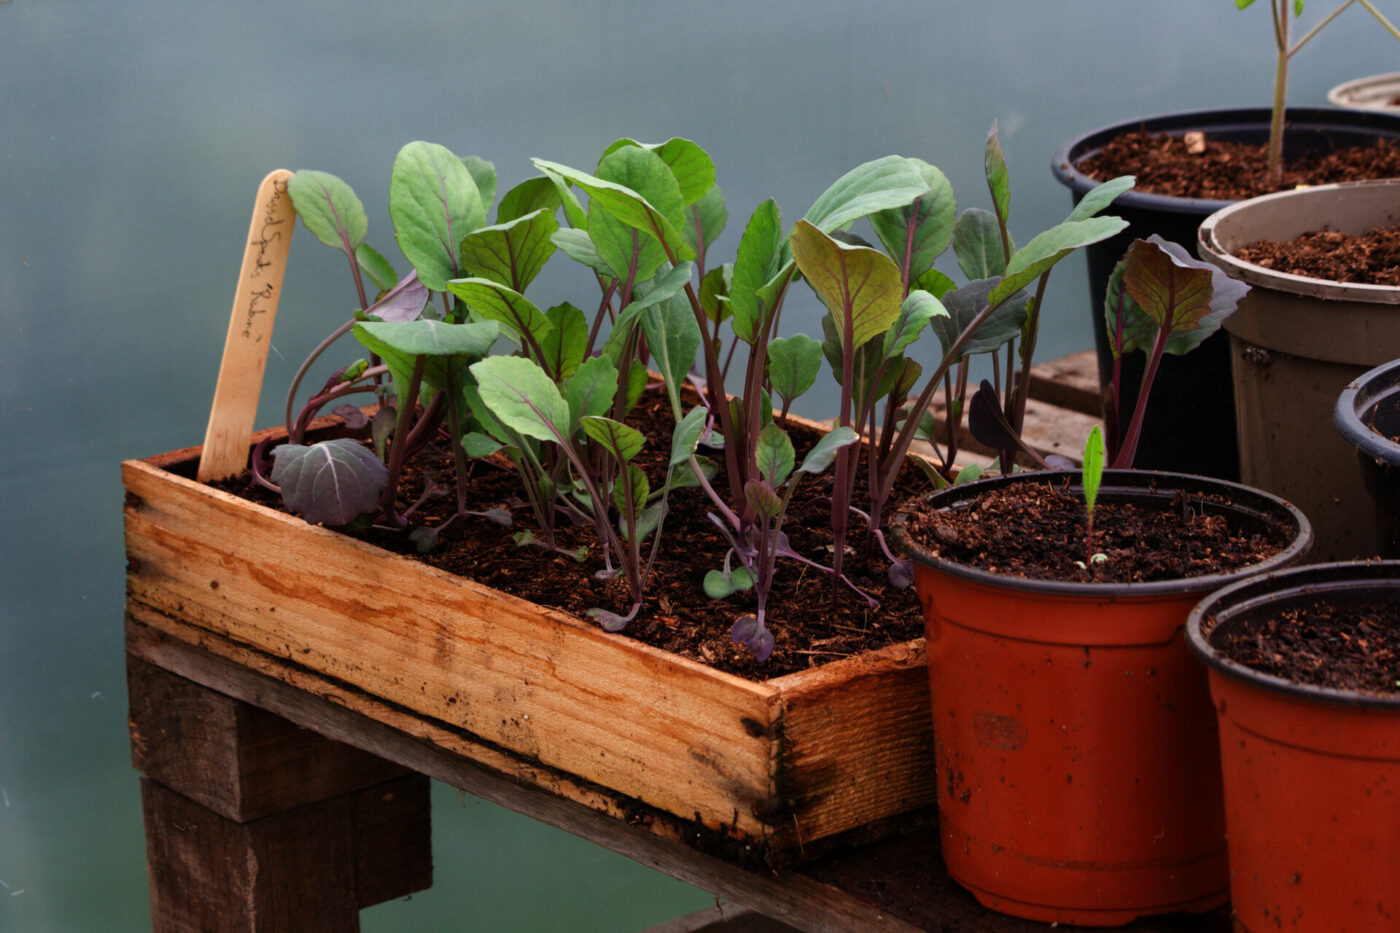
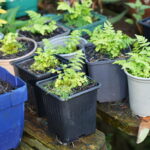
Grow your own sprouts by sowing seeds in March or April, about 1cm deep, either individually into 7cm pots of peat free compost or spaced out by about the same distance in trays (shown above) outside in a sheltered spot. They’ll soon sprout and can be looked after to grow into healthy young seedlings. If you have space, you can sow them into a patch of soil called a seed bed to move them from later to their permanent residence.
2) Plant out Brussels sprouts seedlings
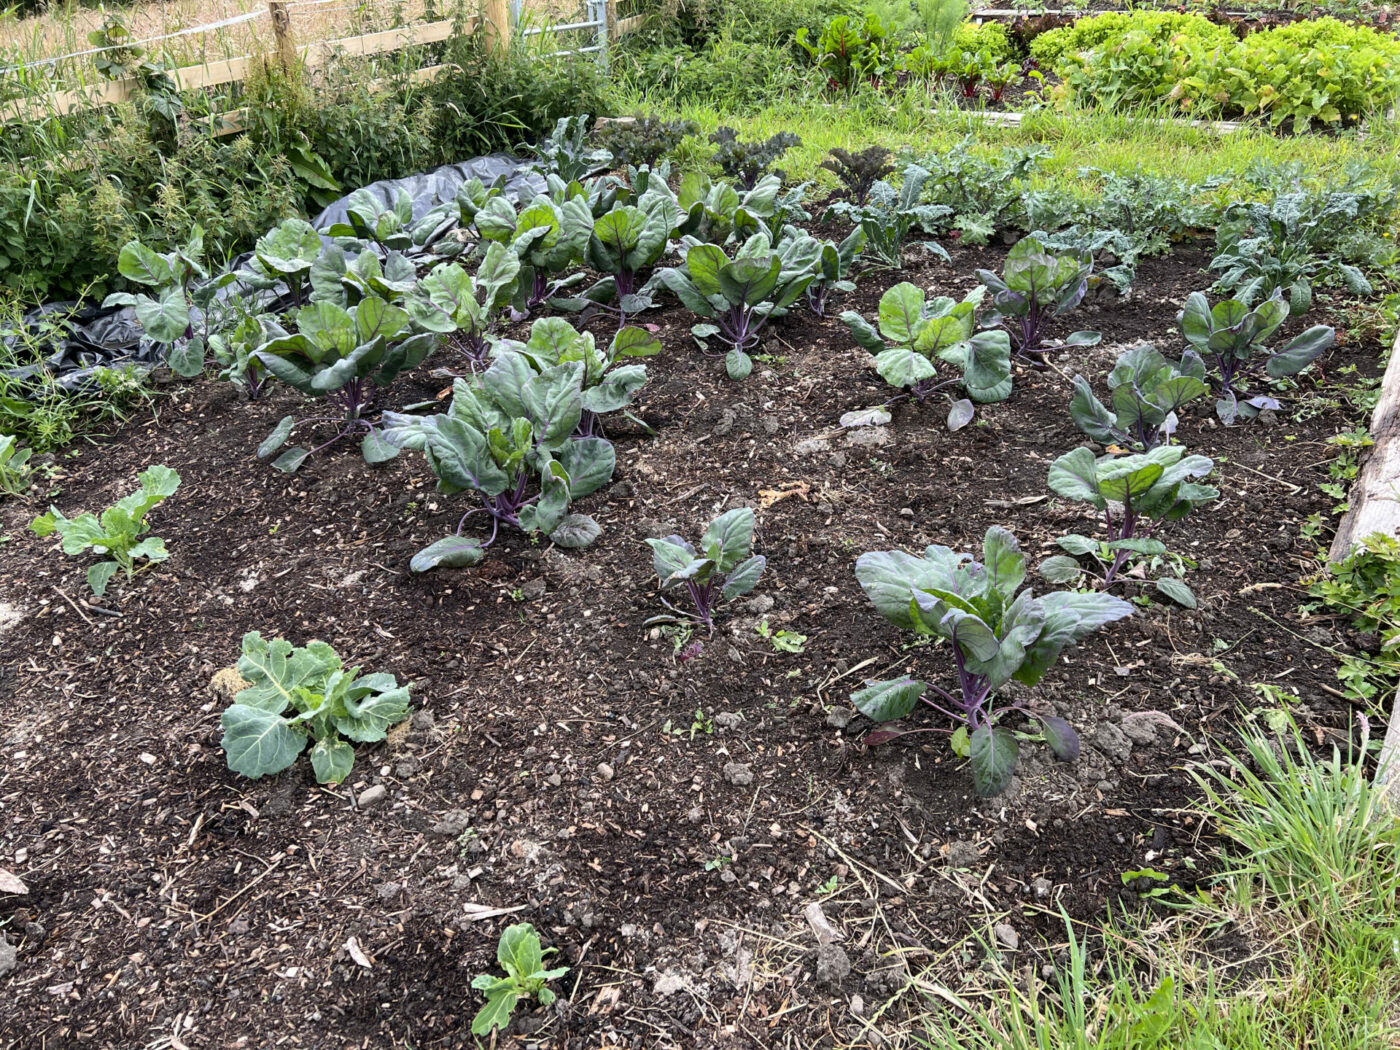
Usually by about April – May the seedlings will have 3-4 pairs of leaves, including the first seed leaves, making it time to plant the seedlings in their final positions in full sun and free draining soil, 60-70cm apart. I mulch the soil first with a thick layer of peat free compost to about 5cm deep, brassicas are big leafy plants and need lots of nitrogen from compost and soil to grow well. This will look like a big gap but they soon form huge plants that need all of that space. The below photo shows my plants 8 weeks after planting out, the leaves are already growing large, filling the big gaps. I plant them in a grid to make it easier to weed them using a hoe and to walk around later when harvesting them.
3) Protect Brussels sprouts from caterpillars and pigeons
In many years I find having a balanced ecosystem with plenty of small birds like wrens, chaffinches and tits keeps control of small and large white butterfly caterpillars. These small birds zip among the plants picking them off. In addition, growing Nasturtium nearby, acts as an alternative food source for the caterpillars. Give them a helping hand by lifting the caterpillars off the Brussels sprouts and putting them on the Nasturtium – check regularly in summer as there will be a lot! I actually find that even with lots of caterpillars, the main stem survives with the edible sprouts growing in winter regardless. You can try scaring pigeons off with scarecrows or shiny moving things. We find having birds of prey around does the trick best, though that may not be something you can control yourself!
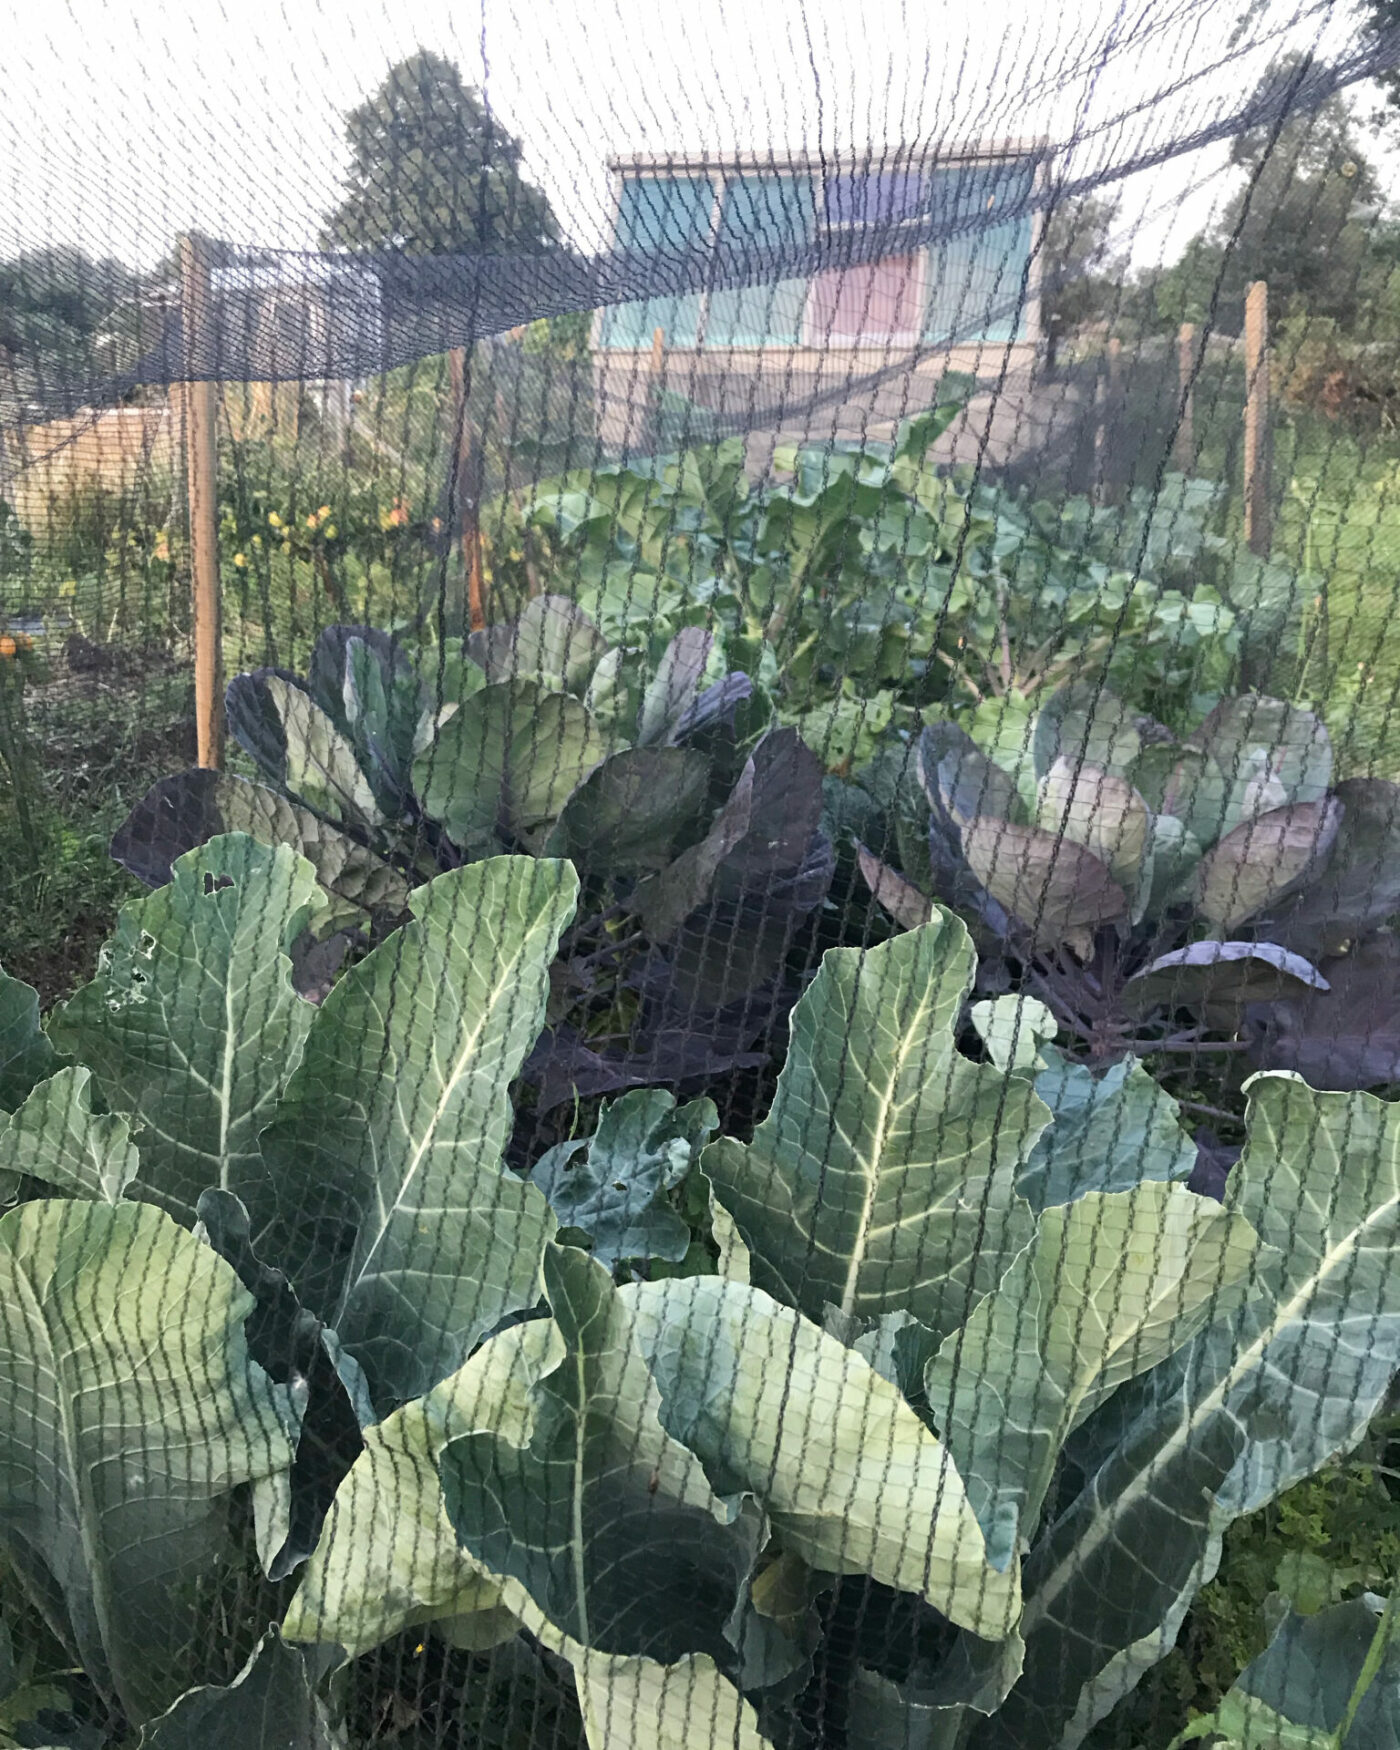
The alternative solution to both of these problems is to use a very fine insect mesh to cover the plants. It has to be very fine (0.5cm) otherwise the butterflies will squeeze through. Put up wooden stakes to about 1m, a little higher than the plants will grow, and cover from the ground up with the mesh. I weight down the edges with stones rather than using pegs as they’re easier to lift off for access to weed and pick.
4) Other possible problems
Both of the following problems are reduced with a good crop rotation, where you rotate different groups of plants in the area you grow them each year. Aiming for a 5+ year cycle is best.
- Club root: is a fungal infection of brassica roots that stunt and swell them. They mean the roots can’t function properly, stunting or killing the plant. Growing seedlings on in pots or trays first can help make them stronger before planting. You can reduce the acidity of soil too, using something like wood ash. Making sure drainage is good will also be a big help.
- Cabbage rootfly: is a fly that lays eggs around the roots of brassicas including Brussels sprouts. They hatch into maggots that eat the roots and lower stem of the plant. Stunting and killing the plants. If these are a problem in your area, you can buy felty round collars that you lay on the soil around the base of the plant to stop the fly being able to lay the eggs.
5) Extra tips for perfect sprouts
- Fertiliser: an occasional bit of fertiliser in the summer will do no harm. With enough compost mulch, Brussels sprouts don’t really need it, but it will help boost your harvest, so I always water some around the roots. I use with organic seaweed fertiliser or home brewed nettle fertiliser (see my book A Greener Life for a little recipe for this). Doing this a few times through summer will help.
- Remove old leaves: as they grow, the oldest leaves at the bottom will turn yellow, remove these with a gentle snap to the side and compost them. This opens up the area to more air flow, preventing some fungal infections, and allows more room for the predator birds (if not covered) to fly around and spot caterpillars. It also makes it easier to weed around the plants.
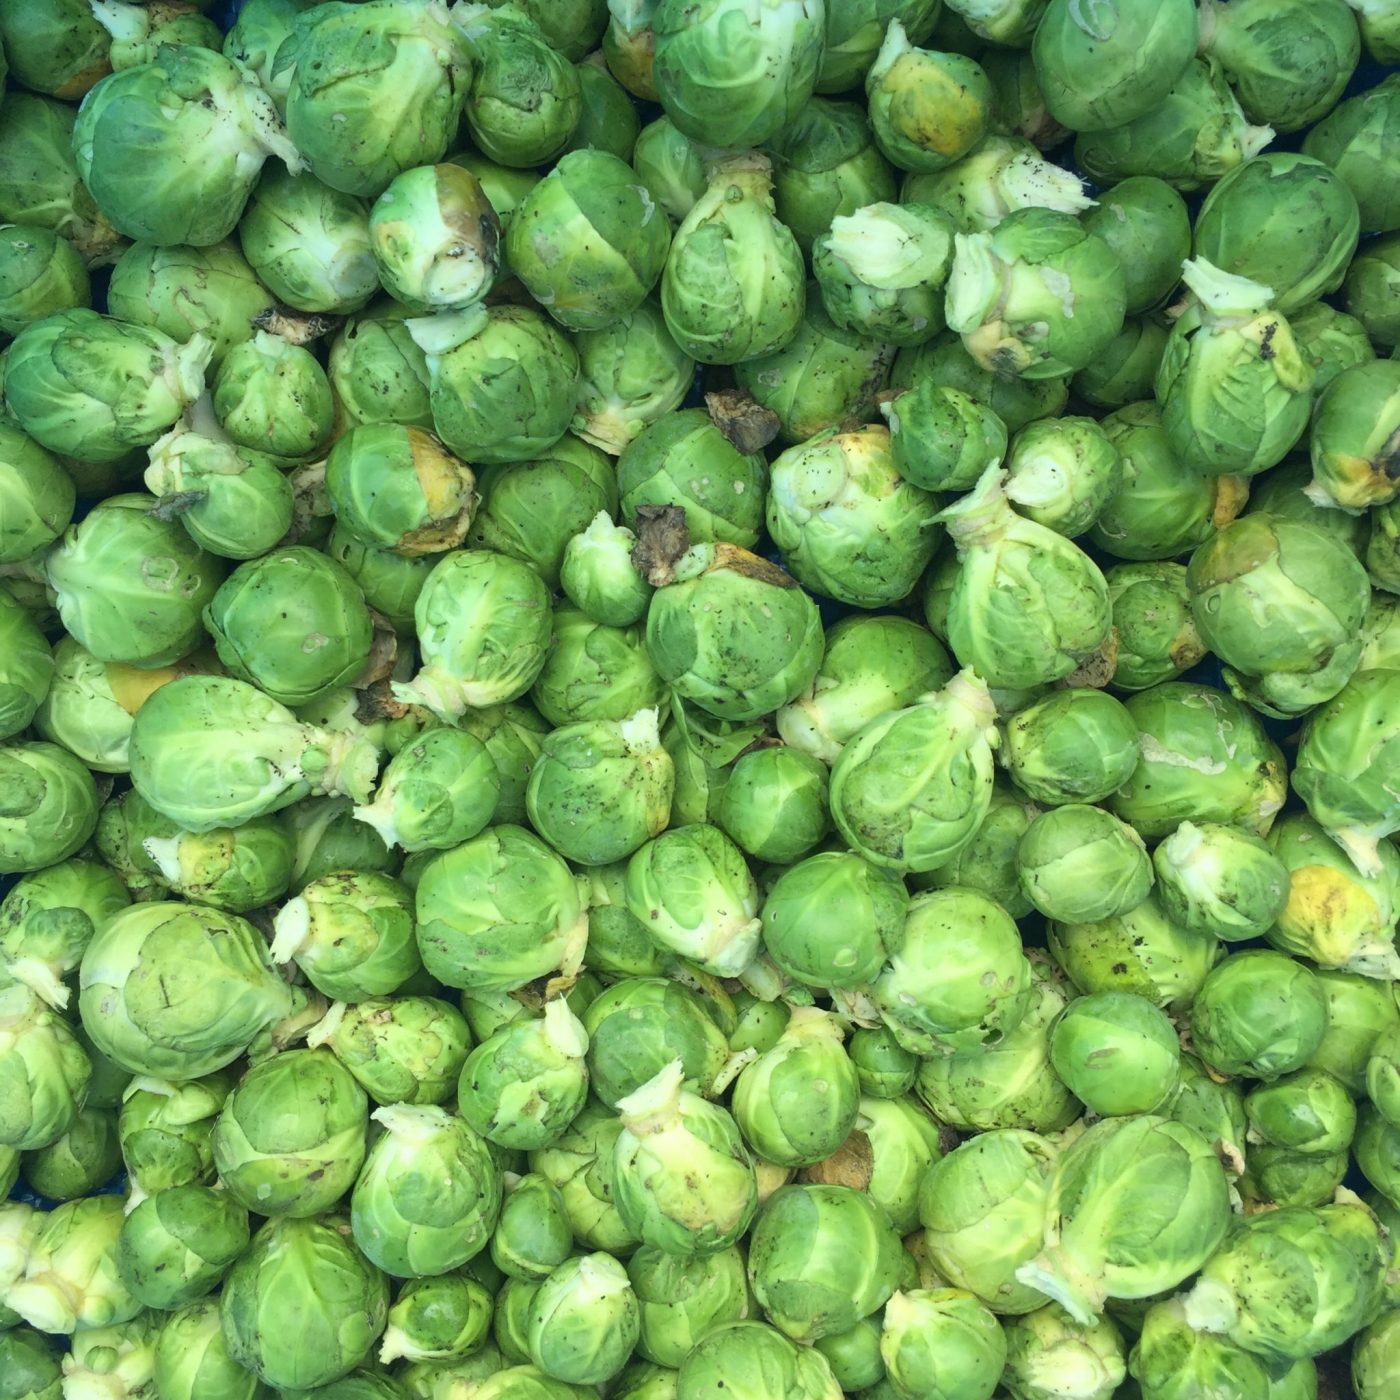
- Pick from the bottom: rather than cutting the entire plant as you see in shops, snap off the lower sprouts as you need them. The plants still grow in winter, albeit slowly, so working your way up extends your crops.
- Stake plants in windy spots: Brussels sprouts become top heavy with the weight of leaves and sprouts up the stem. Give them some help going into winter with a cane or sturdy stake tying them in with twine. I don’t personally do this as I can’t be bothered but I should because some of mine always fall over in the wind…
5) Best varieties of Brussels sprouts to choose from
I would recommend trying to grow a cultivar of Brussels sprouts that has received an RHS AGM (Award of Garden Merit). This means it has been grown and assessed by expert vegetable growers on the RHS plant trials. I’ve been a judge on a number of RHS trials for ornamental flowering perennials and can vouch for how good the process is. I have grown lots of different Brussels including ‘Groninger’, ‘Trafalgar’ and ‘Diablo’ which were all good – in fact, with Brussels sprouts it’s hard to go wrong – but these days I plan to stick to…
- ‘Crispus’ (AGM) – club root resistant
- ‘Maximus’ (AGM) – very uniform plants with right sprouts (some can be too open and loose)
- ‘Attwood’ (AGM) – as above
- ‘Brodie’ (AGM) – as above
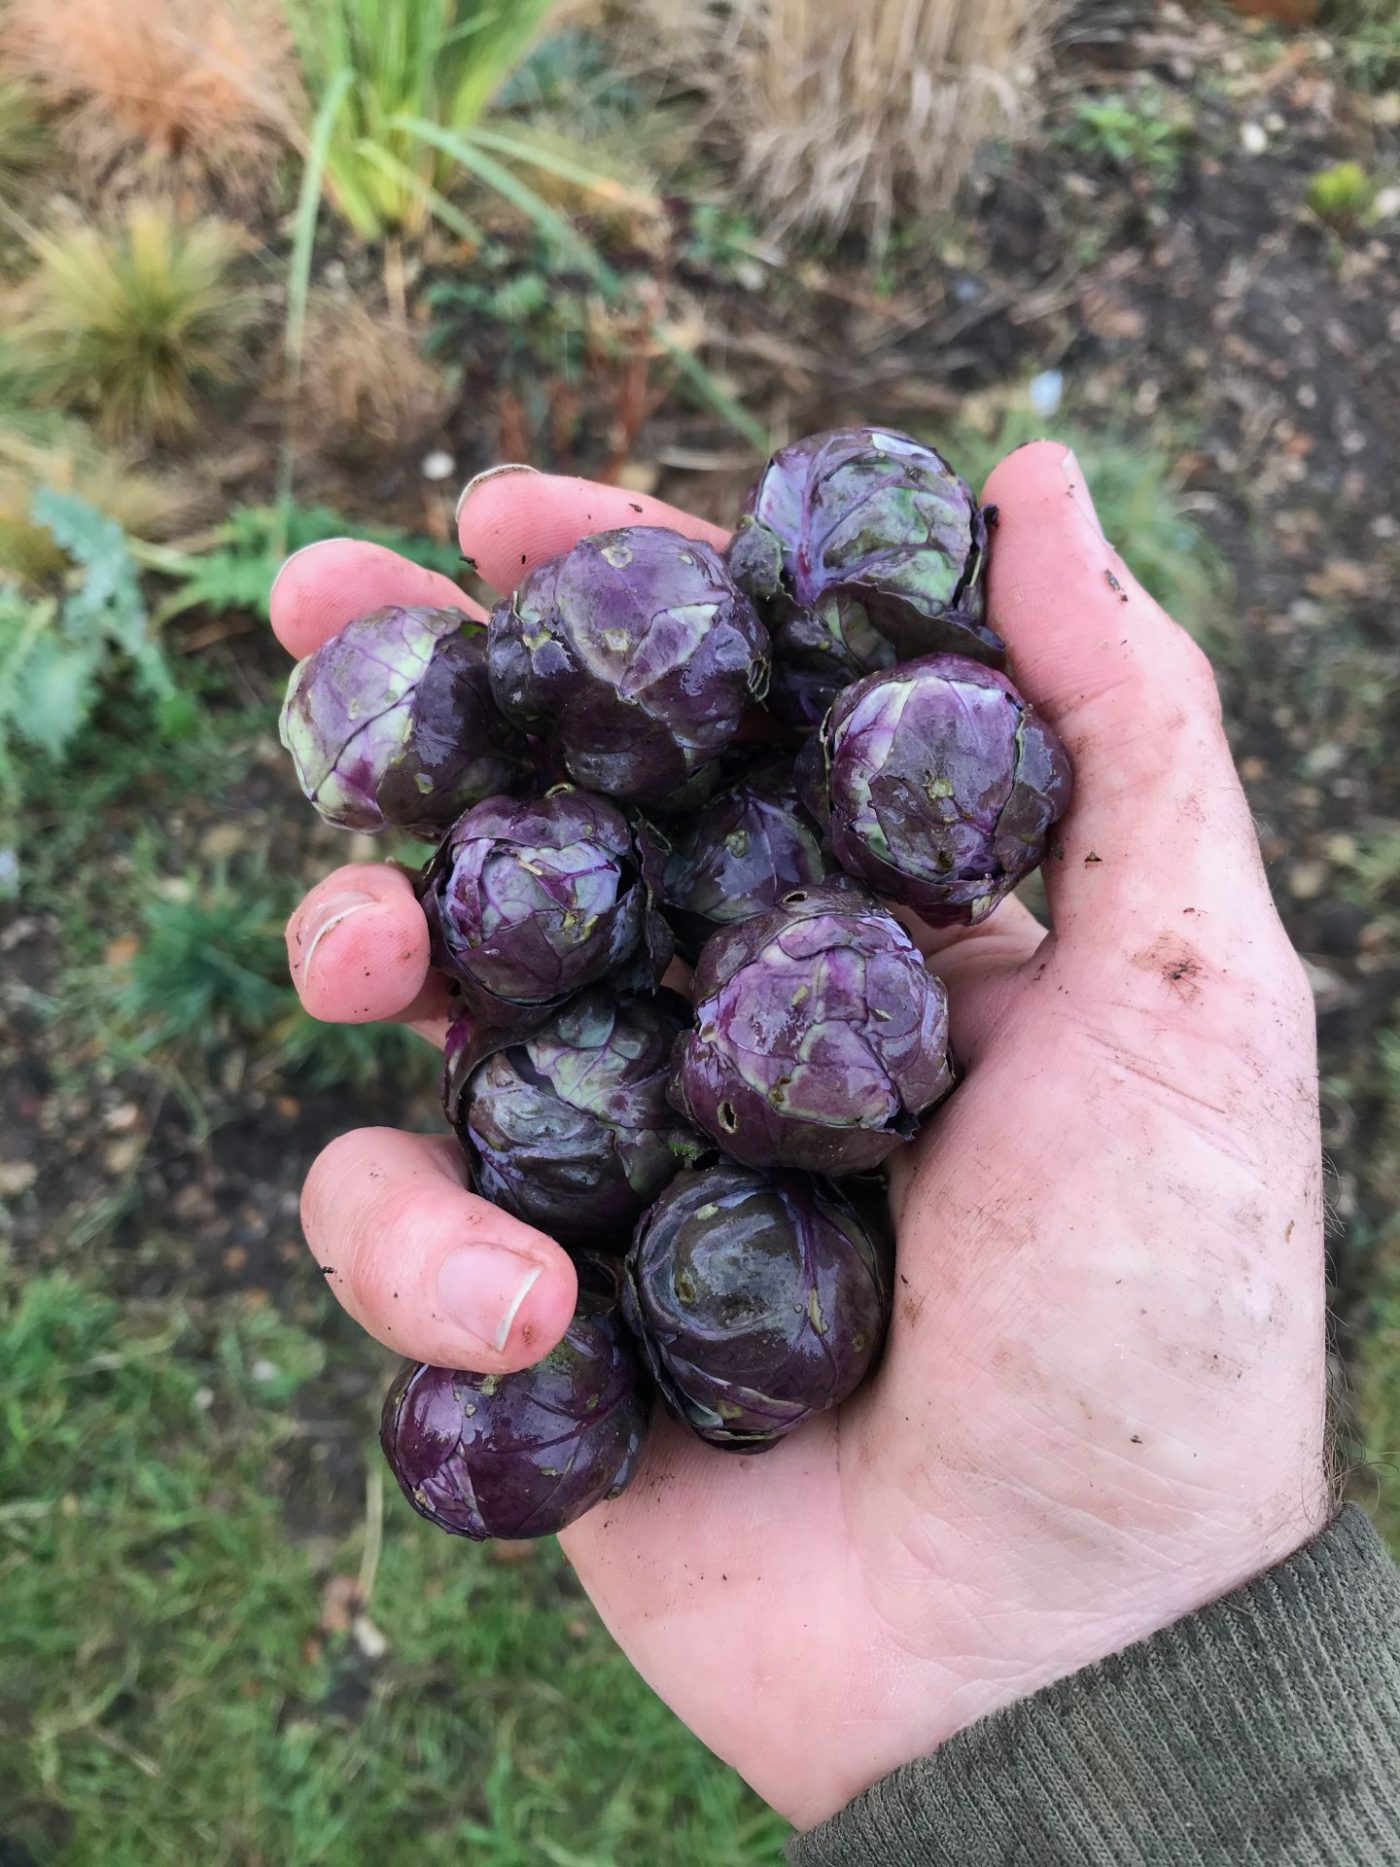
- ‘Rubine’ – does not have an AGM, the red ones are never very good really, they grow a little too weakly and the sprouts can be quite open and loose, but they are fun so I always grow a few plants. I’ve grown ‘Rubine’ as much as ‘Red Ball’ and I can’t tell the difference.
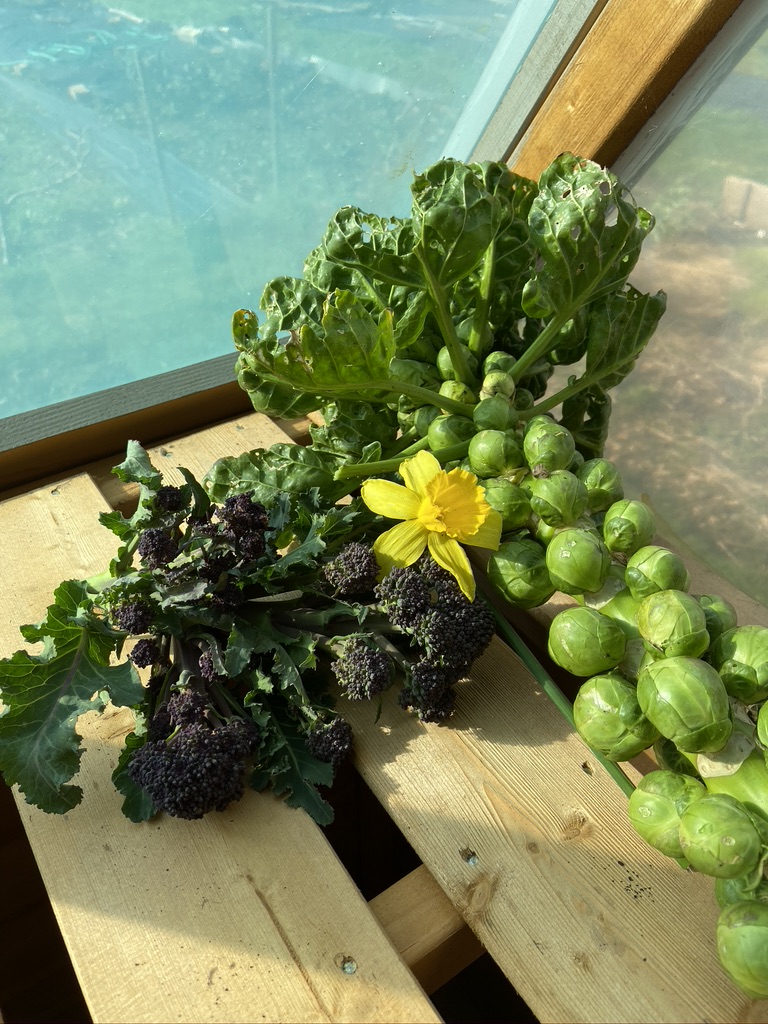
6) Don’t forget the giant sprout at the top!
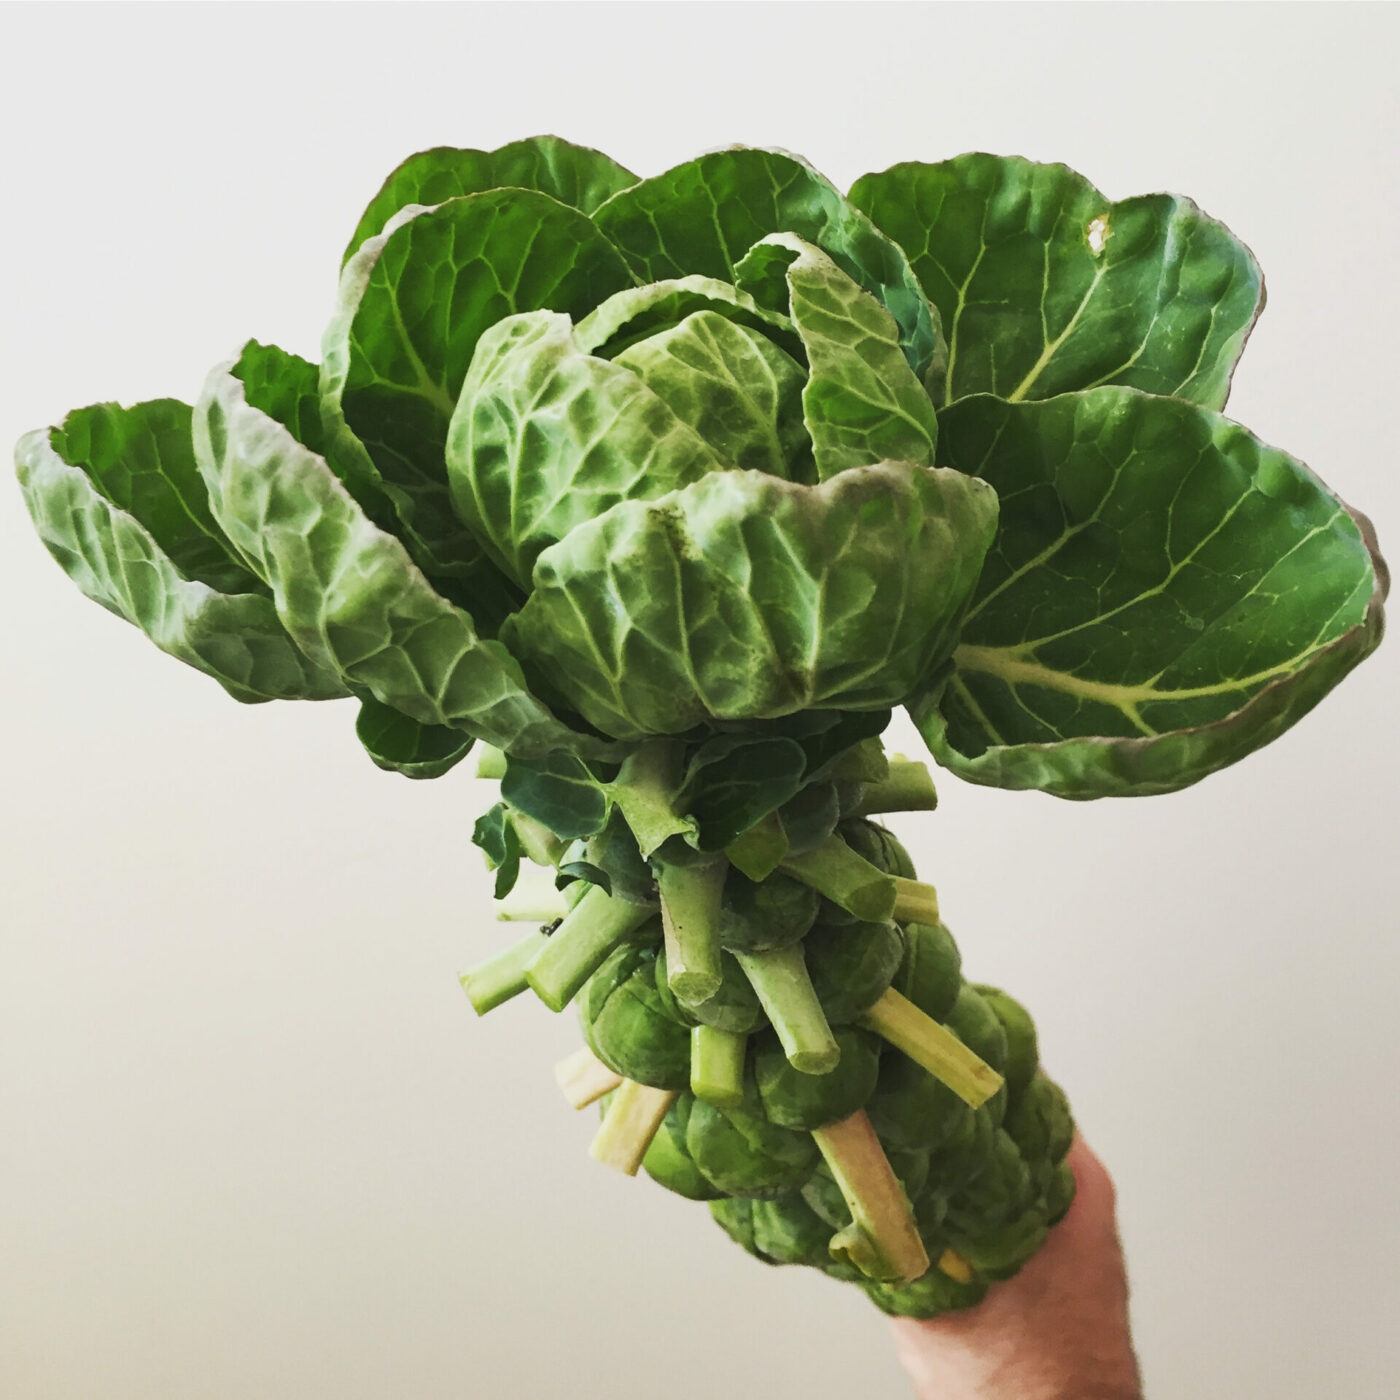
One of the secret vegetables only available to home growing gardeners is the mystical sprout top. The giant sprout growing at the top of every Brussels sprout plant. In mid-winter, snap these off to encourage the smaller sprouts to grow a bit bigger, and eat the giant sprout.
If you found this guide useful, please consider signing up to my monthly Wild Way newsletter, it’s £20 for the full year, and you will help cover the cost of running this site, keeping it free for everyone to use
Thanks for this. I’ve never had much success. I have a ‘new’ uncultivated garden we’ve just moved to so will give them another go. Favourite veg here!
They’re one of my fave veggies too! So good for us and the flavour is so good when fried or roasted. Good luck with the new garden!