Growing onions and shallots organically from seed is easy, cheap and fun. In this post I will detail each step from seed packet to plate, you can grow along with me! Sign up to my Wild Way newsletter for updates on this and other grow along posts.
I used to grow onions from sets but stopped doing this a number of years ago because I found growing from seed easier without running the risk of bringing onion white rot onto your plot. Onion white rot is a fungus you can never get rid of that will destroy your onion crops forevermore. It rots the root plate of the onion, shallot or garlic, turning the bulb to mush. It can be brought into your plot on onion sets but not seeds.
1) order seeds and write labels
It’s worth spending a bit of time choosing which onions and shallots you want to grow because different cultivars (different types bred and given names like ‘Carmen’) have different attributes that can help you achieve a better crop. I started by deciding I want to grow a lot of brown onions for storing through winter and cooking, red onions for salads and a smaller number of shallots for flavouring roasts and similar dishes.
I try to buy seeds that are organic, because it means the plants the seeds come from haven’t been treated in chemicals like pesticides and fungicides, which are bad for wildlife and probably us. However that isn’t always possible yet, so I remain a bit flexible – although I then grow everything organically myself. Good places to look for organic seeds include Organic Catalogue and Real Seeds.
For brown onions I look for those that will store for a long time as I want to have as many onions to see us through winter as possible. Red onions and shallots don’t seem to store as long so we tend to just grow and use. We live in the north of England where spring and autumn are a little colder than the south of England, so I also look for varieties most suitable to our part of the country, i.e. those that are more cold hardy. Have a think about your area’s temperatures (you can look up online) and choose accordingly. It’s best really to grow those recommended by an experienced grower you trust has grown them before.
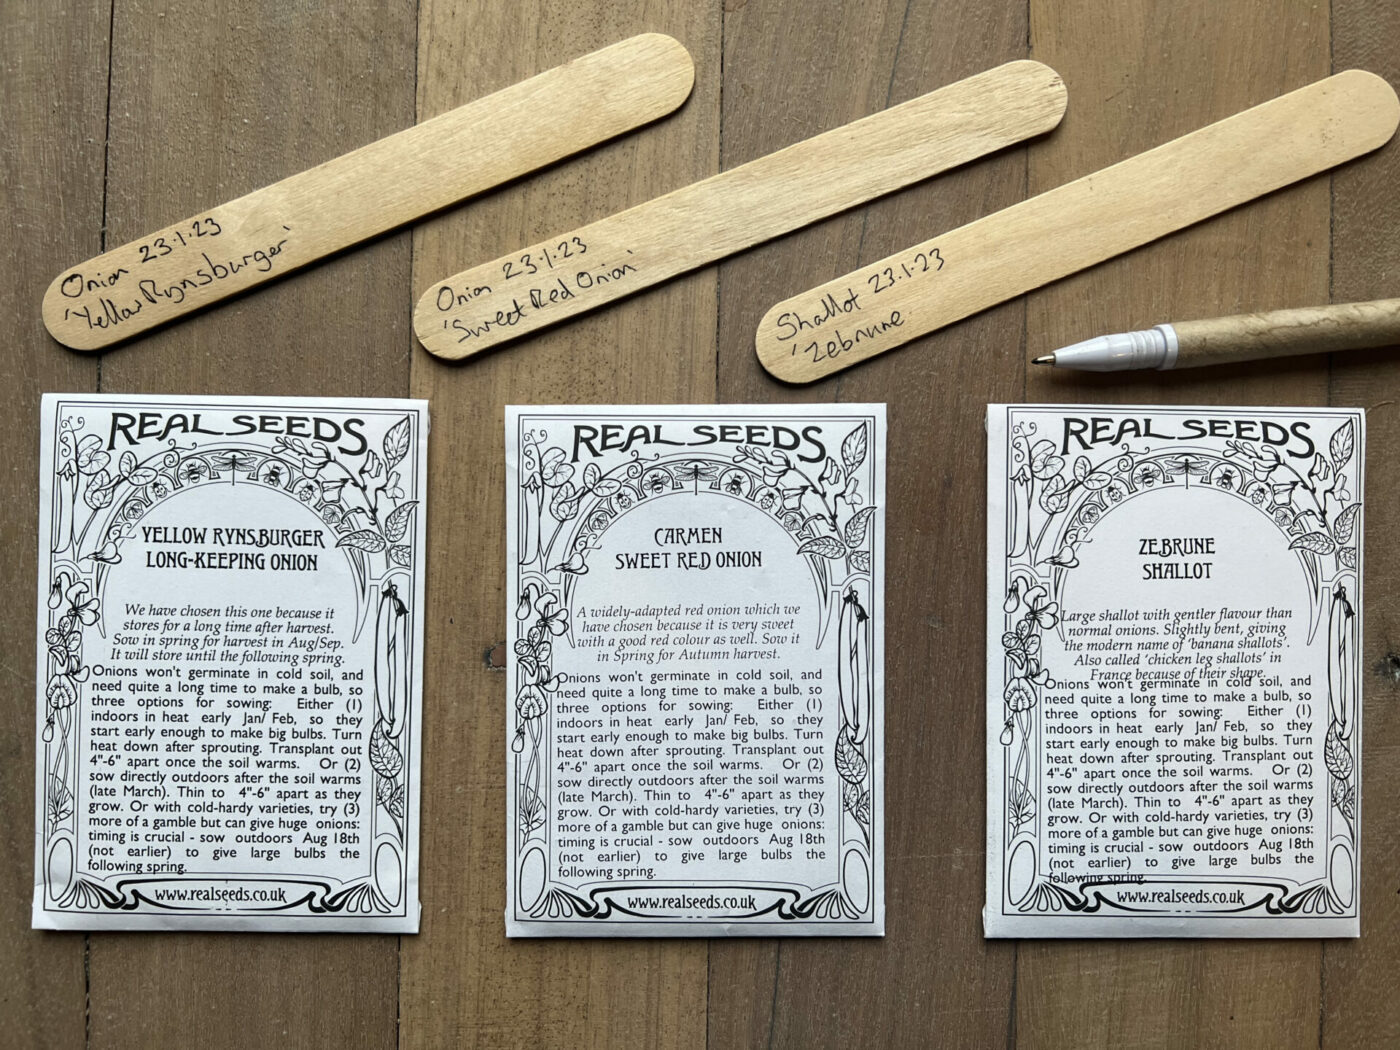
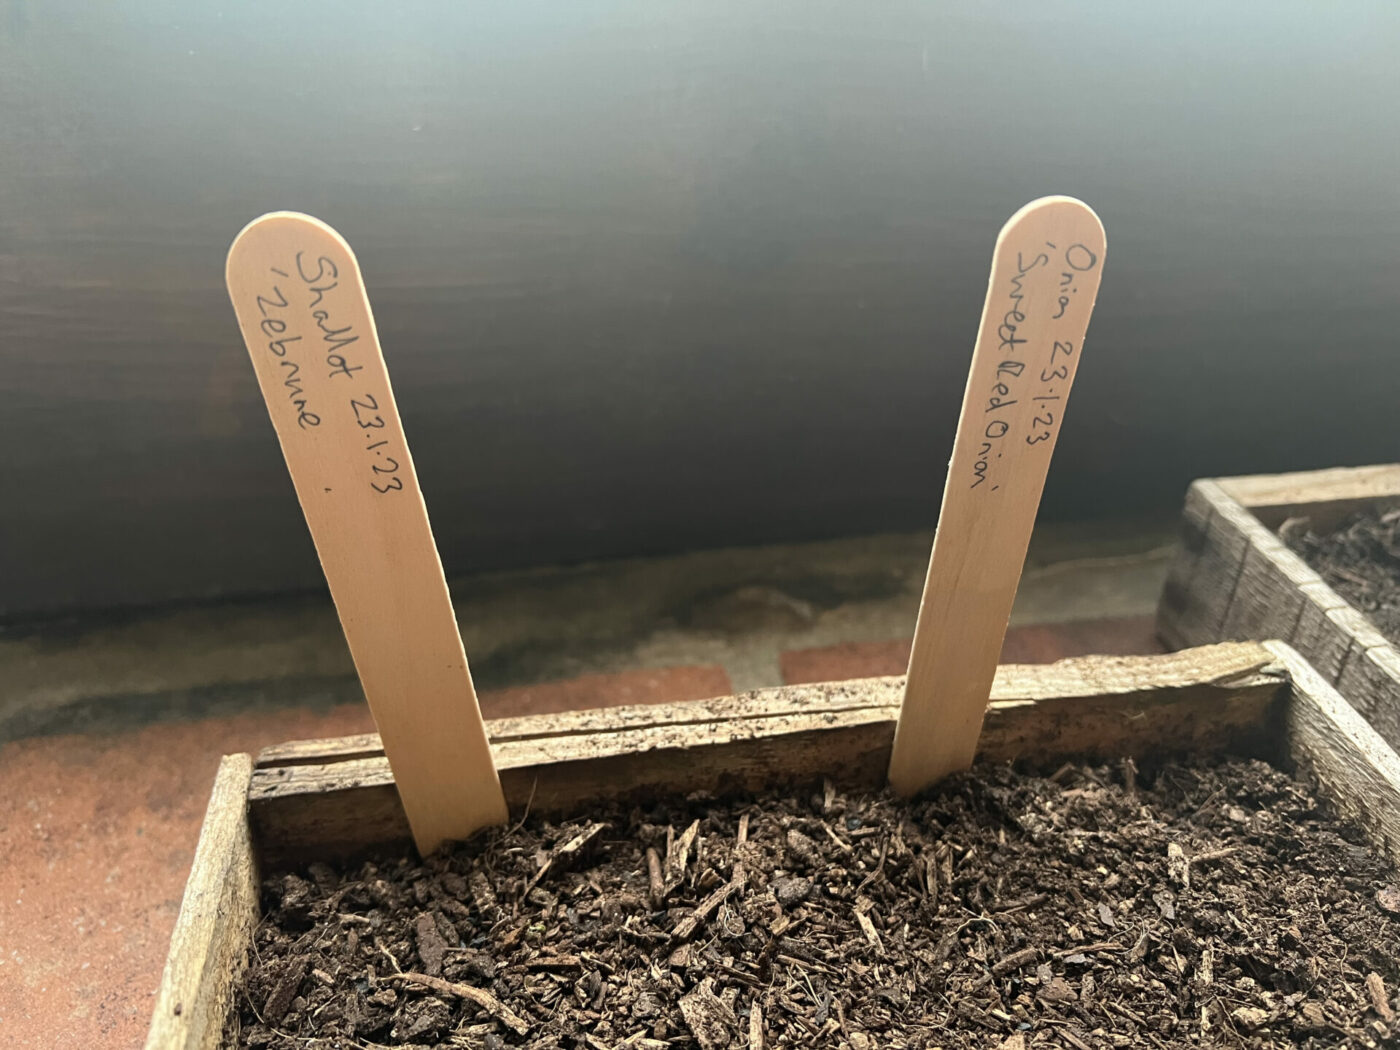
Once the seeds are in my hands, the first thing I’ll do on sowing day is to write the labels to include the vegetable type (onions and shallots!), the cultivar e.g. ‘Carmen’ and the sowing date. I know this is a faff but it’s so important because as the growing season gets underway, it’s very easy to mix up seedlings and, as much as we might think we’ll work it out later, it really is often impossible to tell a shallot apart from an onion until it’s fully grown, making spacing when planted out a nightmare. Trust me, I’ve done it too many times!
I use bamboo labels with the correct pen that came with them, which I’ve found will last at least a year if used in sheltered areas. I wouldn’t rely on these outside in borders where they can rot quite easily (more on this later as the plants grow).
2) Prepare a tray of compost
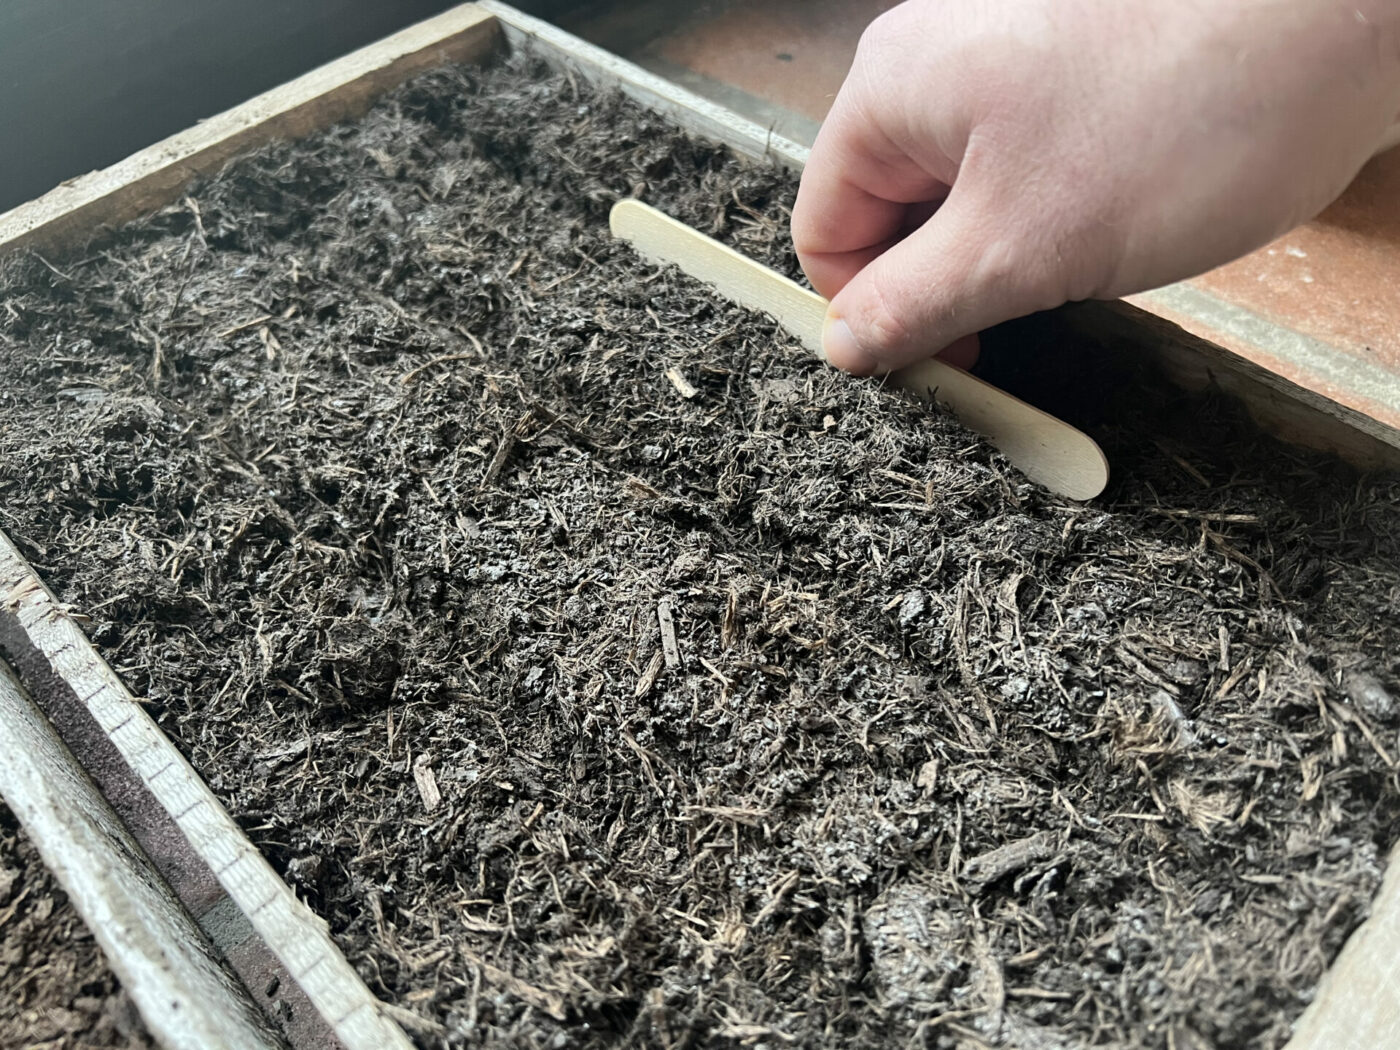
Sow onion and shallot seeds in January, or February at the latest, to give them a good long growing season to form big bulbs. Fill a seed tray with peat free compost to about 1cm below the top to prevent water spilling over when you water them. I then just make little rows using one of the labels, to about 1cm deep. This makes it easy to sprinkle seeds into them and also dig out and prise apart the roots when it comes to planting outside.
I sow them inside the house on a windowsill until they germinate because onions and shallots need a bit of warmth, then move them to the polytunnel once growing, before moving outside to a growing space in the sun until I’m ready to plant out. Onions and shallots are pretty hardy things, they just need protection at this young stage from the worst of winter and they need warmth to germinate. You could start them in a heated greenhouse or propagator.
A good sustainable way of raising onion seedlings that’s worked for me in recent years is to use wooden seed trays filled with ordinary peat free compost (here I’ve used one tray of Dalefoot and one tray of Sylvagrow peat free compost). There are of course various combinations you could use, such as using regular seed trays, modular seed trays with individual little containers all attached to each other. Wooden trays will last for years if you keep them dry between growing. You can also use seed compost, which is finer and has fewer nutrients, but I haven’t used this in a number of years because honestly I don’t see the point. I grow everything well in regular peat free compost from seed, I just remove the biggest clumps if there are any. There’s nothing wrong with seed compost if you like it, I just found it can sometimes compact because it is so fine, leading to watering and growing problems.
This year I’m actually using spent old compost I used for growing salad seedlings in last year. Not suitable for all vegetables but onions and shallots are tolerant young plants.
3) Sprinkle seeds into the rows
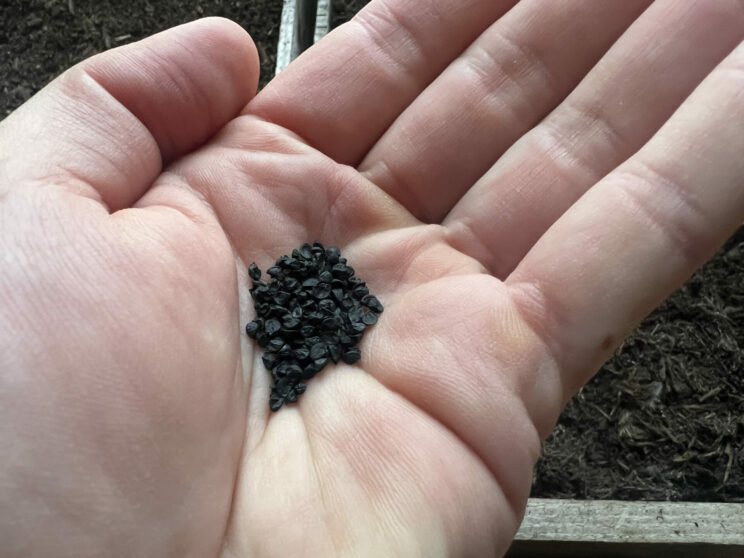
This might sound obvious but it’s worth saying, I pour a little of the seed packet into one hand and then pinch a little and sprinkle with the other. It gives much more control and is especially useful when sowing outdoors where wind can blow seeds away, you can cup or close your hand to stop that happening. Don’t feel you have to sow all of the seeds; onions and shallots germinate well and each of those seeds will likely grow into a full vegetable! Be sensible and sow only as many as you can fit and need this year, storing the rest in the packet for next year, saving you money.
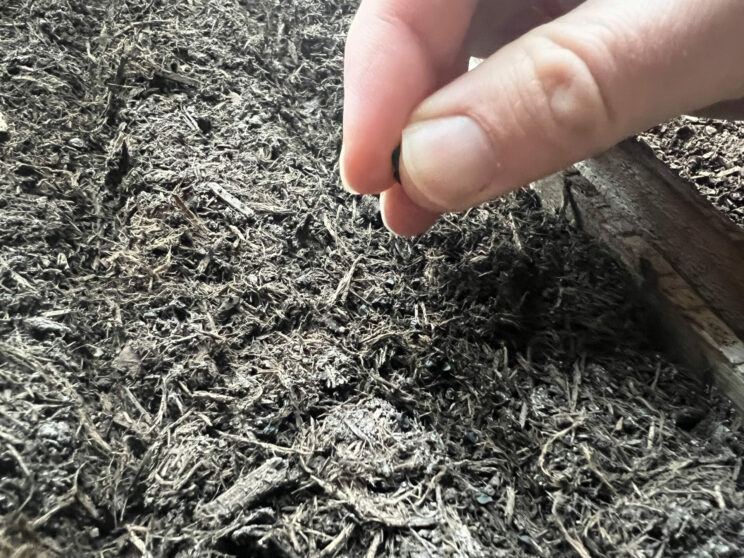
I personally sow onions and shallots relatively thickly at this stage, about one seed every few millimetres, to cram them in. In the wild, onion seeds will germinate and grow tightly packed together without a problem and that is also true of onion and shallots at this stage. When growing I’ll prise their roots apart gently, but I’ve found they are relatively tolerant of this kind of handling. The same is true of leeks, which I sow later in spring.
4) Place labels as you sow each variety
It’s easier to grow a different variety or cultivar in different trays to avoid mix ups, sowing one at a time and labelling as you go. Last year I mixed up our courgettes and chillies, which caused problems when it came to planting them because they had different space requirements.
When I do sow two types in the same tray, as above, I position them carefully to avoid mix ups. In this tray there are four rows and I’ve placed the labels on the left row of each variety (two rows of each), I will then know each side is a different type.
5) Cover seeds gently with the compost
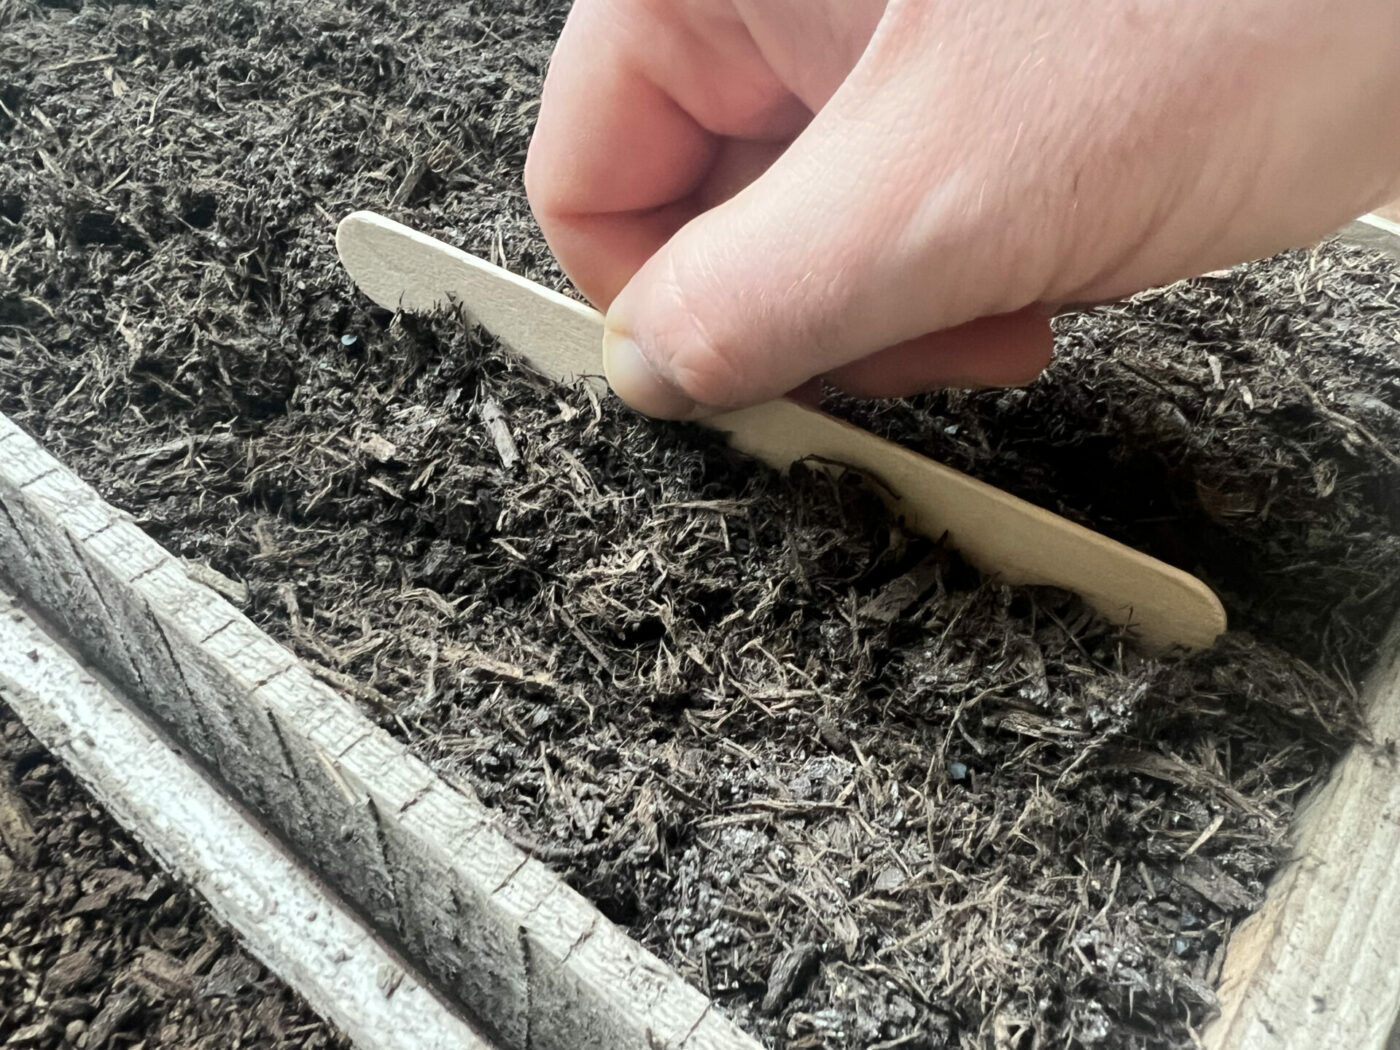
Using my trusty label I gently brush the surrounding compost into the rows covering the seeds.
6) Water
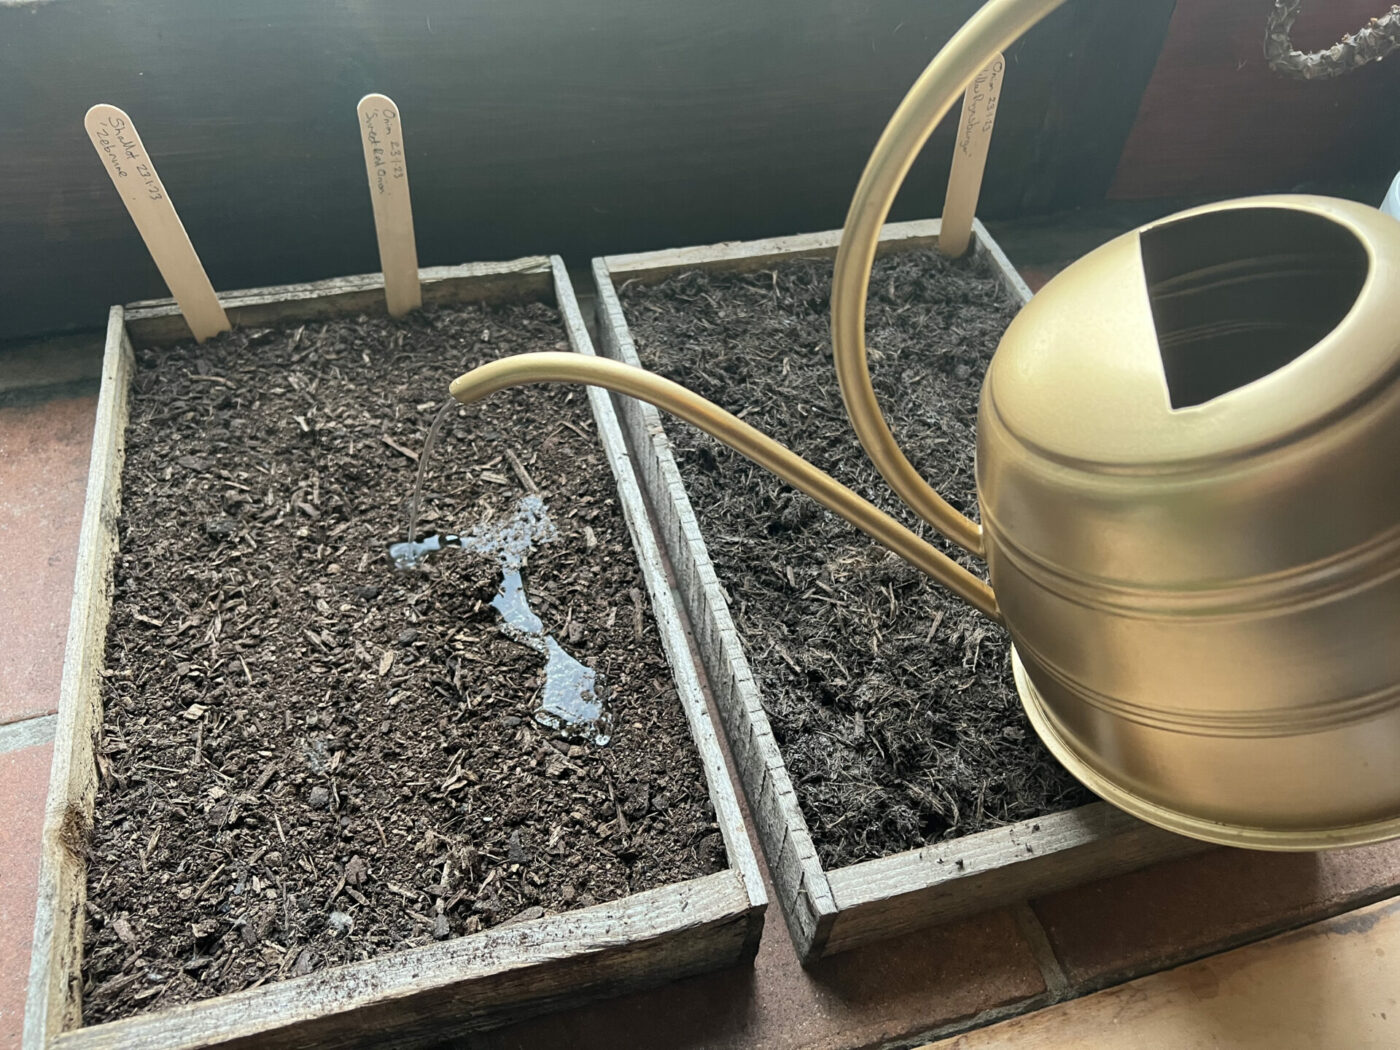
Usually I water seed trays from below by placing them in a sink with a little water in it, or positioning them in a tray and filling the tray with water. This works best because the compost will soak the water up itself and it avoids water from a can moving the seeds and compost around, ruining your rows and spacing. In this instance, I just watered slowly and carefully from a can, doing a bit at a time, waiting for it to soak in. I’ll keep the trays slightly damp but not soaking wet. They’re positioned in our sunniest window.
I’m not going to cover these with a lid or cling film, or use a heat mat, because I find onions and shallots germinate pretty easily and quickly in a spot that’s warmer than outdoor winter weather. I’ll keep an eye on the moisture levels so they don’t dry out.
7) Once germinated move to a sheltered spot outside
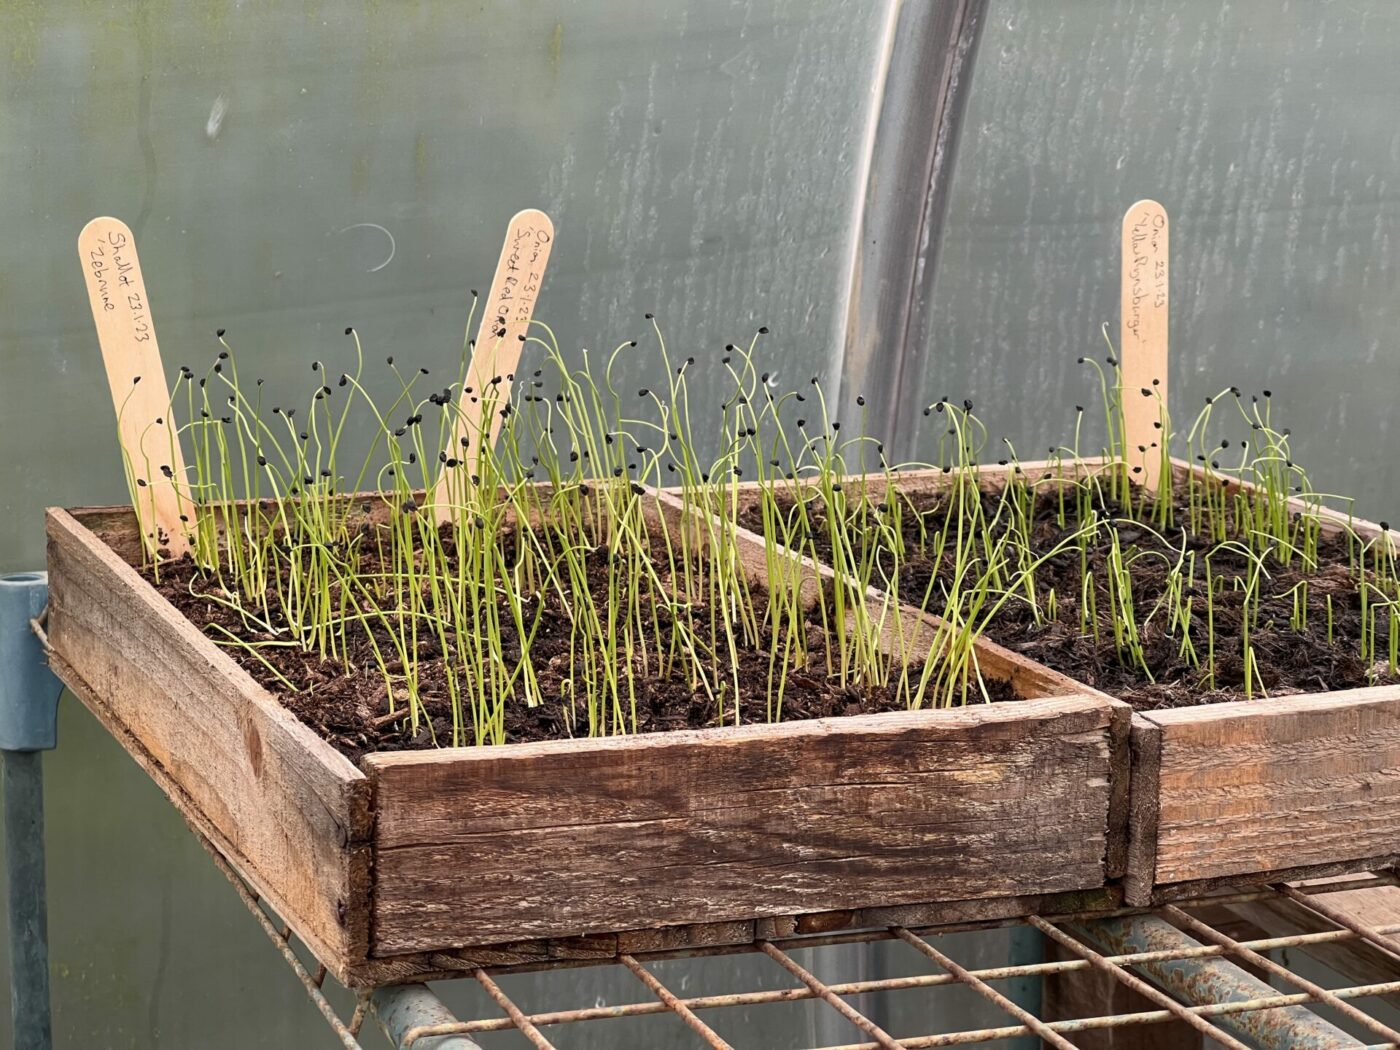
One month later and they’ve all germinated, looking very spritely and green. I’ve moved ours into our unheated polytunnel for the last of winter and will move the trays outside as early spring warms up in March. A greenhouse or coldframe are equally as good, or even a sheltered spot next to a wall or fence. At this stage they are quite hardy but you want to guard them from the coldest nights and frost.
At this stage the only real risk to our seedlings is over watering because soggy roots when it’s still very cold is the worst combination. Water sparingly and carefully, to not dry out but not waterlog them is the trick.