How to divide Pilea peperomioides to give to your friends and family while keeping the Pilea legend alive.
The Pilea legend
Never buy a Pilea peperomioides. Don’t. Shops will hate me for saying this about the houseplant du jour but you must never do it. They’re extremely overpriced at £10+ a pop and more importantly, you’d be breaking the Pilea legend which is almost immediate and guaranteed bad juju coming right at you.
Originating from Yunnan in China, Pilea peperomioides is a relatively recent introduction to the Western world. Finding its way to botanic gardens in Europe at the turn of the 19th Century, quickly becoming a popular house plant in Norway before becoming a global phenomenon post-millennium.
According to this article no one knew how it arrived in houses of Europe when there were no nursery records of it at all. None! Botanists wondered “how did it become such a popular houseplant?”
The answer is gloriously simple. Pileas were passed from person to person by division. One household giving their friends and family a division of their own plants as a gift as more and more people fell in love with those peltate leaves. Ending with the millions of Pileas now trending on Instagram the world over.
My own Pilea was given to me as a baby plant by my friend Mog in Brighton who herself was gifted it by a friend. After a year of ownership my own plant is now pumping out babies faster than I can say ‘botanical trend’.
How to divide a Pilea peperomiodes
Dividing Pilea peperomioides is incredibly easy and pretty much foolproof. All you need is your own Pilea plant or to find one owned by someone you know and then ask them if they can give you a piece.
Step 1: prep your Pilea
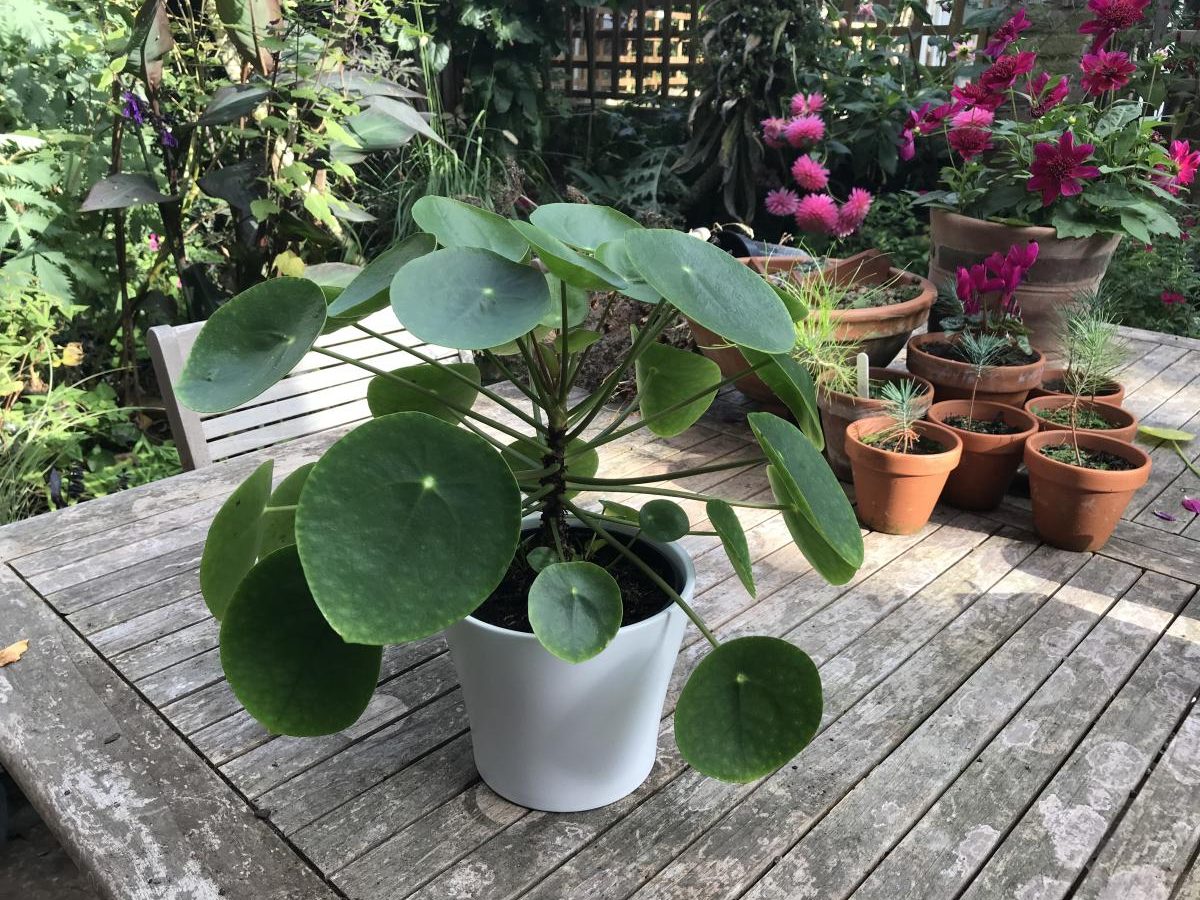
What a beauty! Now is the time to stand back and admire your fabulous Pilea. Bask in its perfectly grown round leaves and pat yourself on the back for being a good houseplant owner. Good job green fingers.
Step 2: look for baby Pileas
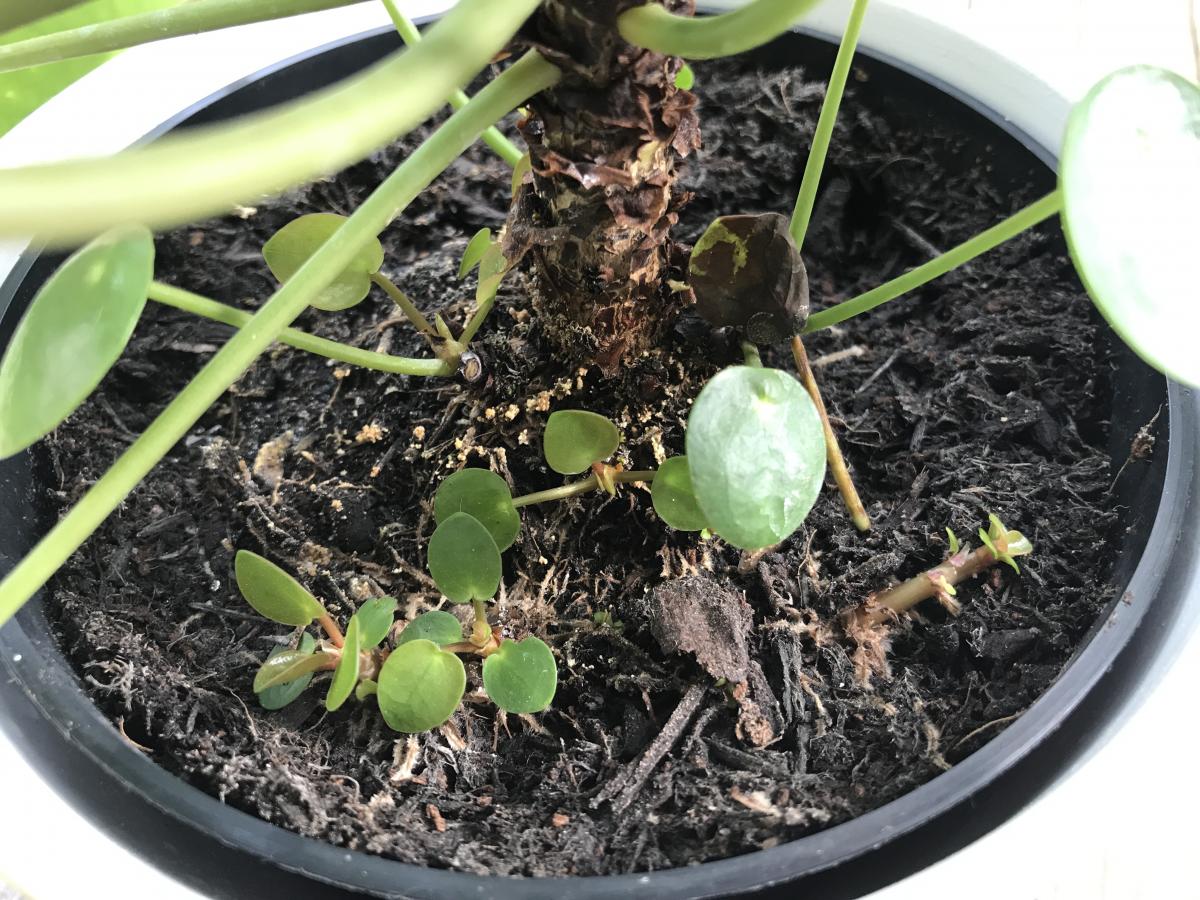
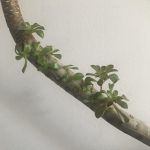
If large enough, your Pilea will have started producing roots across or near the surface of the compost. From these will shoot new plants. You can see on my plant above there are a number of baby Pileas growing. On the right, you can clearly see the rhizome growing with new shoots emerging from it (much like mint plants). If you don’t have these yet, no problem, your plant just needs to grow a bit more.
Step 3: chop chop!
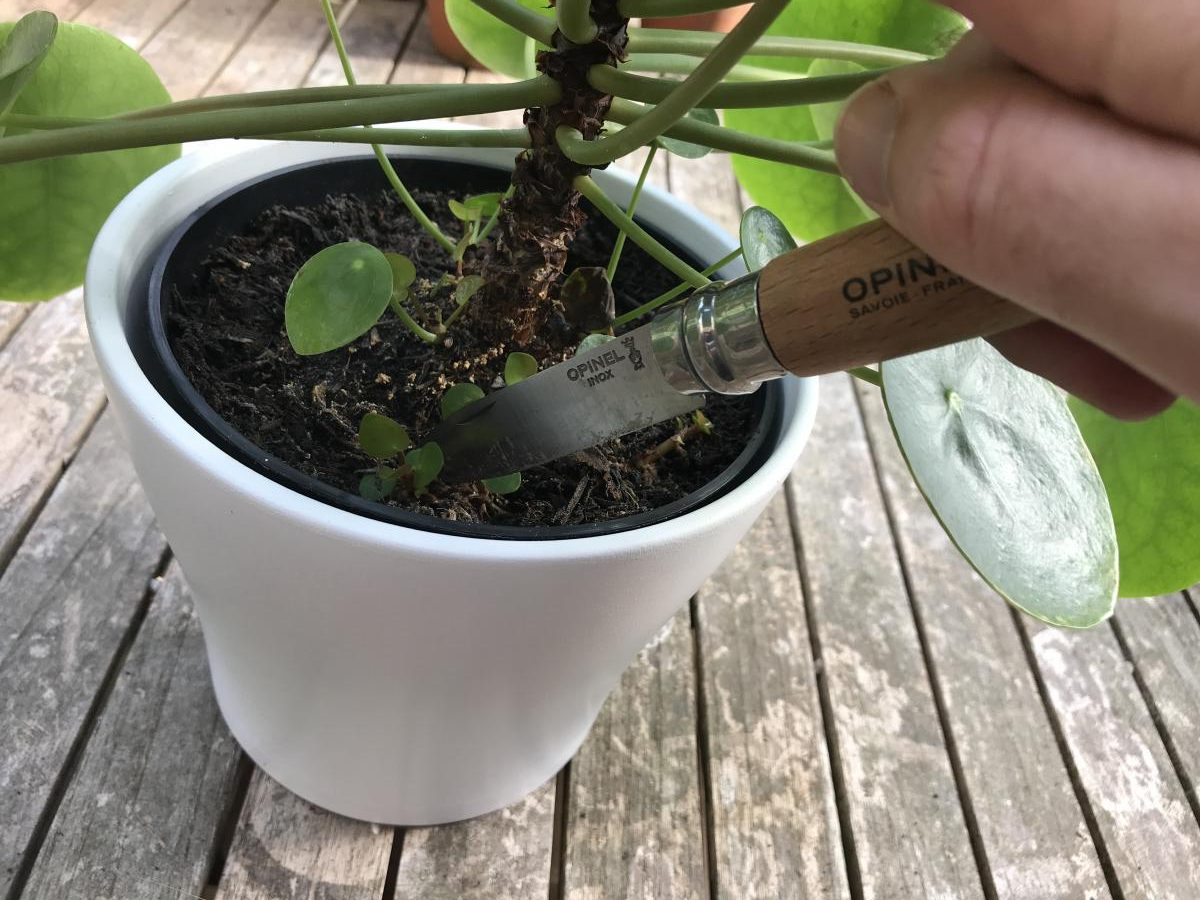
Take a very sharp and sterile (clean!) knife, scrape back some of the compost to reveal some of the roots without causing too much damage to them. You should see one thicker root where the baby is attached to the main plant. Run the knife down through this root to cut it. Then gently cut around the plant, trying to keep as much root intact as possible. It should look something like this:
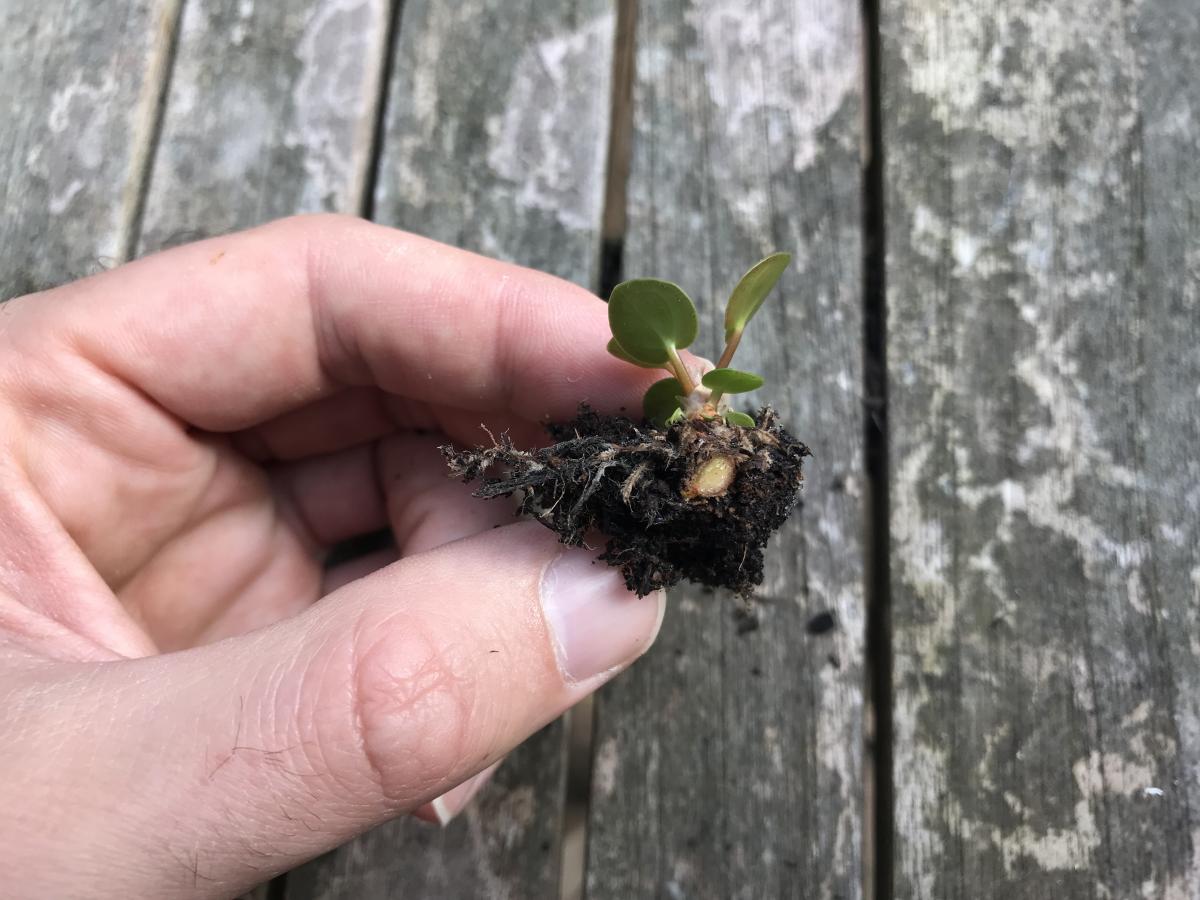
You can see the main root above where it was attached to the main plant. I’ve tried to prise up a couple of centimeters of compost around the baby to keep its delicate smaller roots intact. In reality, I find this really easy because once you’ve cut that main attaching root, the other roots are so new they aren’t particularly deep so the little clump of compost just lifts.
Step 4: ready the new pot of compost
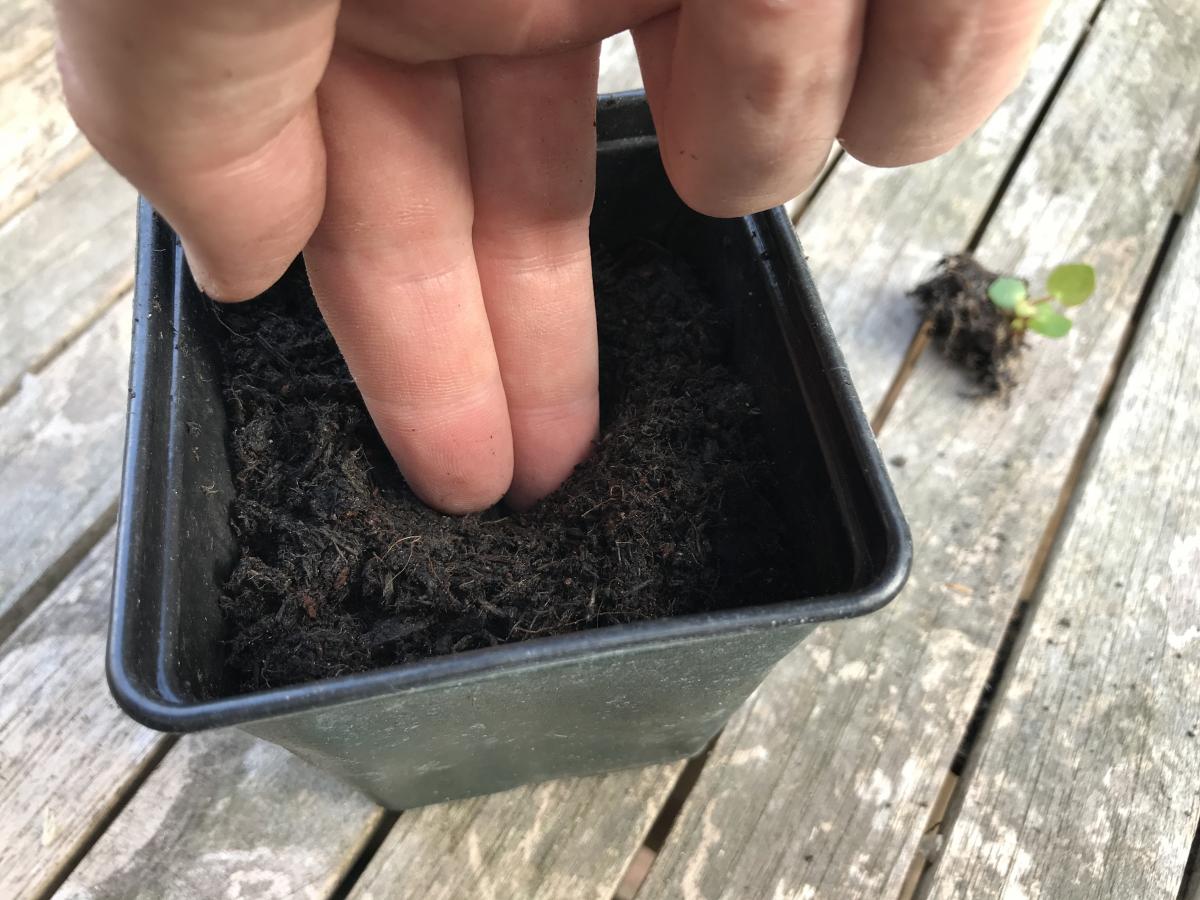
I find Pilea peperomioides divisions grow really quickly once potted up, so I plant into a 7cm diameter pot. I always use peat free compost because I find its structure is much better and also, peat is taken from and destroys natural habitats, which is really bad. Just make a hole in the compost so that the baby Pilea will be planted at the same level in the soil as before. Not higher or it will dry out, lower isn’t so bad but it may rot if you cover the main growing point of the plant in compost.
Step 5: ta da!
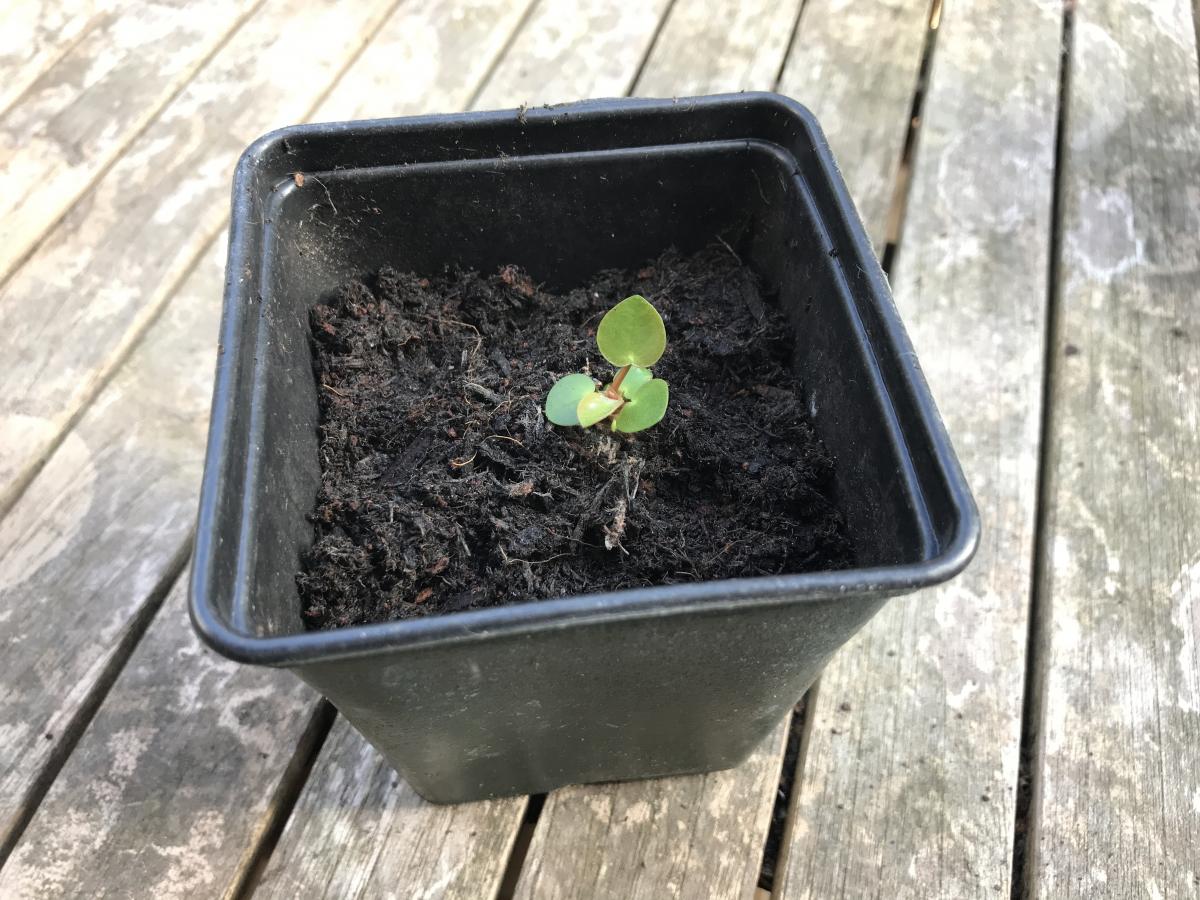
There isn’t really a step five as you’re finished. Well, I guess we could say giving it a water is step five. Remember to give it a little bit of water and keep it damp over the weeks to come. Not overly wet or it could rot, just never let it dry out.
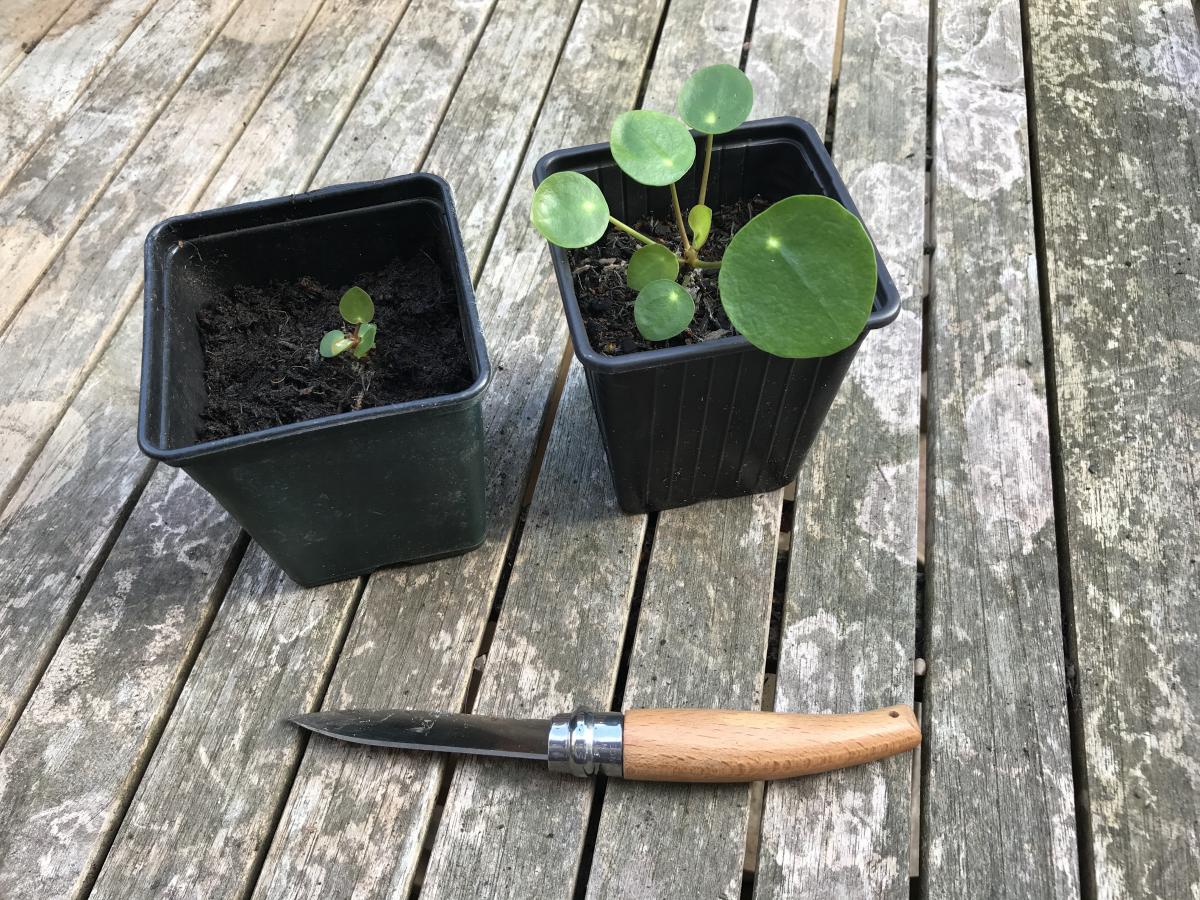
Above is the plant I just potted up vs another one that I potted up two months ago to show you how quickly they grow (bearing in mind this is all being done in autumn so growth isn’t particularly fast at this time of the year). There’s not really a ‘bad’ time to divide Pileas as the babies are already growing plants with roots although I would try to do it in spring or early autumn so as to avoid the cold and low light levels of winter, and the very hot, dry conditions of summer.
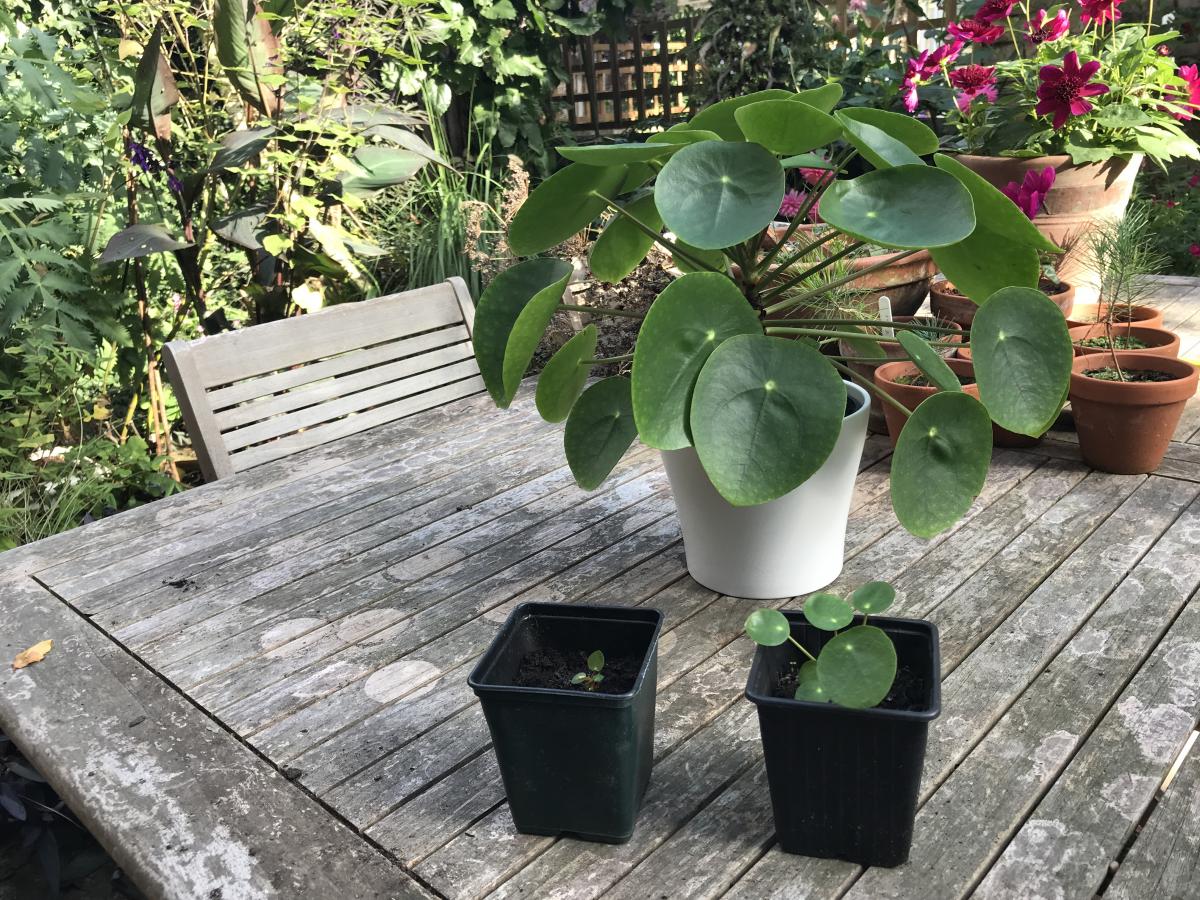
And here’s the whole happy family. To give you a sense of time scale, I was given my main plant just over a year ago at the same size as the above tiny division we’ve been talking about. Pileas grow pretty quickly without much care needed.
I’m actually not going to divide my plant too much, I’m interested in how it will look as a large clump with lots of stems. Come back to see how it gets on and good luck with your own Pilea peperomioides division!

I saw this plant the other day online and decided I want one!
I don’t know anybody who has any to share, so I have to buy it online.
I don’t want any bad juju coming my way, but there’s no other way around it.
It looks like a pretty cool plant.
I’m in the U.S.
Sounds good Sueann! They all come from somewhere so buying is fine and you can pass the babies onto friends 😄
Hey Jack! Did you ever follow up this post with a photo about you Pilea Peperomioides?
Just curious.
this is so helpful thanks!!!!! Can you leave these guys outside? I live in on the 20th floor that faces north and west but it gets windy sometimes. What do you think? If not, any suggestions? I have too many indoors and want to move them out…they are all pet friendly….calatheas, palm fern, other peperomias,….
I love these plants, I didn’t think they’d survive outside but I’ve had one in the planter at the side of the house for 3 years straight, no leaf loss, I live in Cornwall and im certain they’re hardier than we think.
I was given cuttings of a Chinese money plant ( 4 stalks in a pot) about 6 months ago. They haven’t grown ( or died) but don’t know how to get them to improve
Are they getting much sunlight?